*This post was originally written October 10, 2019
_______________________________
This past summer I embarked on my first van life road trip. Here’s how it went!
Prep
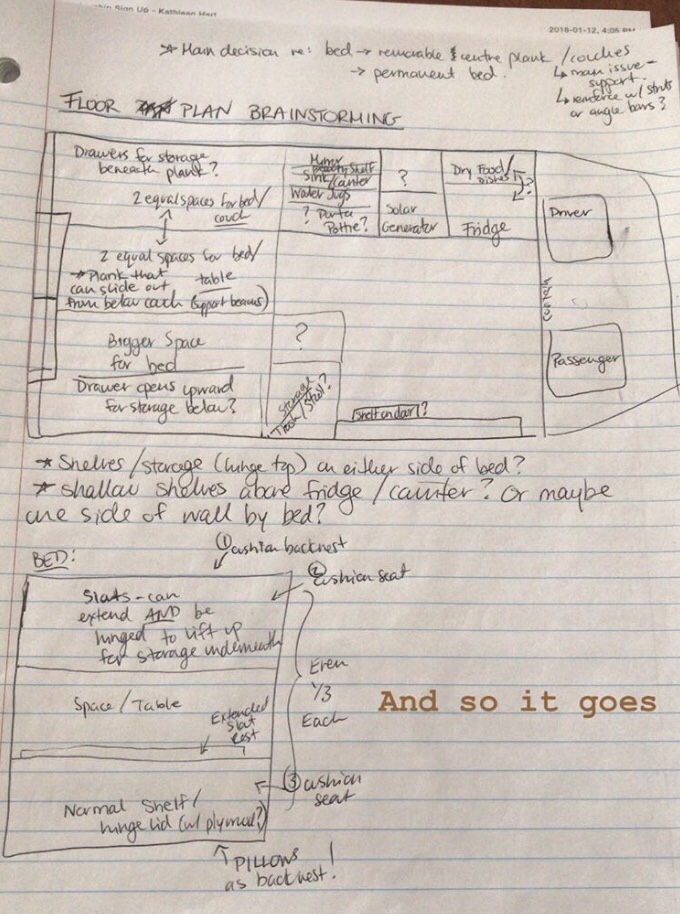
I had a friend’s wedding to get to in June, which is why I had a hard deadline for my departure. As per usual with this build, everything has taken longer than expected, so I didn’t get near everything I wanted to done before leaving. But I like having a deadline because it lights a fire under my ass to get shit done. My approach to this deadline was to prioritize the most important things to get done.
In full Kathleen fashion, I had lists galore to keep track of my “To Dos”.
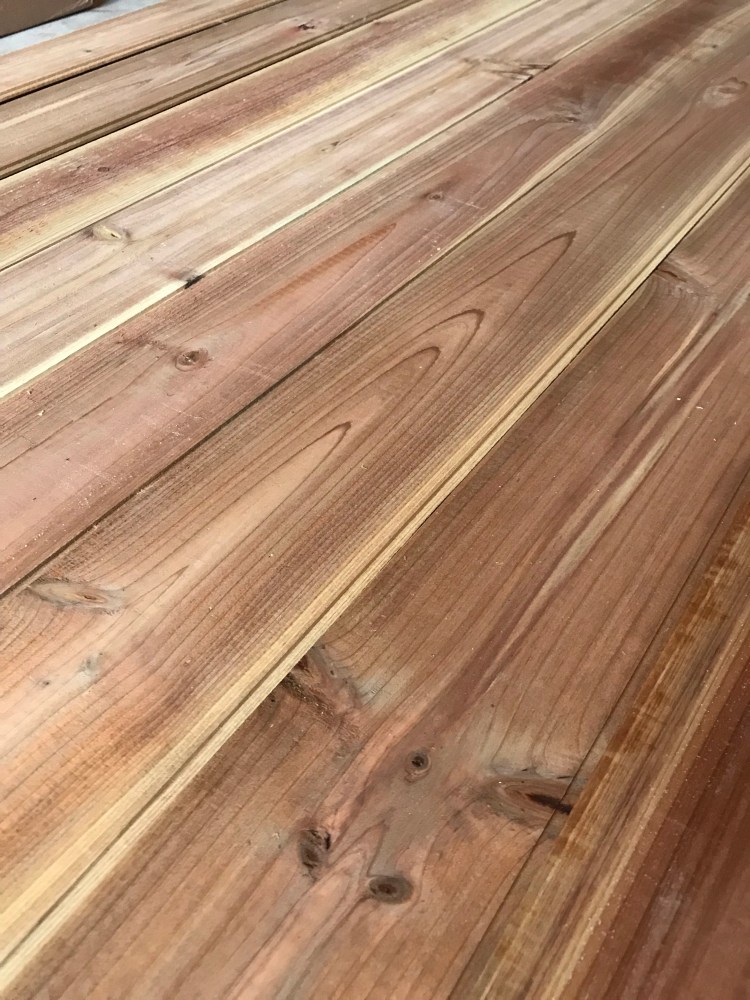
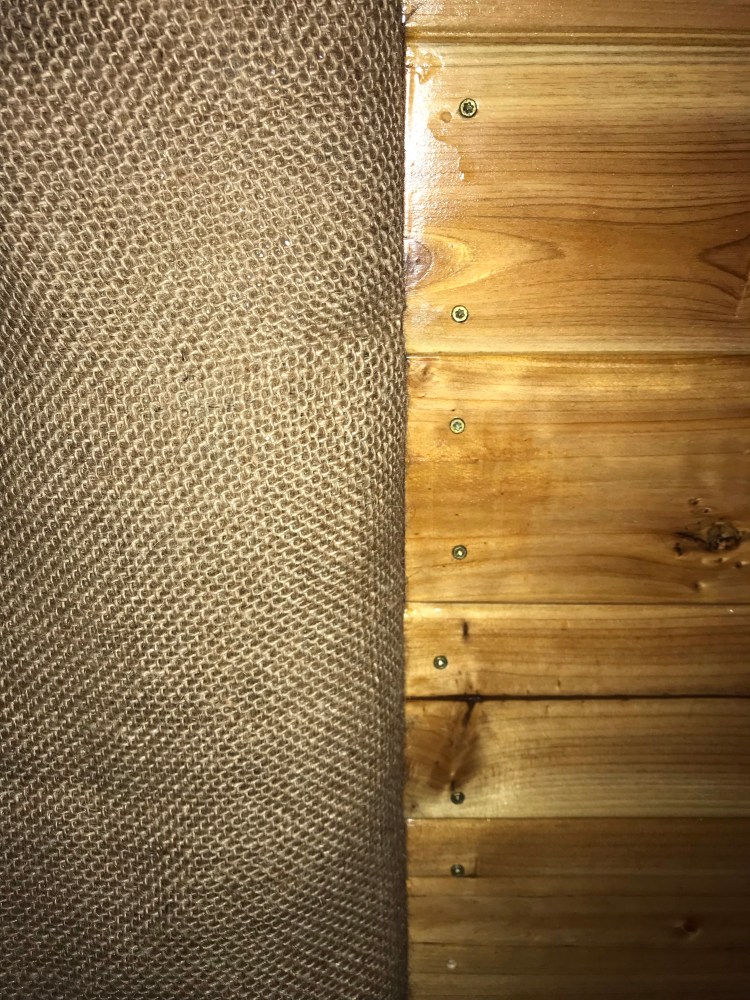
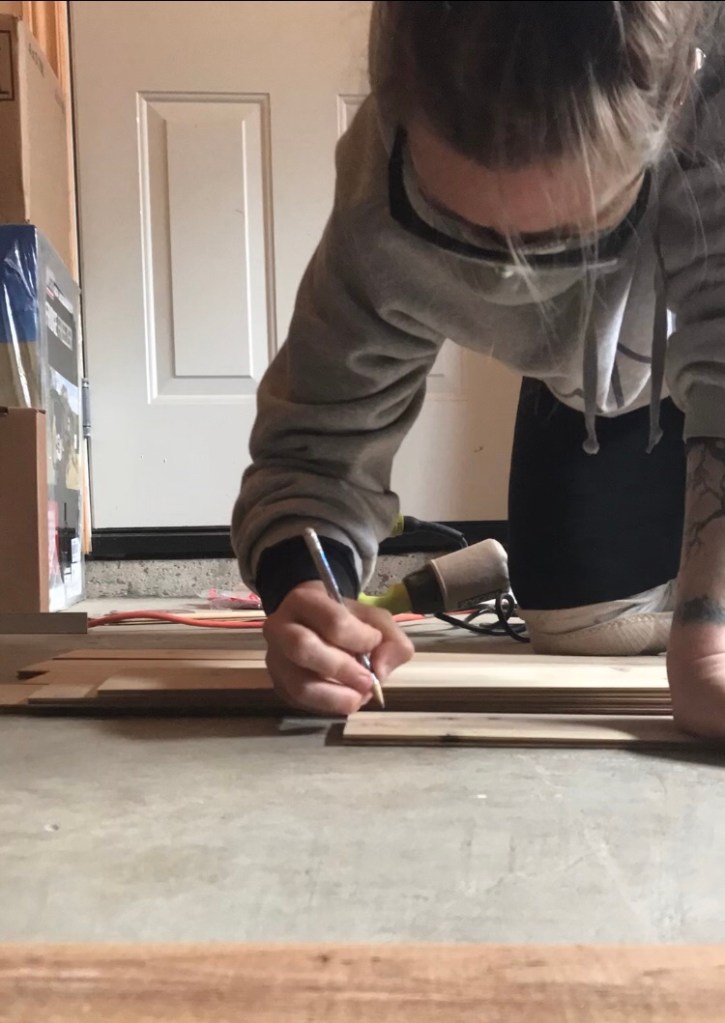
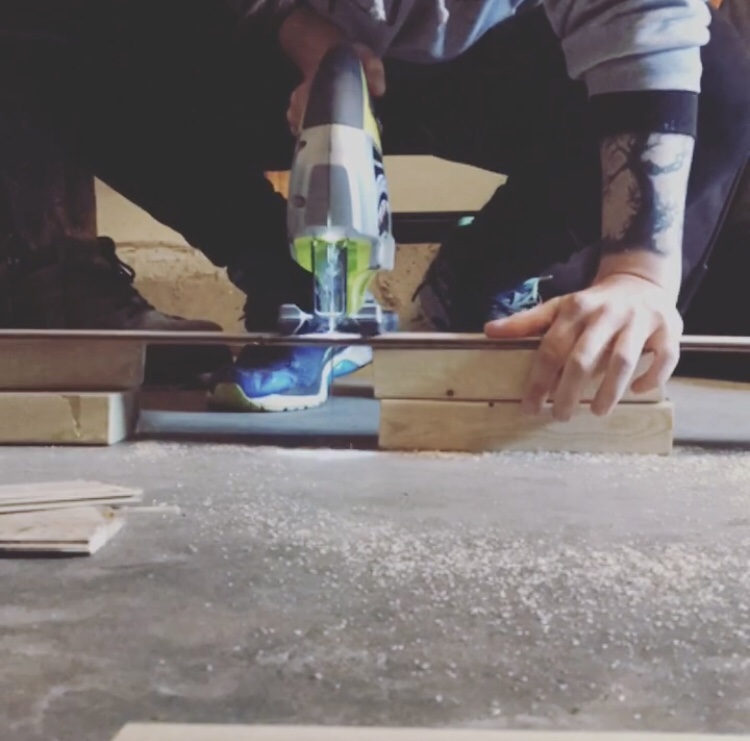
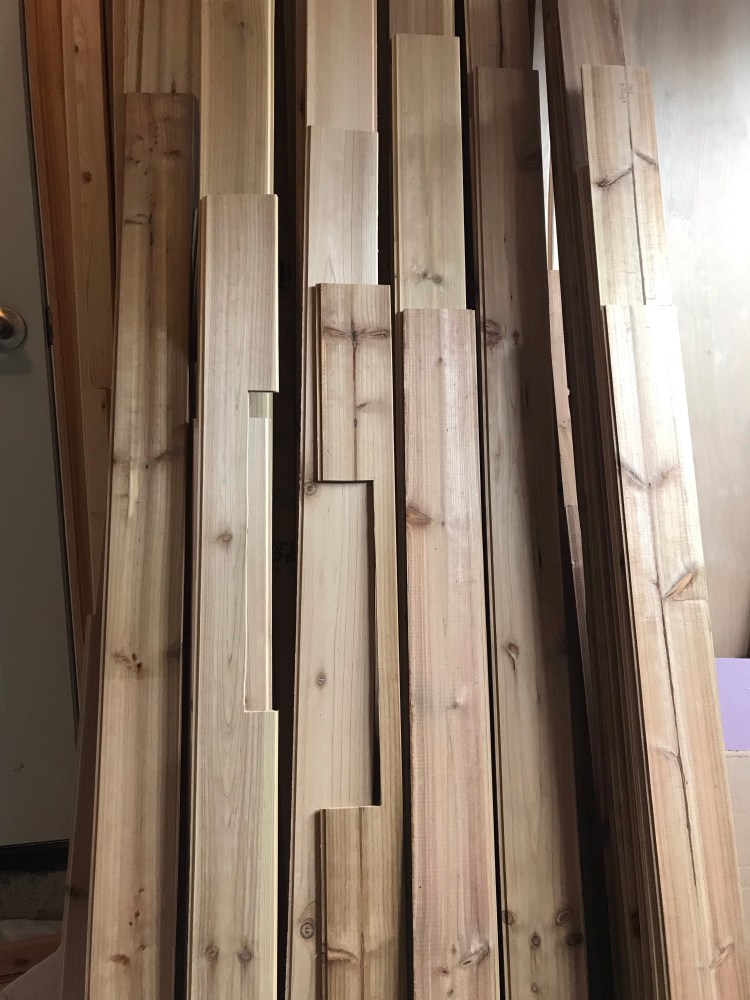
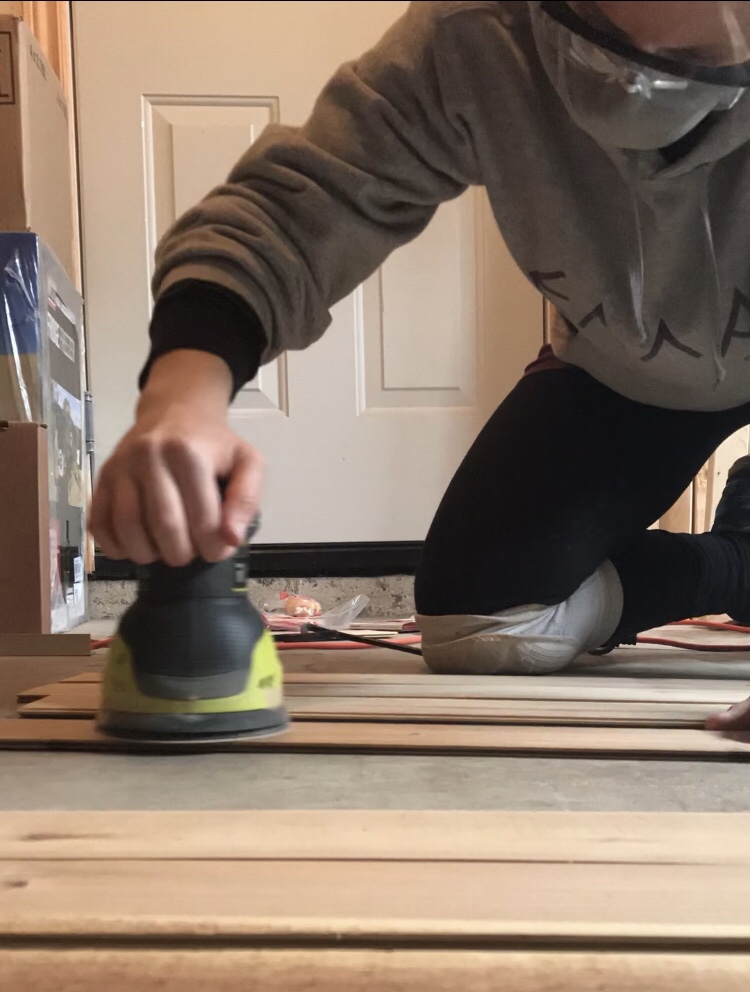
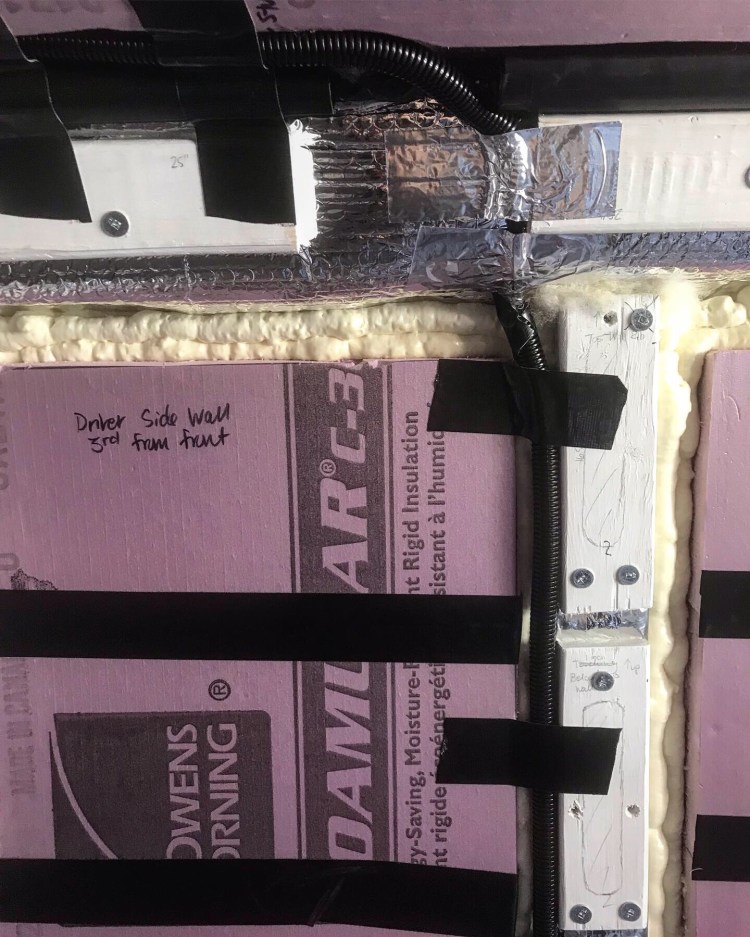
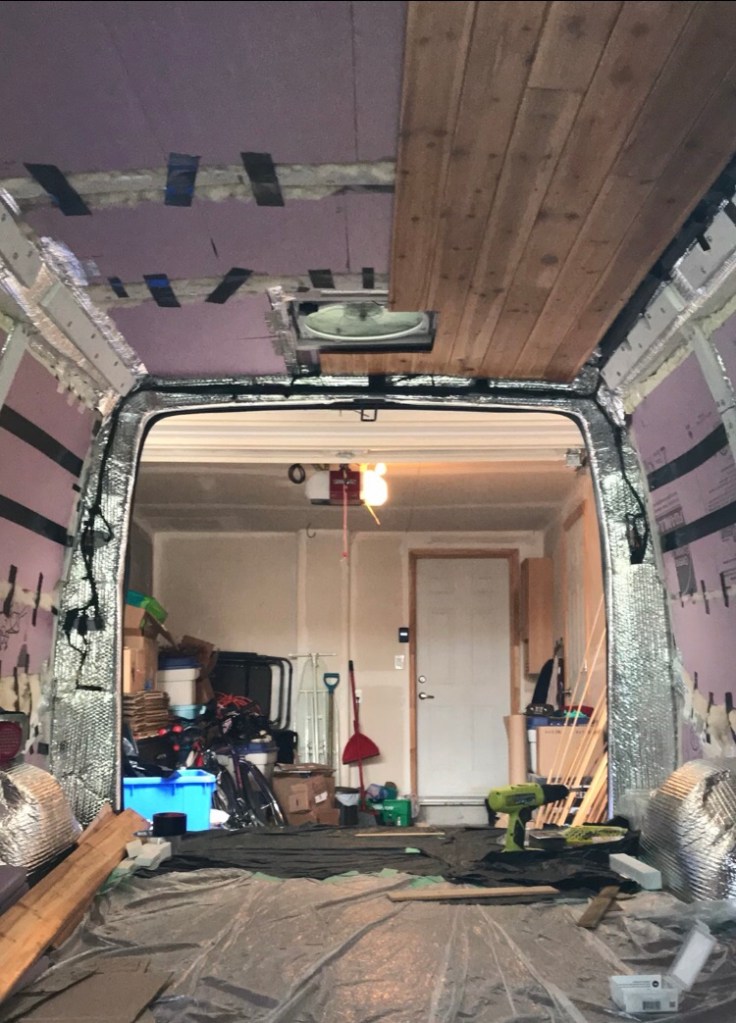
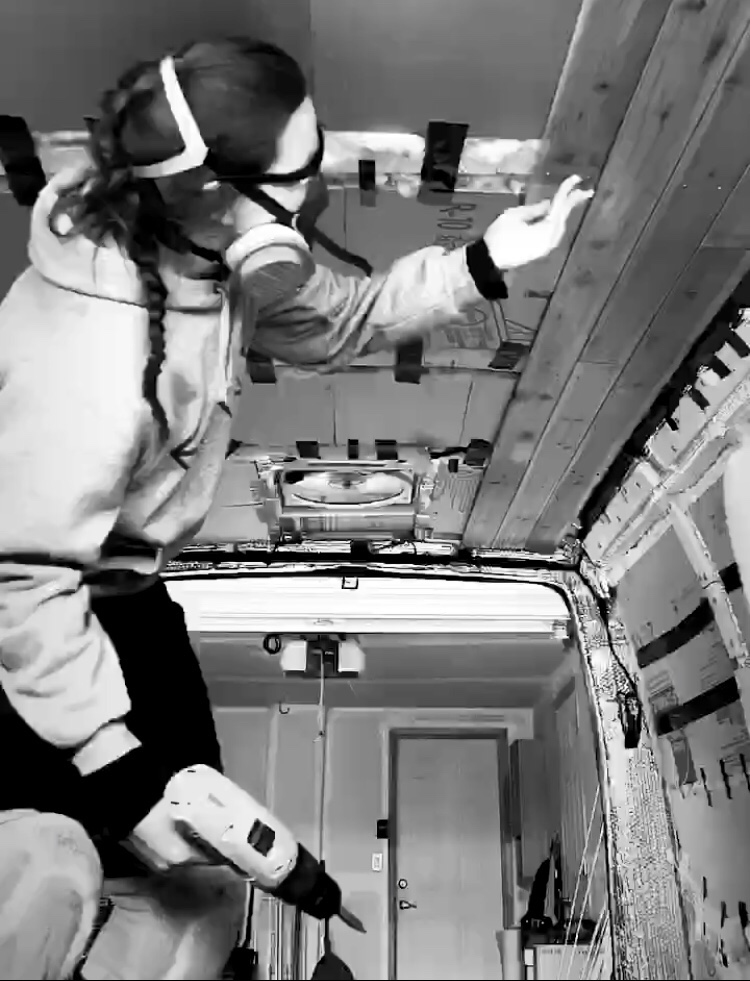
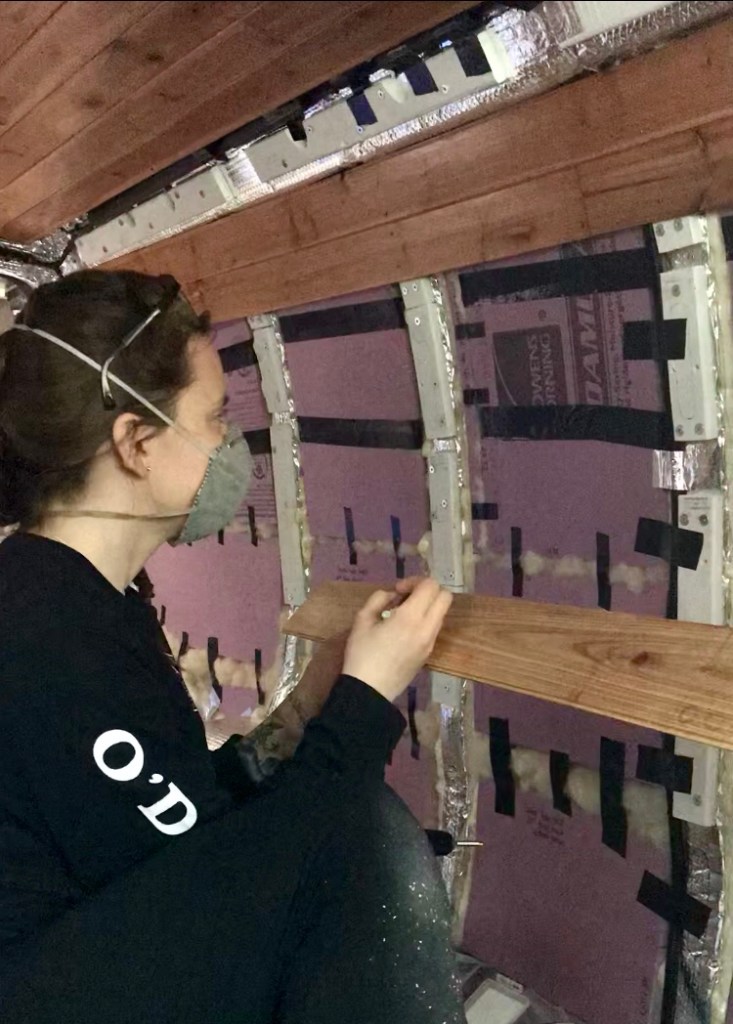
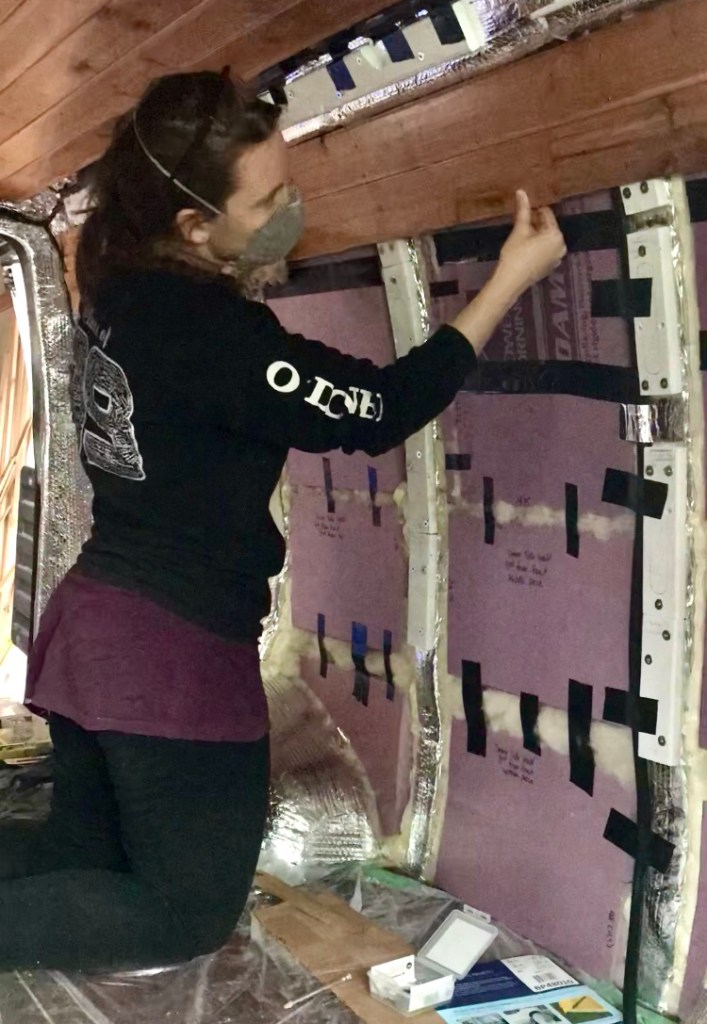
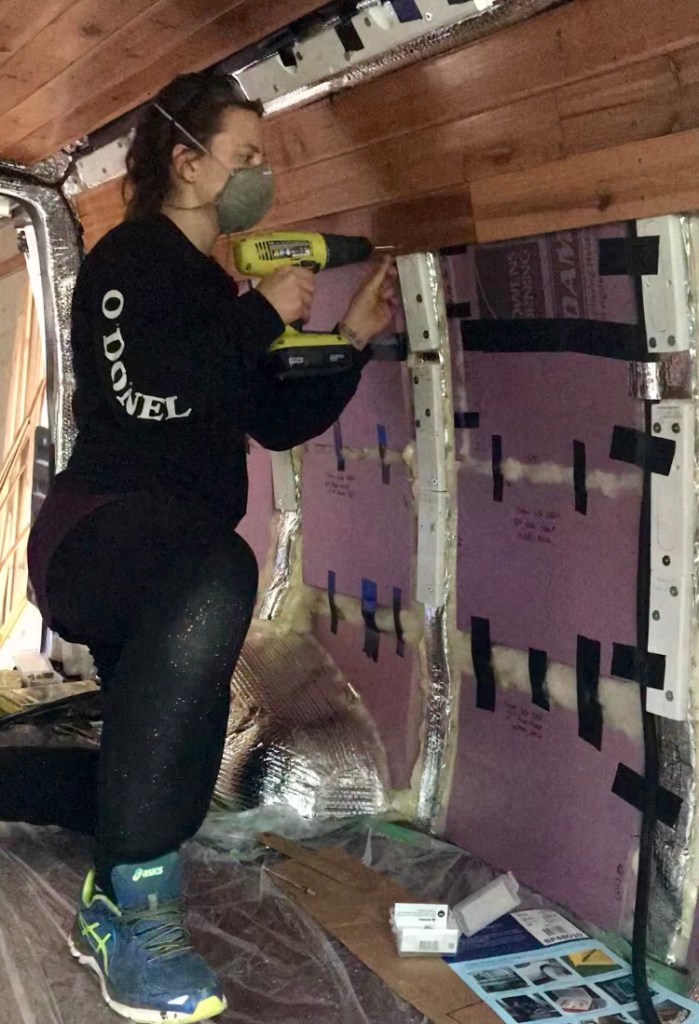
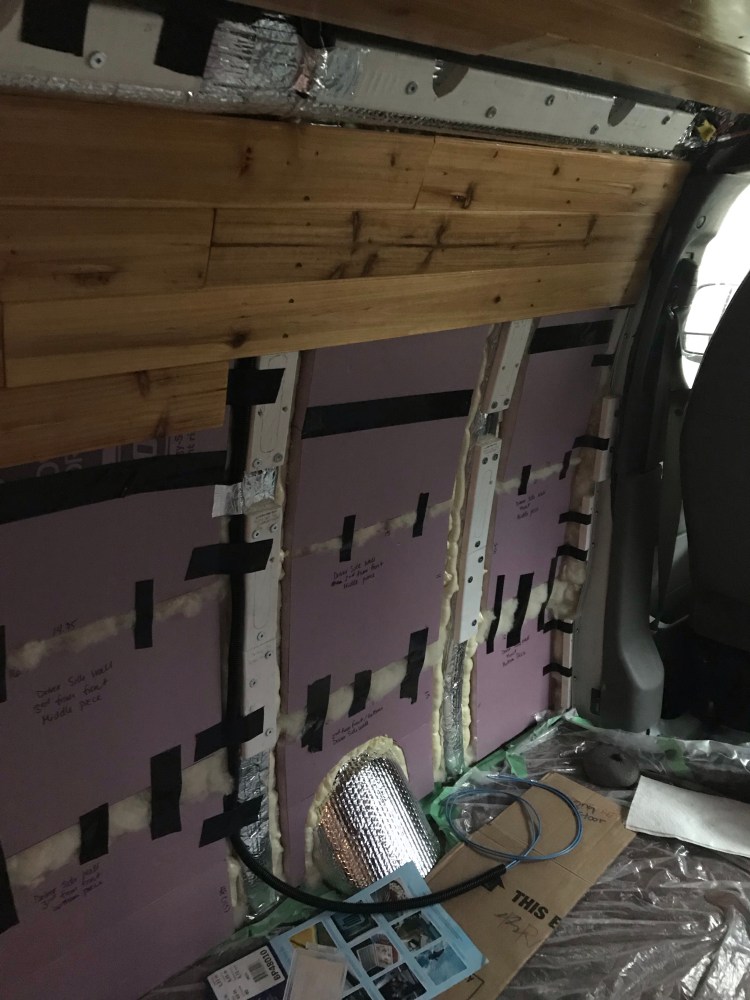
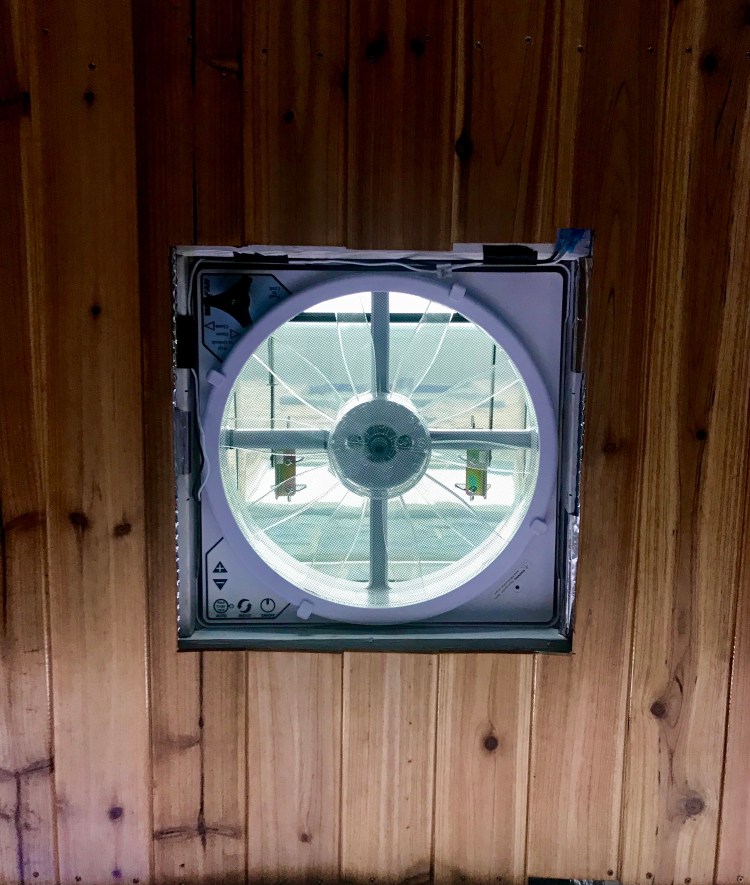
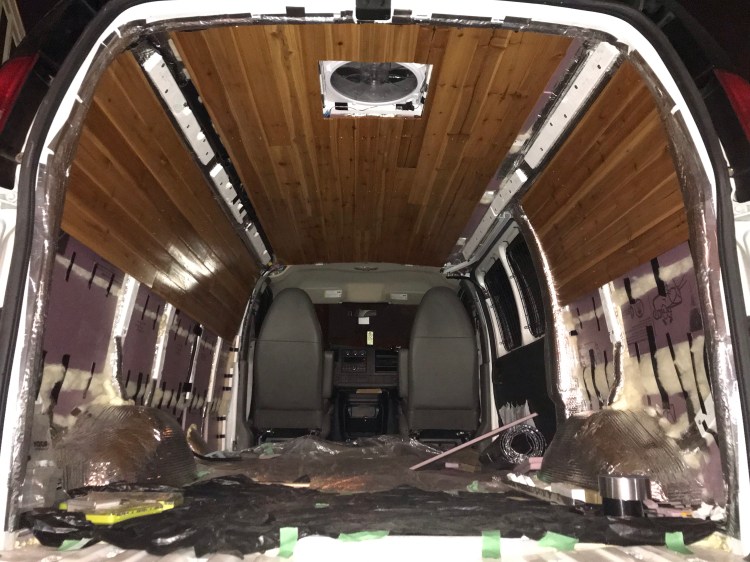
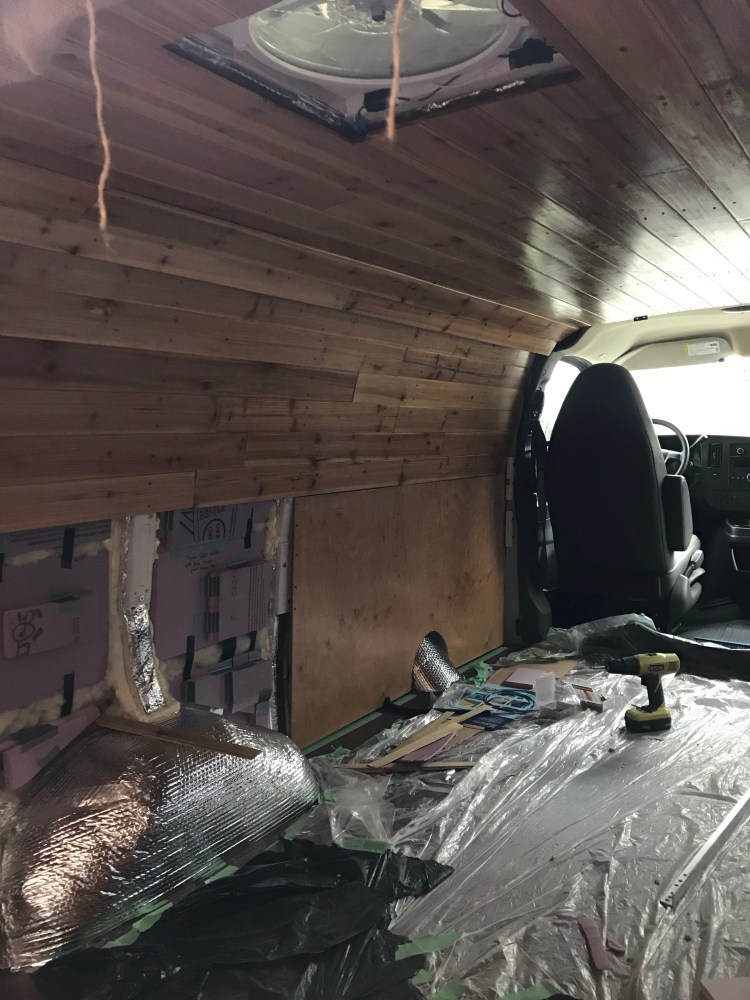
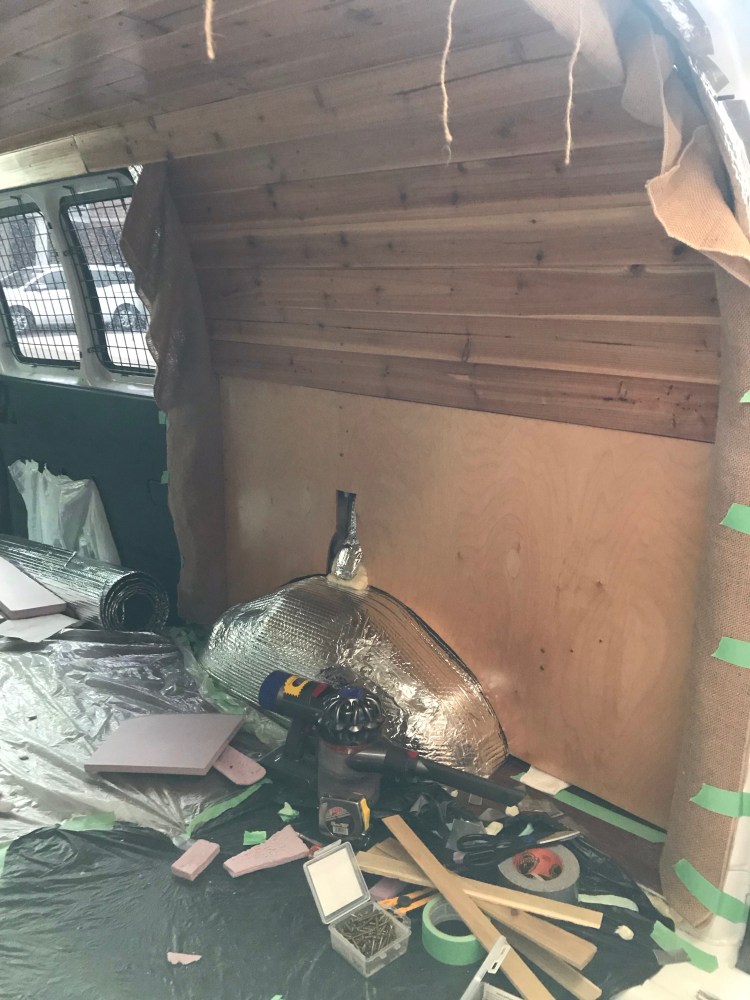
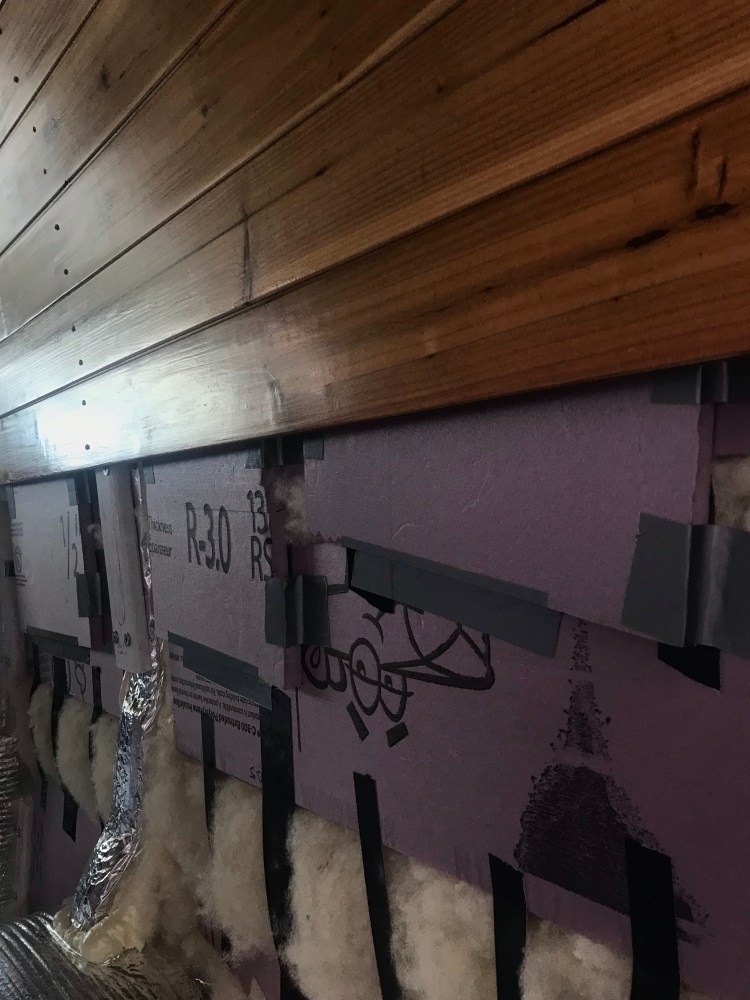
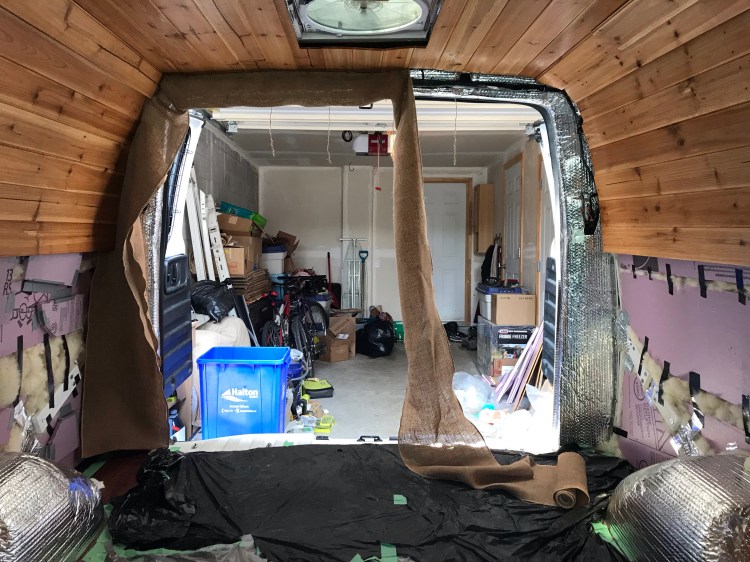
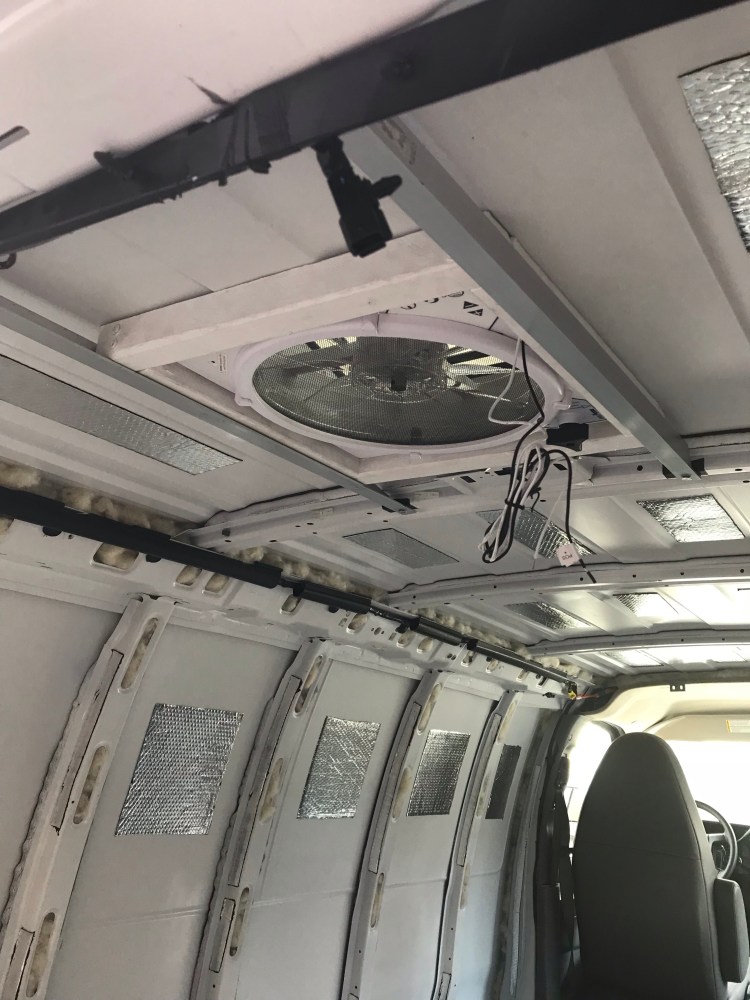
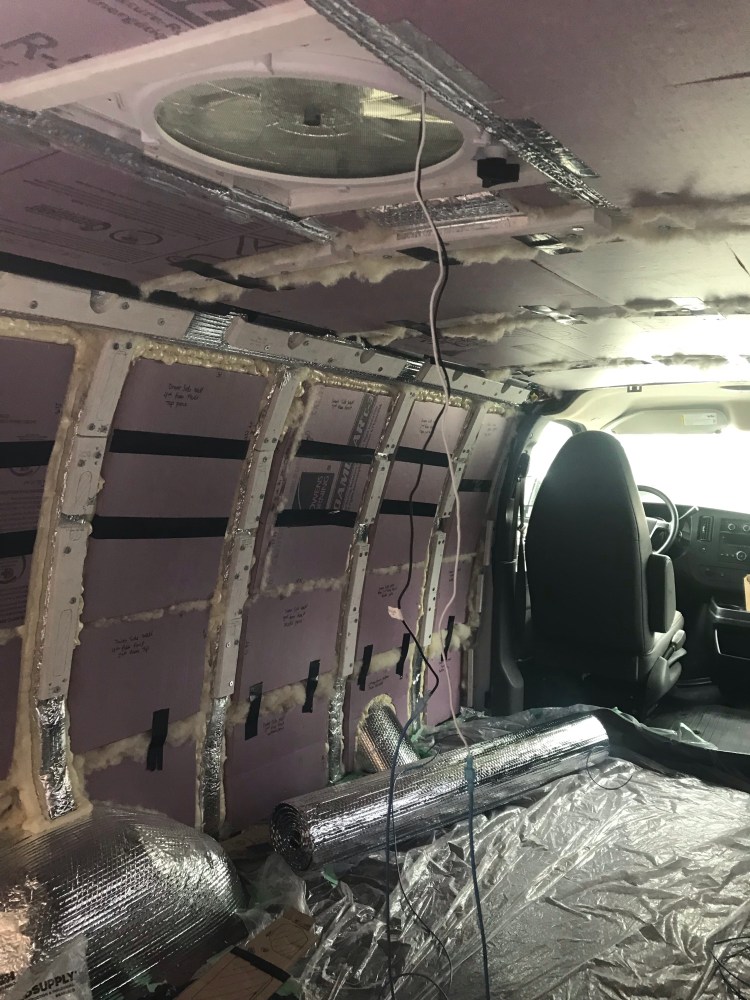
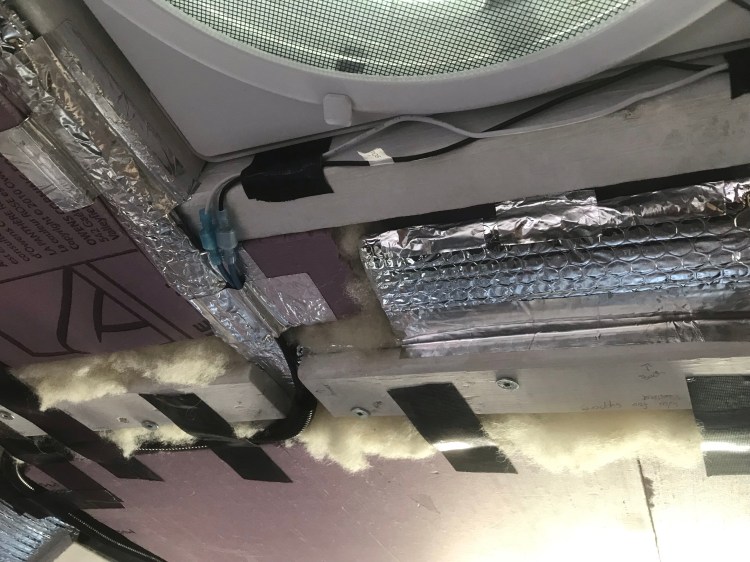
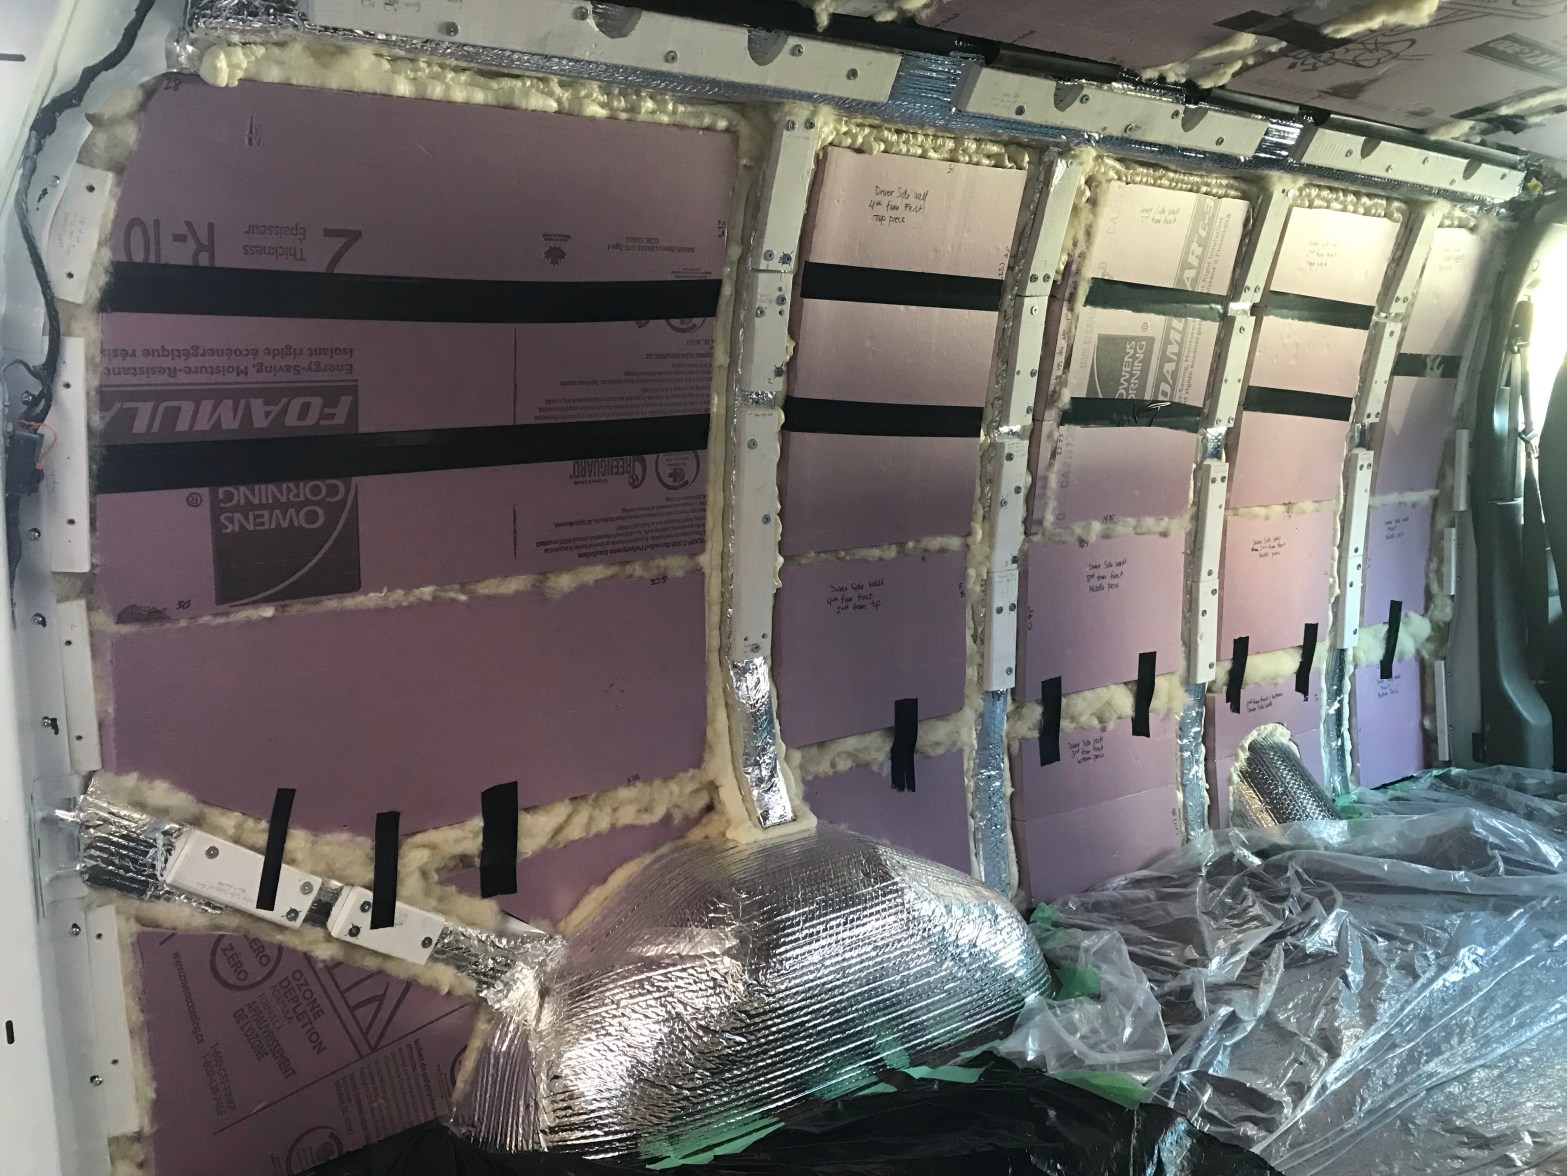
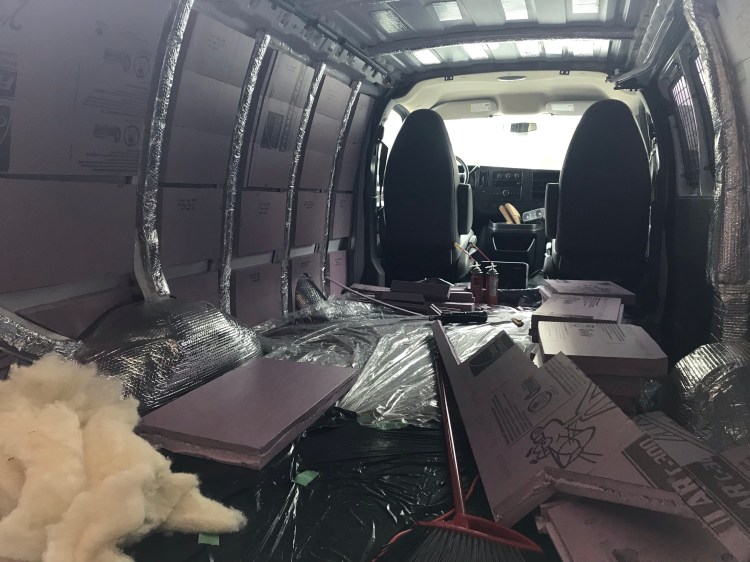
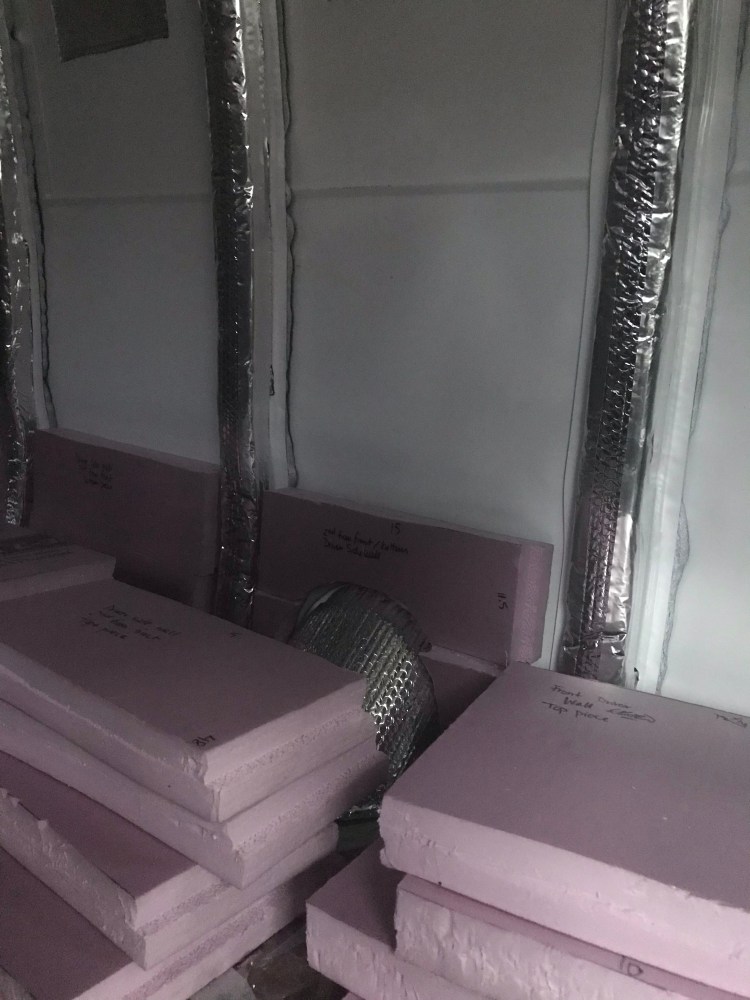
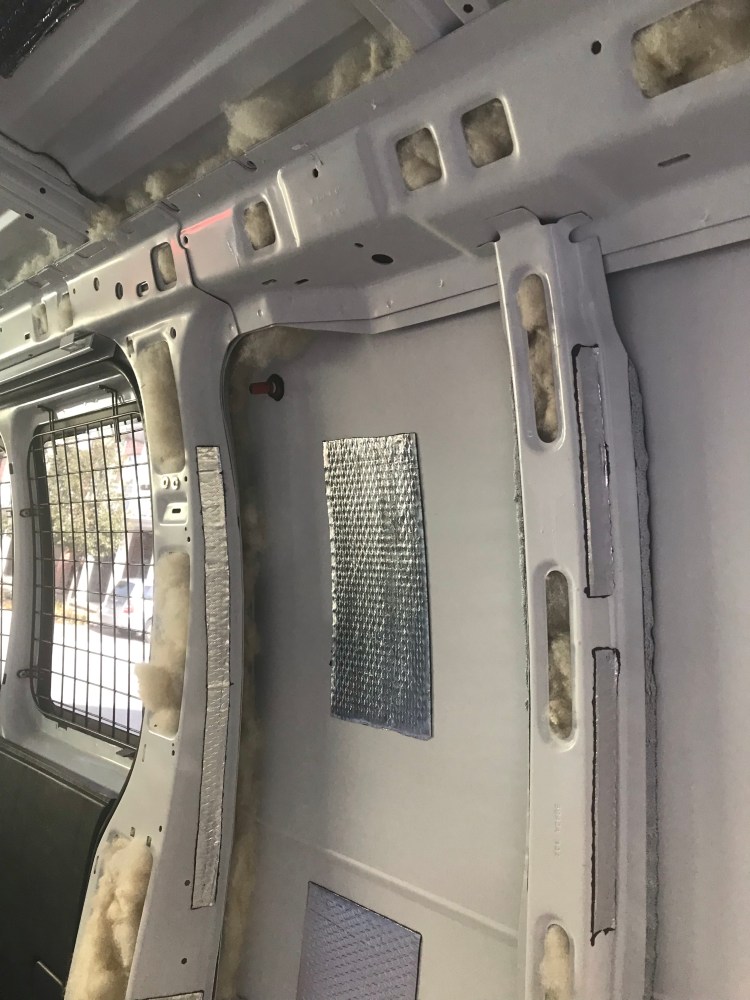
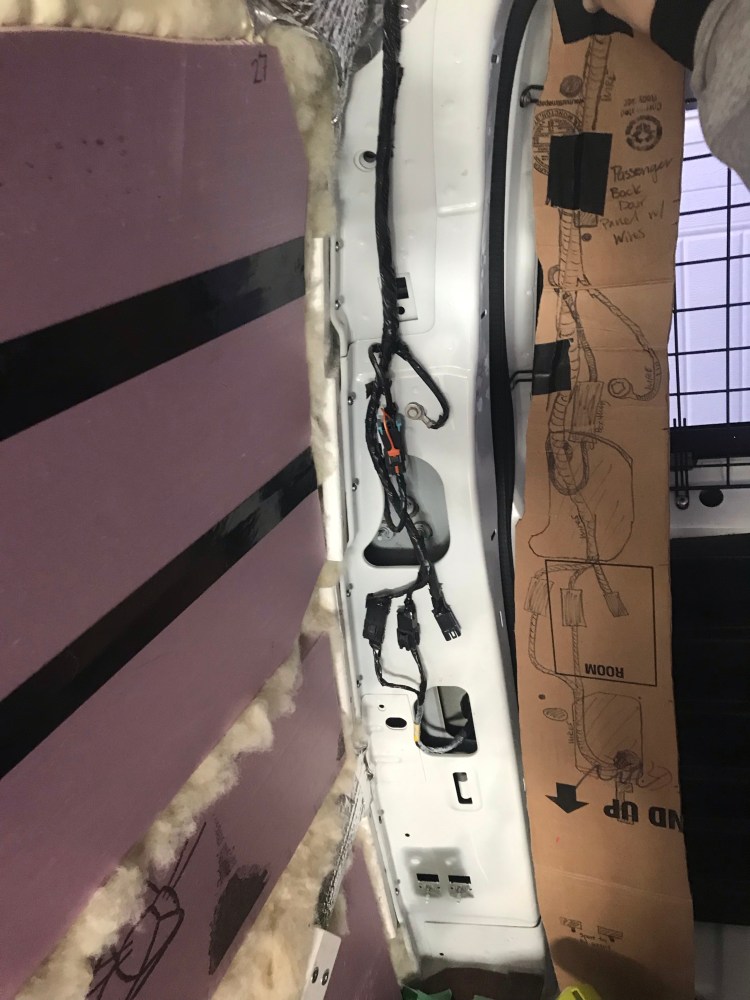
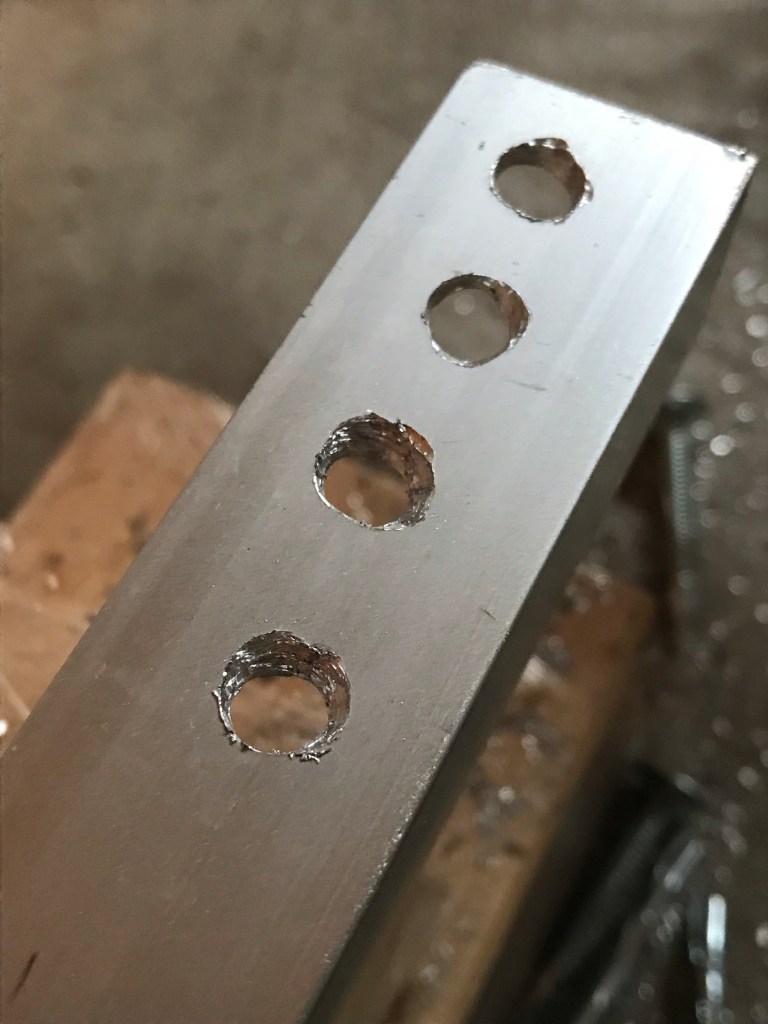
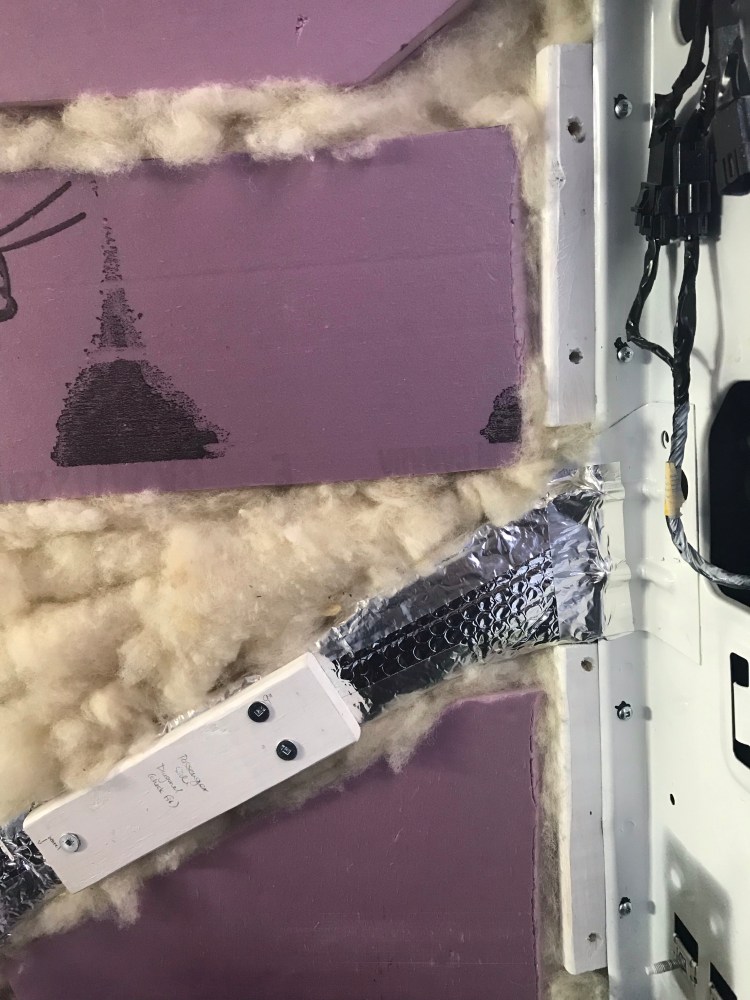
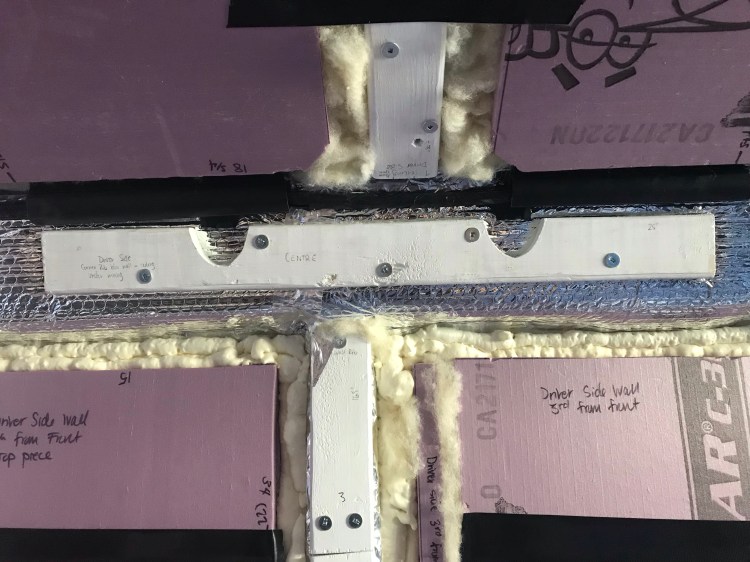
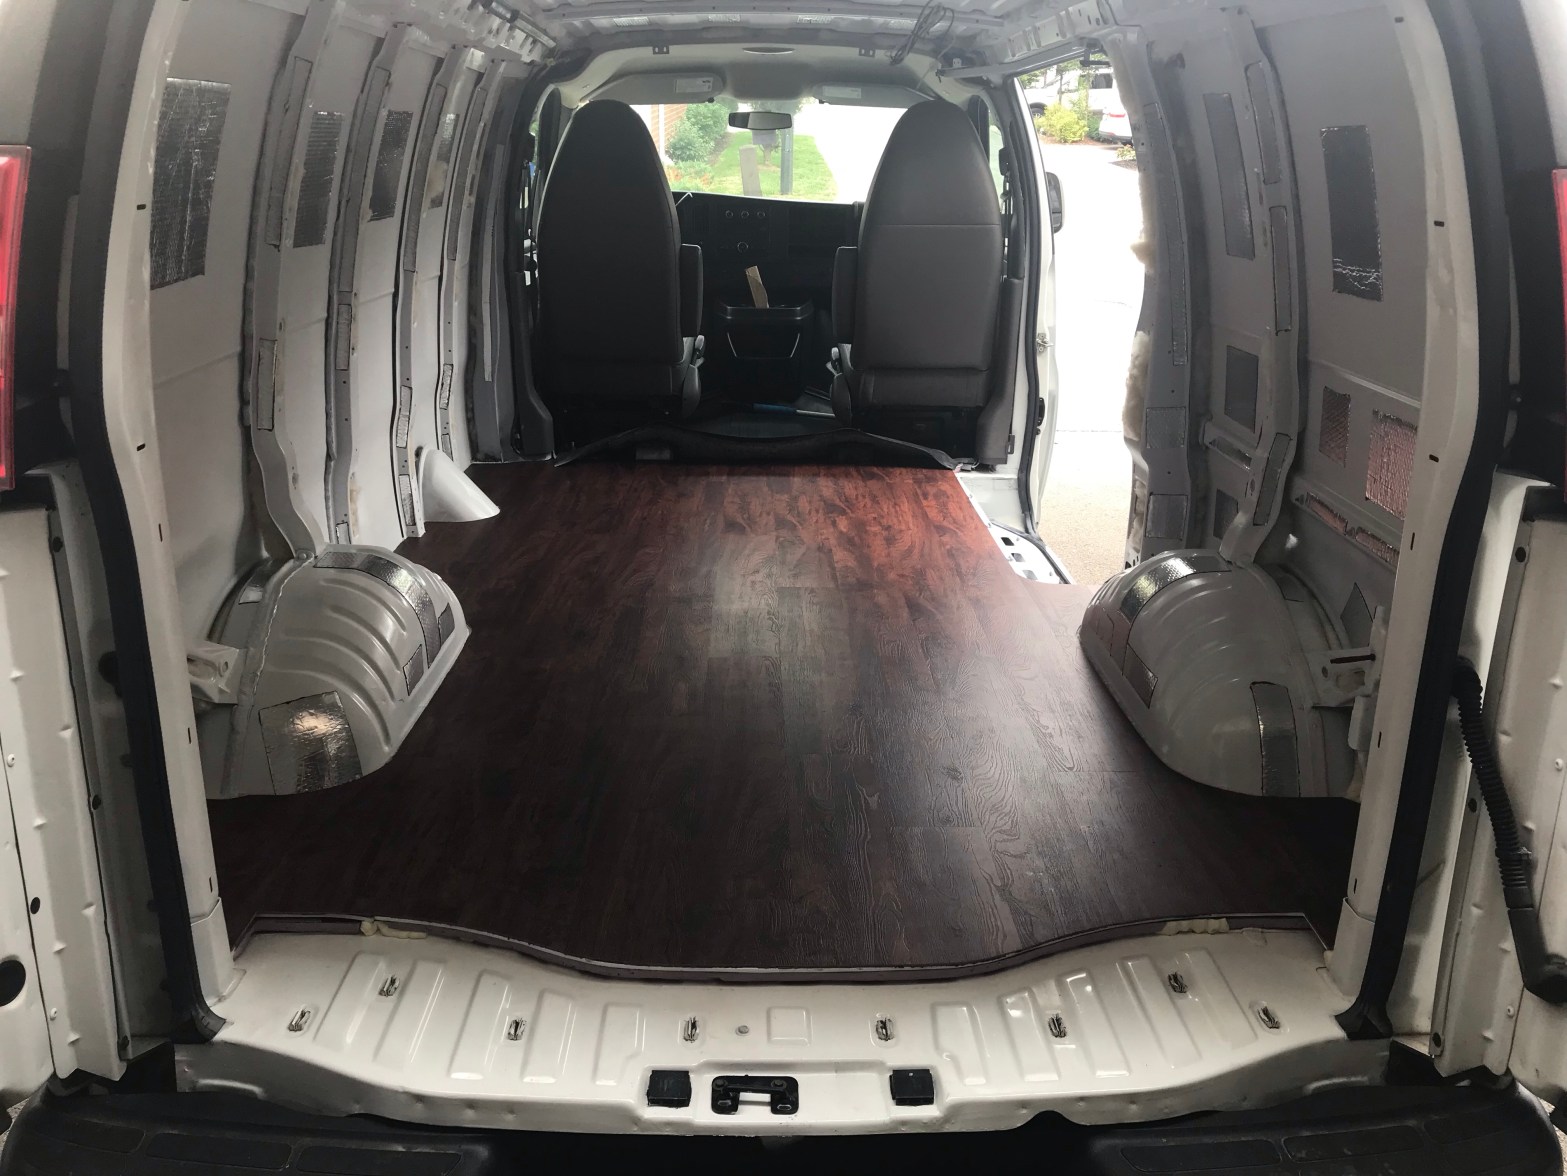
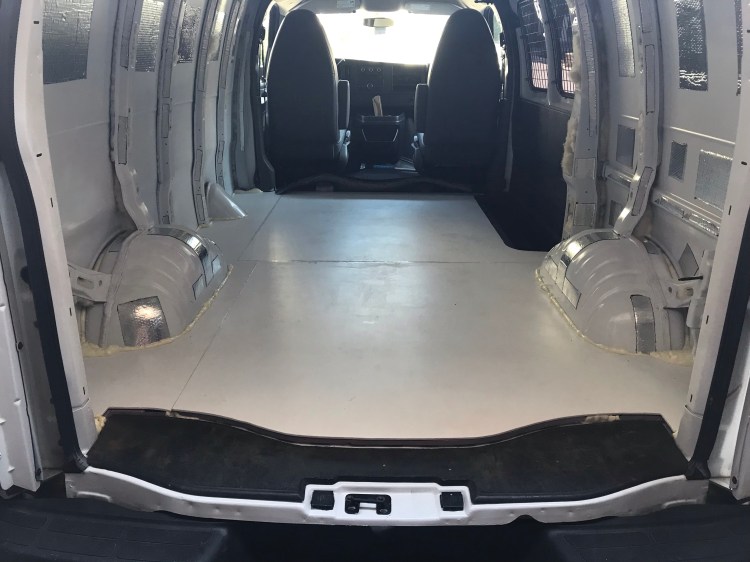
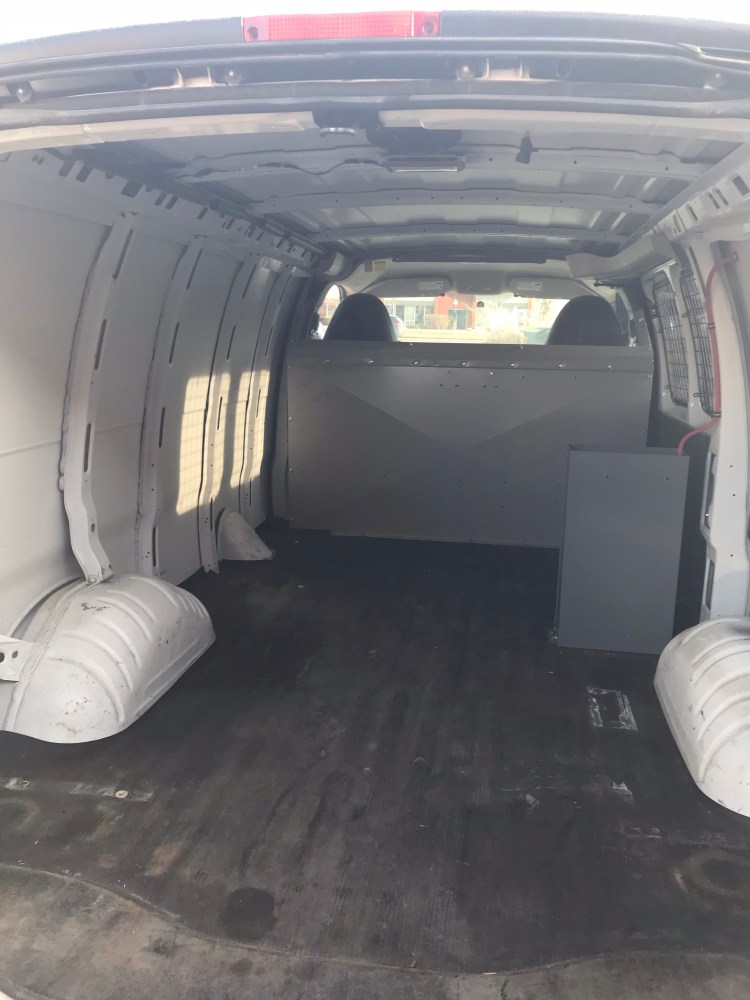
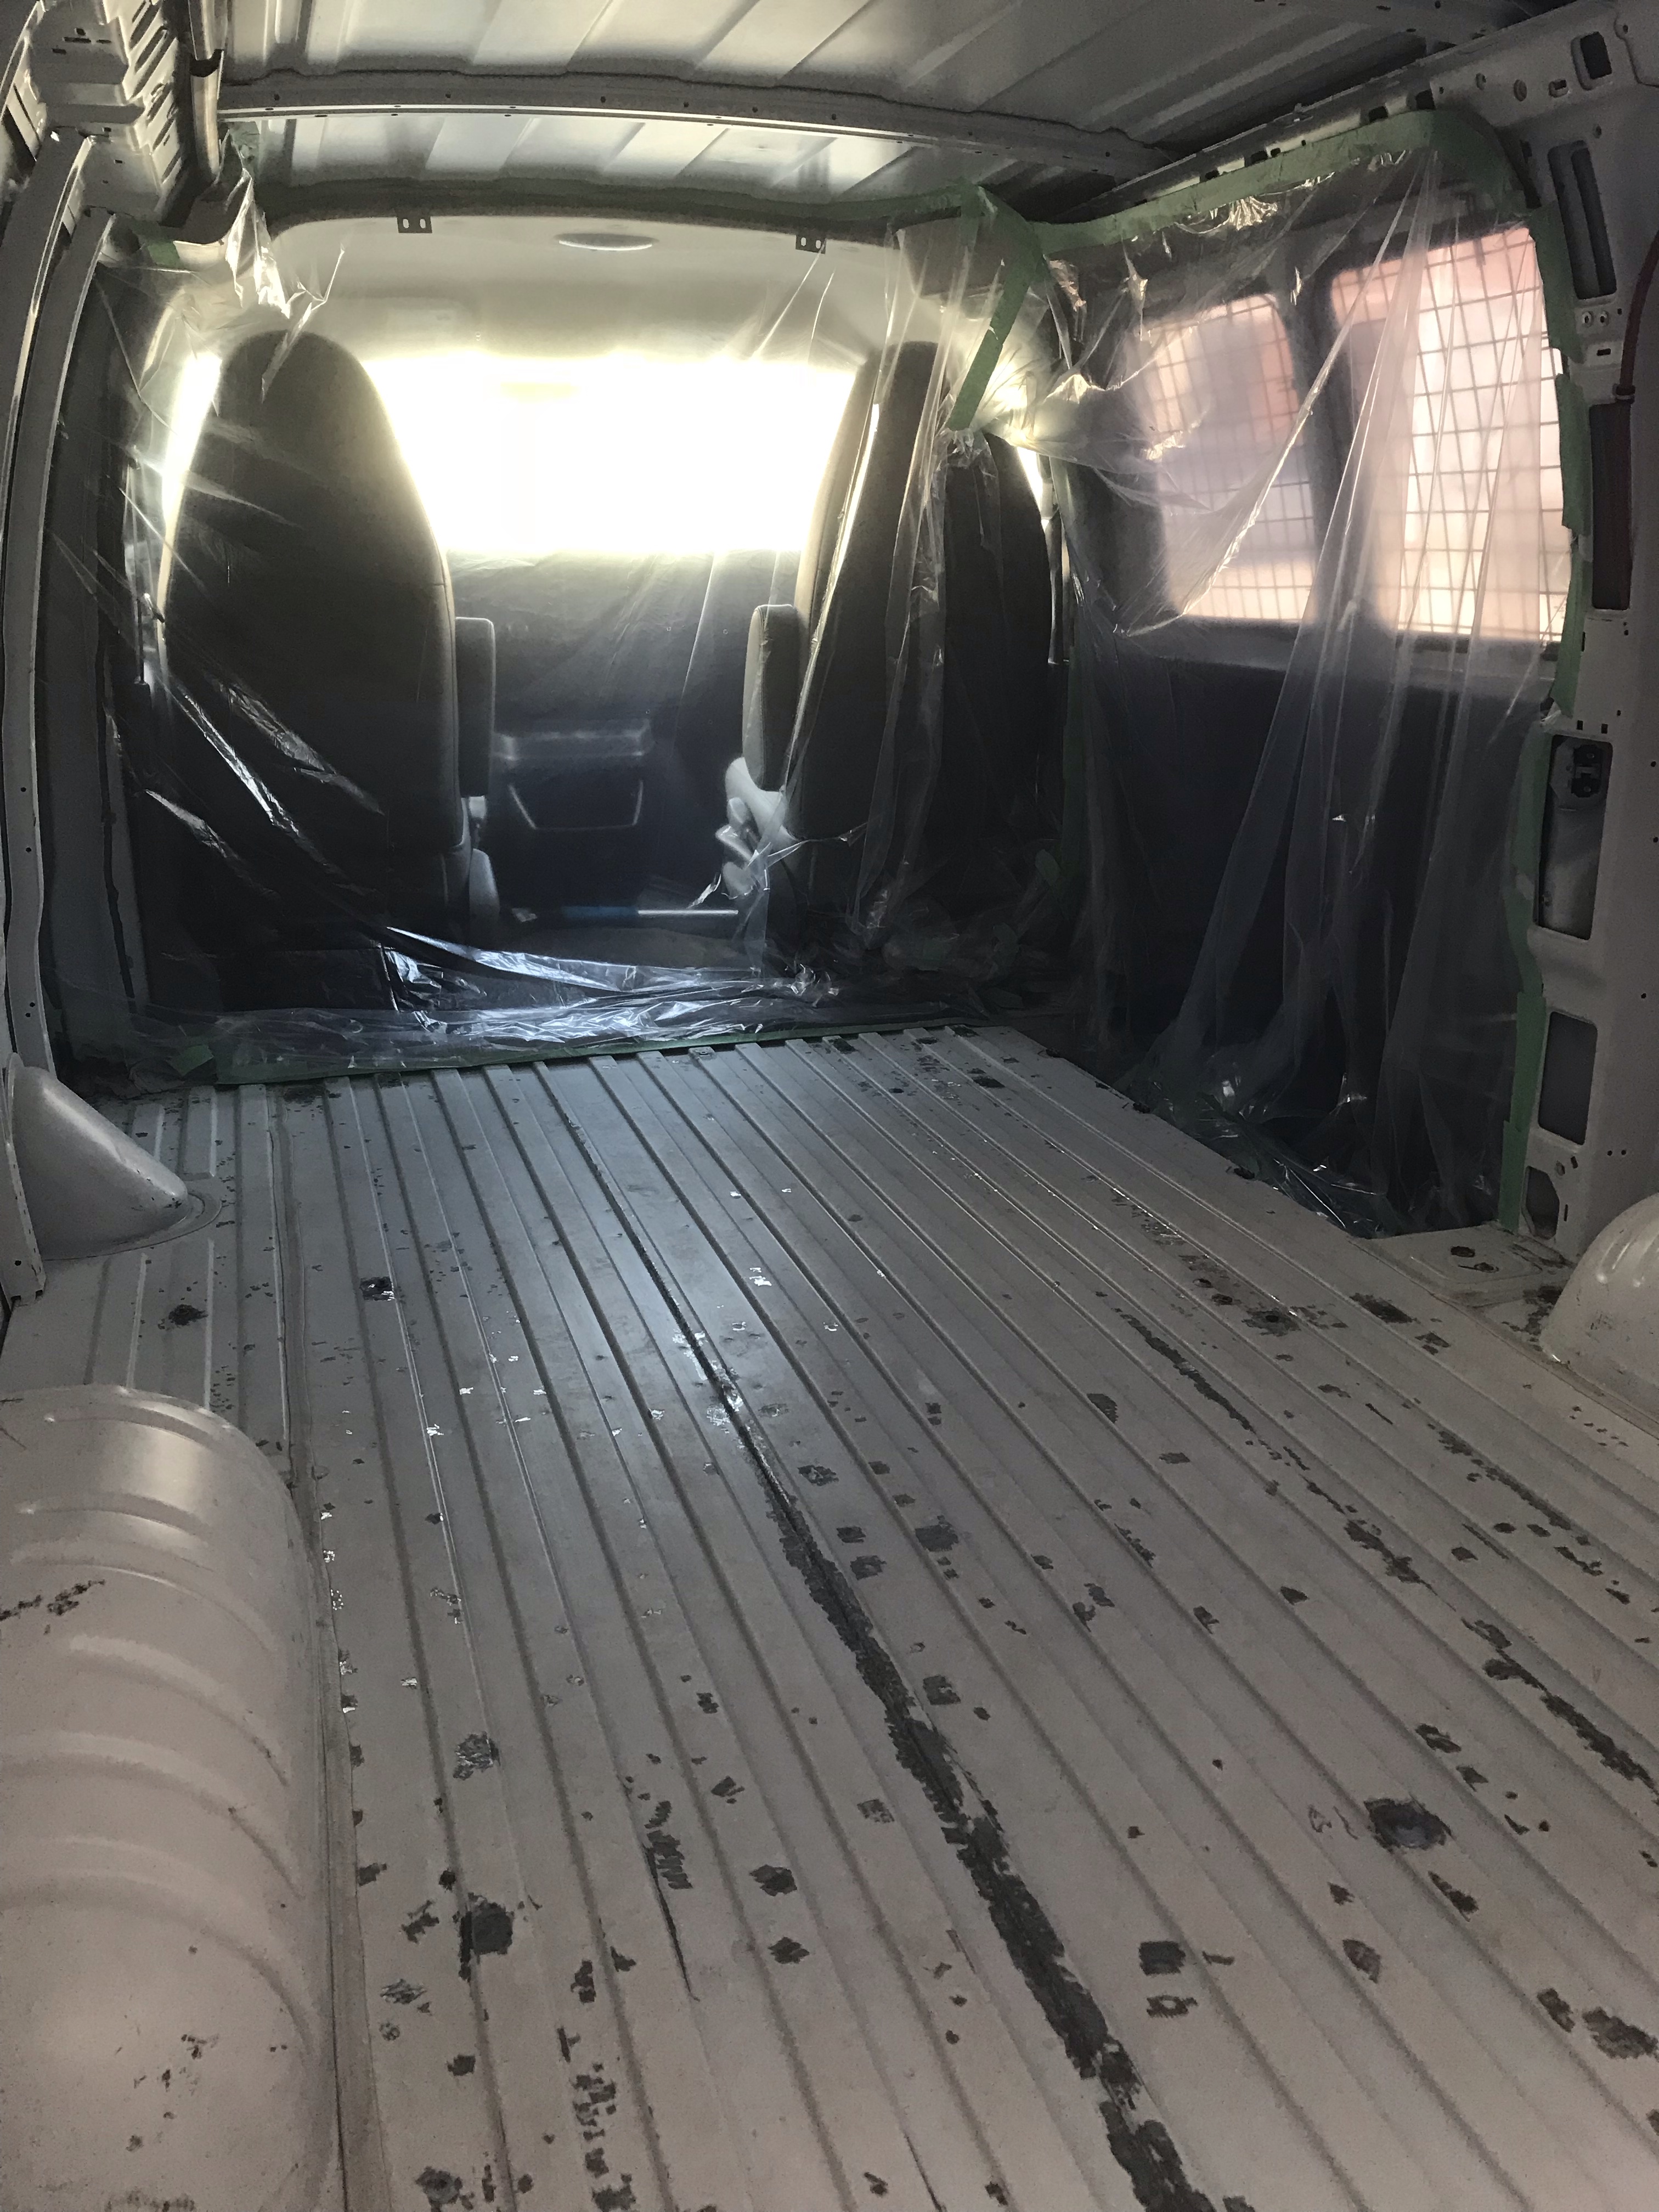
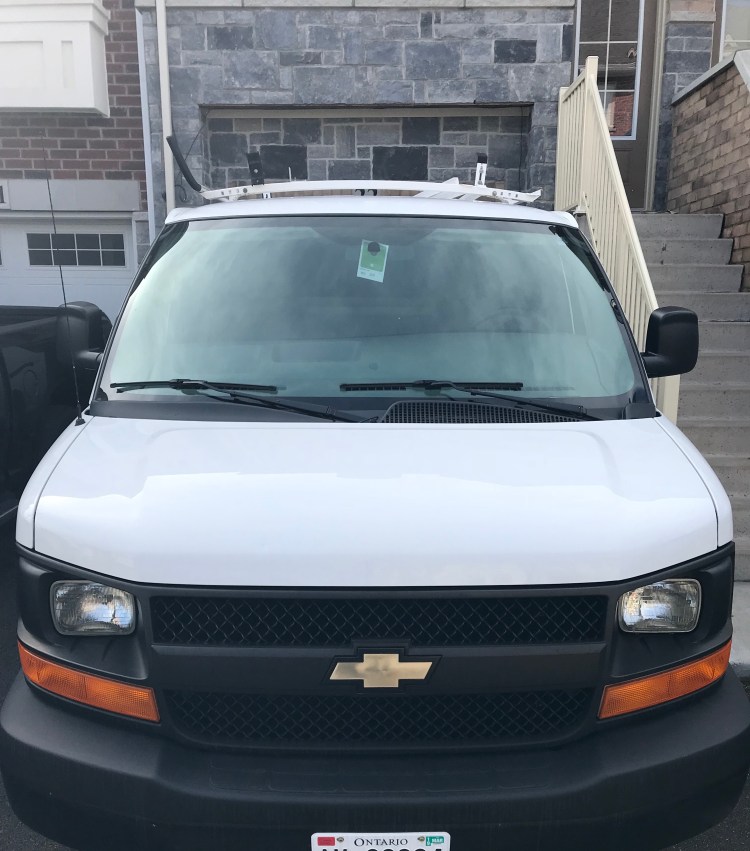
Since the van was unfinished, I joked about it being like a tent on wheels. I had finished the ceiling and walls. The only thing missing was the furniture and hooking up the electrical components.

Electrical Considerations
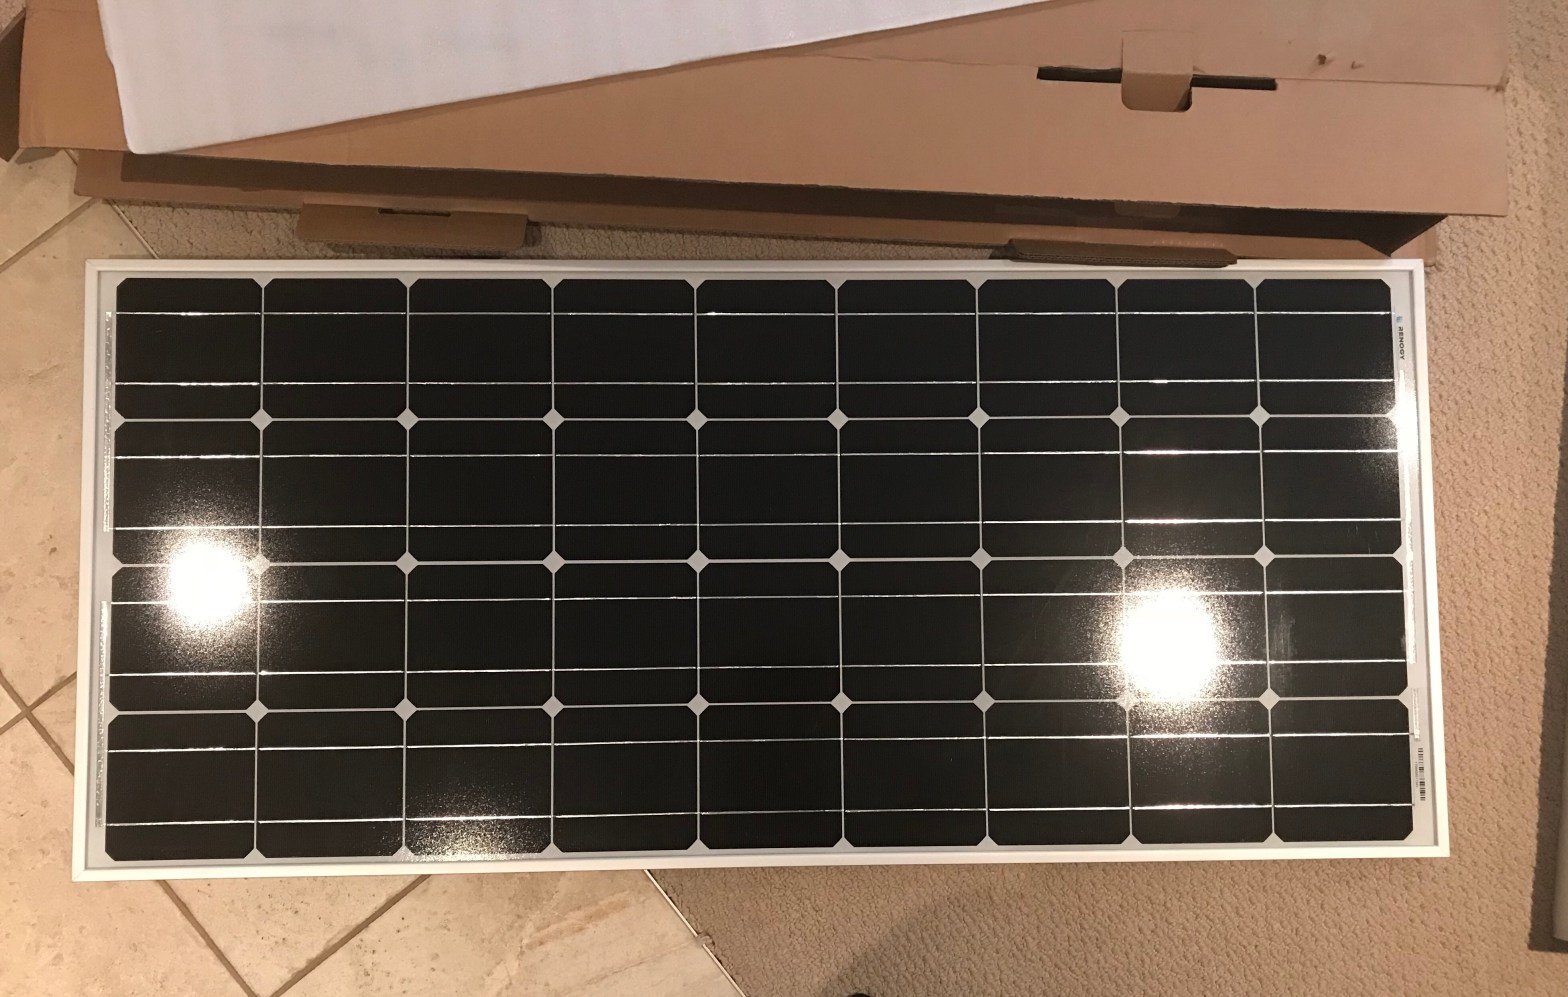
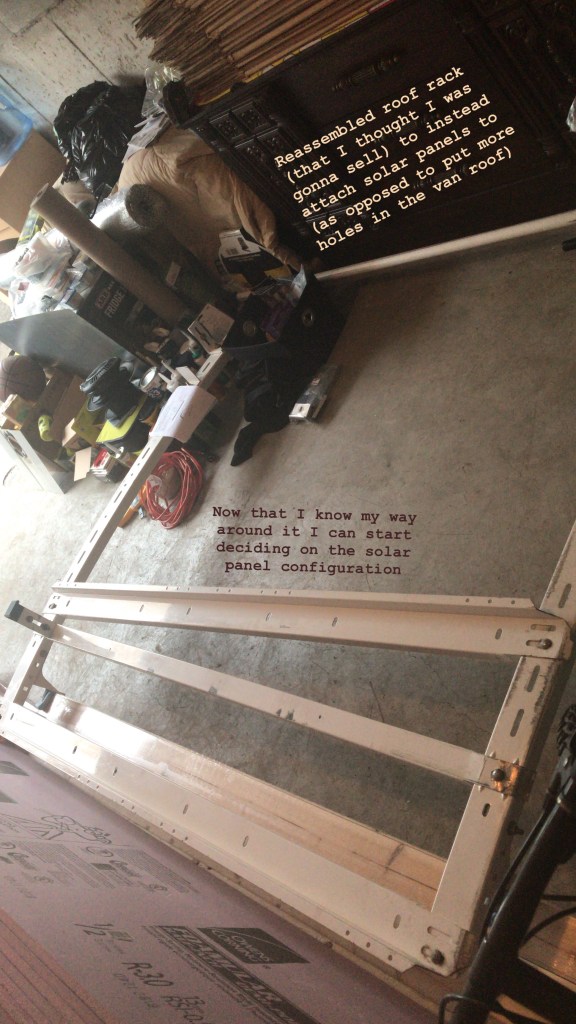
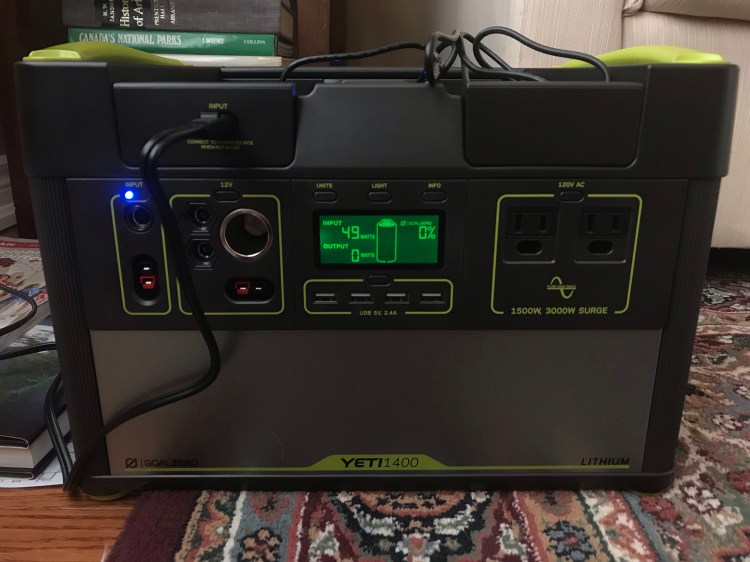
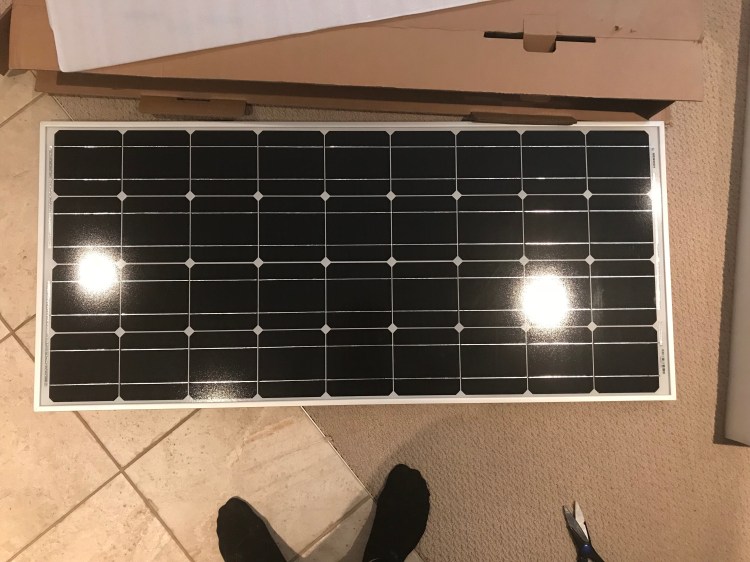
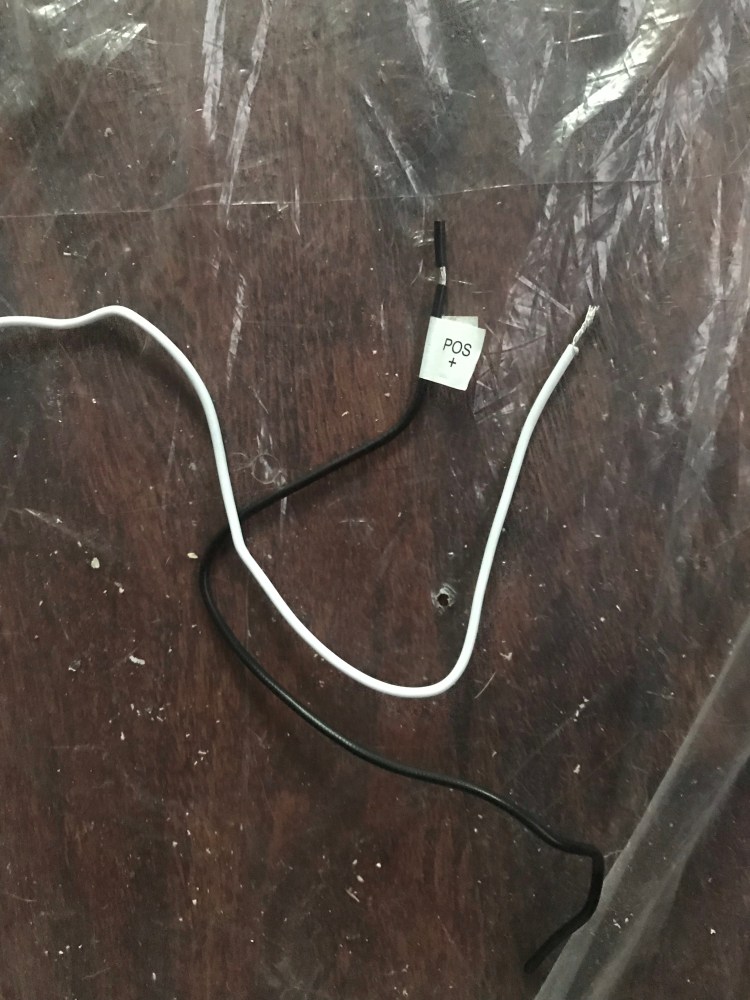
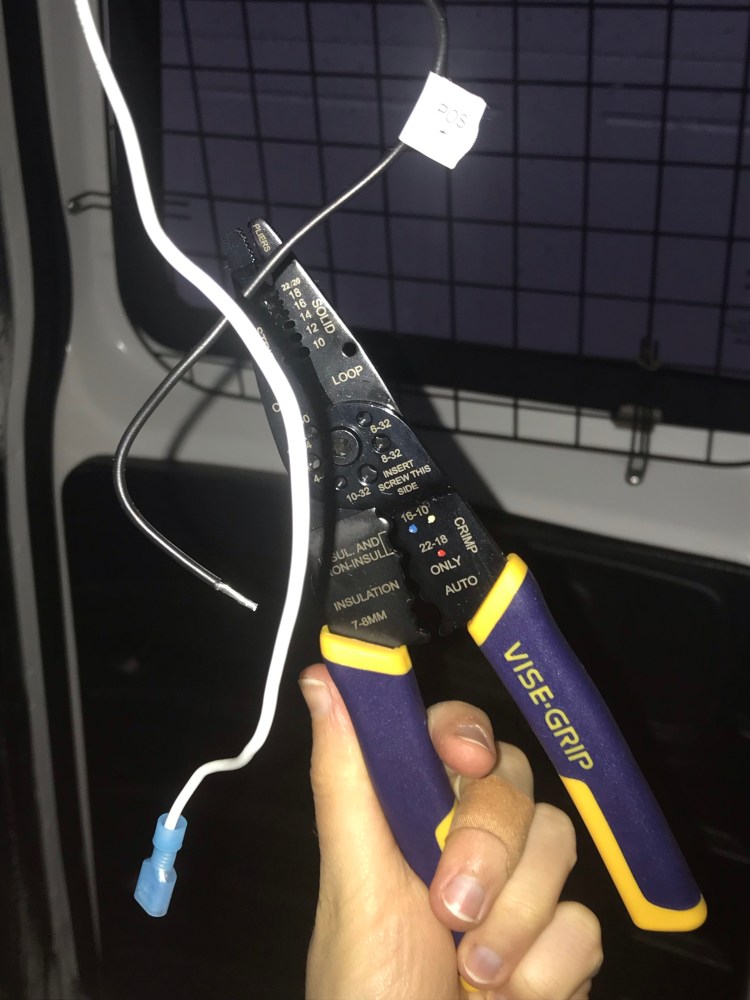
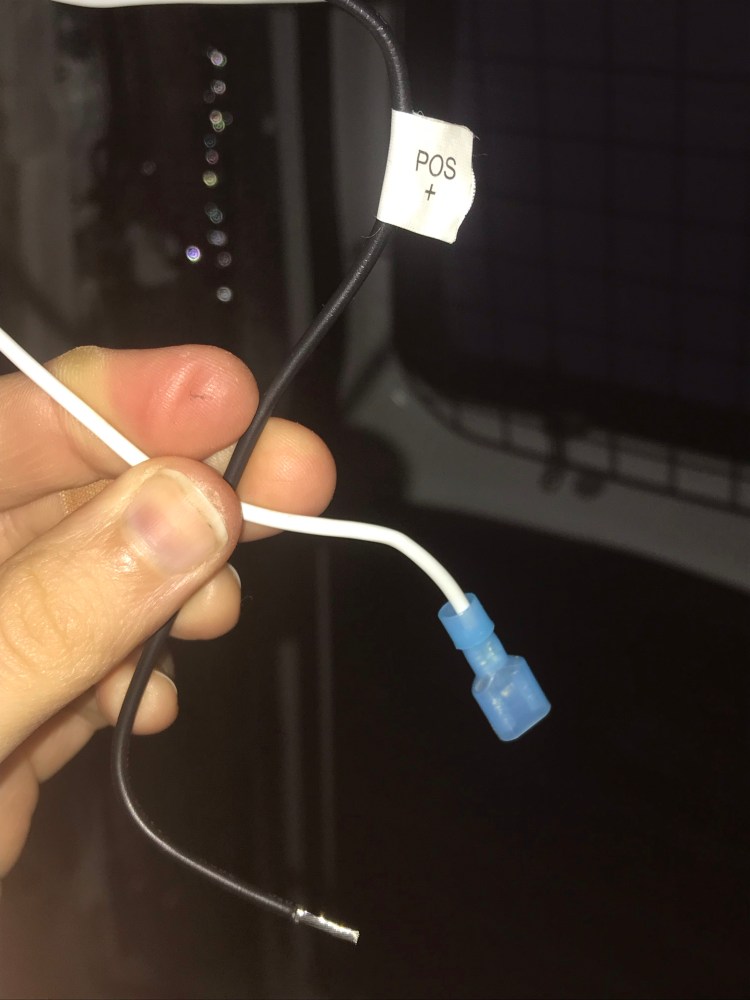
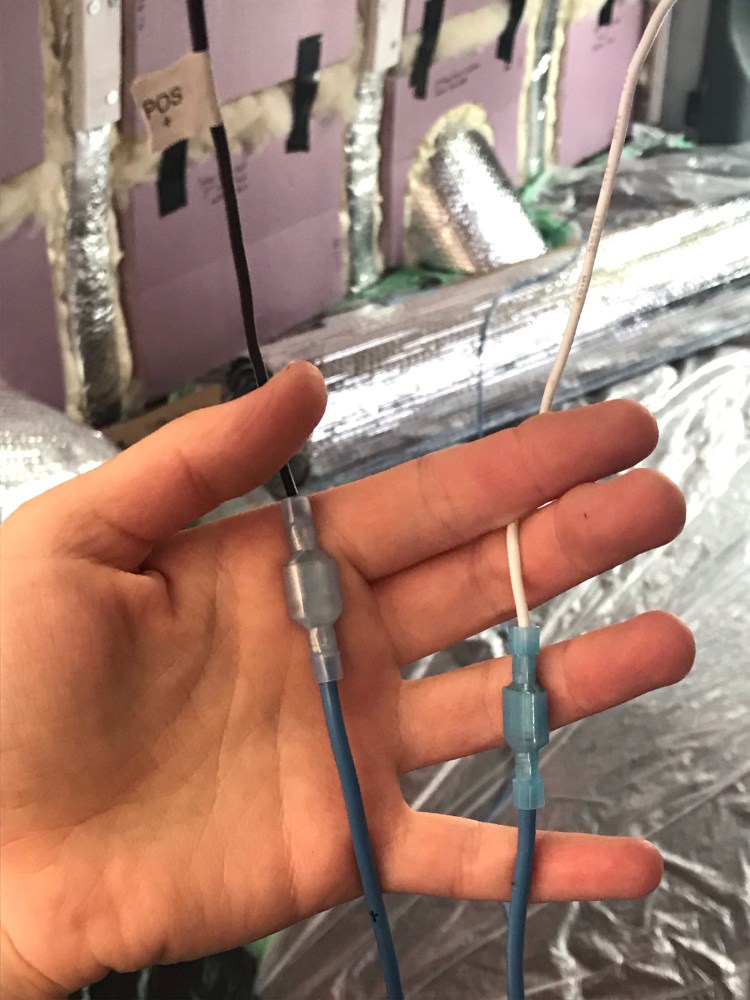
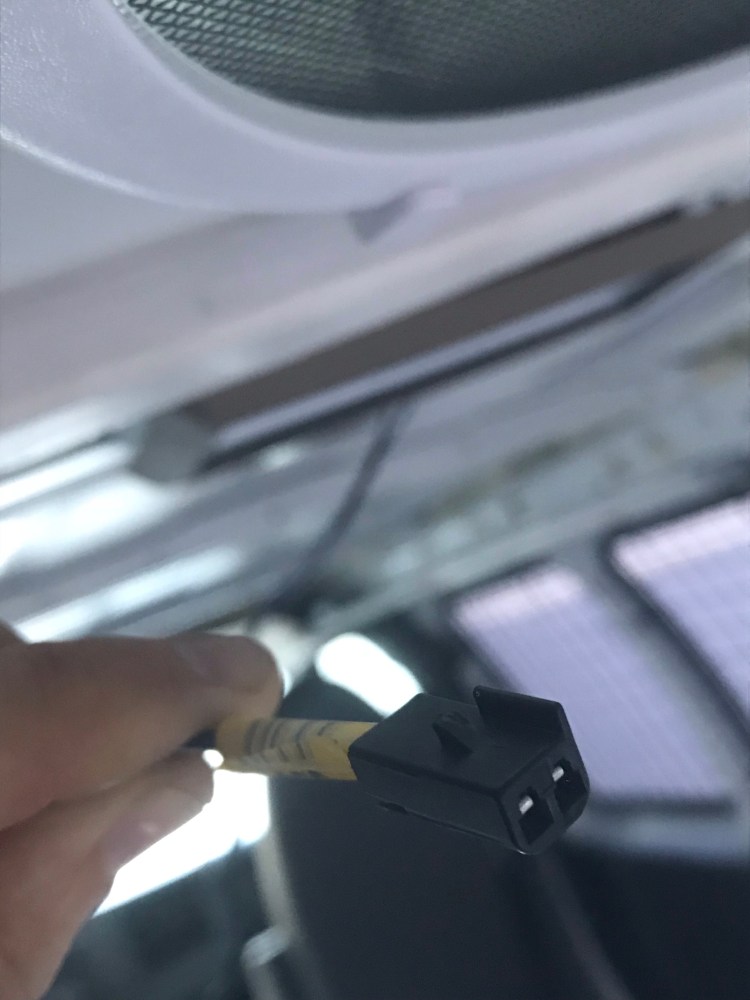
I had envisioned having the fan and fridge going – I just needed to add connectors to the fan wires and the fridge has a simple 12V cable, and then I’d just plug them into my power station (Goal Zero’s Yeti 1400 Lithium). I was bringing my solar panels (2 x 100W monocrystalline) with me in the van with the option of setting them up outside – all I would need to do is prop them up to face the sun and connect the wires (I had brought the appropriate cables + fuse to do so), plugging them in to the power station to charge its battery. I also had the option, while driving, to charge the power station directly from the van by plugging in to the accessory outlet on the dash (with a special cable from Goal Zero). Other than that I had brought string lights that I could plug in at night, and I would use the power station to charge my phone.
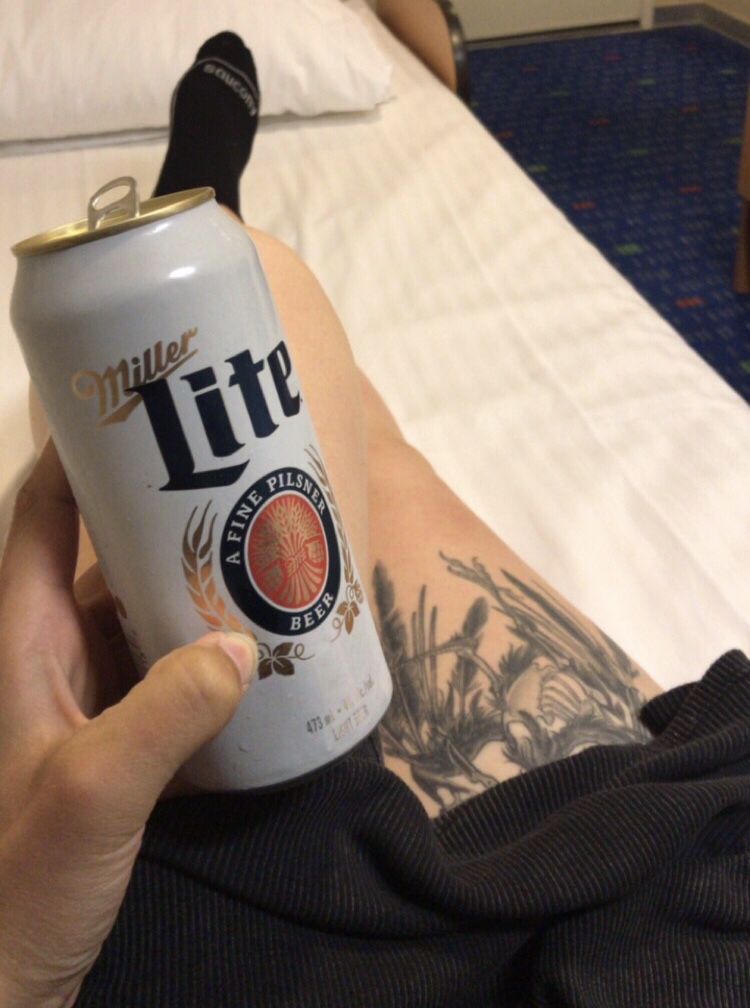
What I ended up doing – was none of that. The power station I did use to charge my phone (otherwise I used a USB converter in the van’s accessory outlet while driving). The power station had been fully charged when I hit the road, and got down to maybe 70% charged after 2.5 months – I didn’t recharge it once.
I was gradually getting used to vanlife and my priorities on this road trip ended up being more social and activity based, when not making the most of sunlight hours to drive. I concerned myself with the bigger issues of being on the road, like where to sleep at night, where to shower, where to do laundry. I also was staying in one destination for an extended period, not doing a whole lot of driving and parking at Walmarts a lot of the time – which didn’t give me much opportunity to recharge my power station with the aforementioned methods.
So I opted for simplicity:
- I had been prepared by bringing my fridge, but instead did not store any food in the van that needed refrigeration.
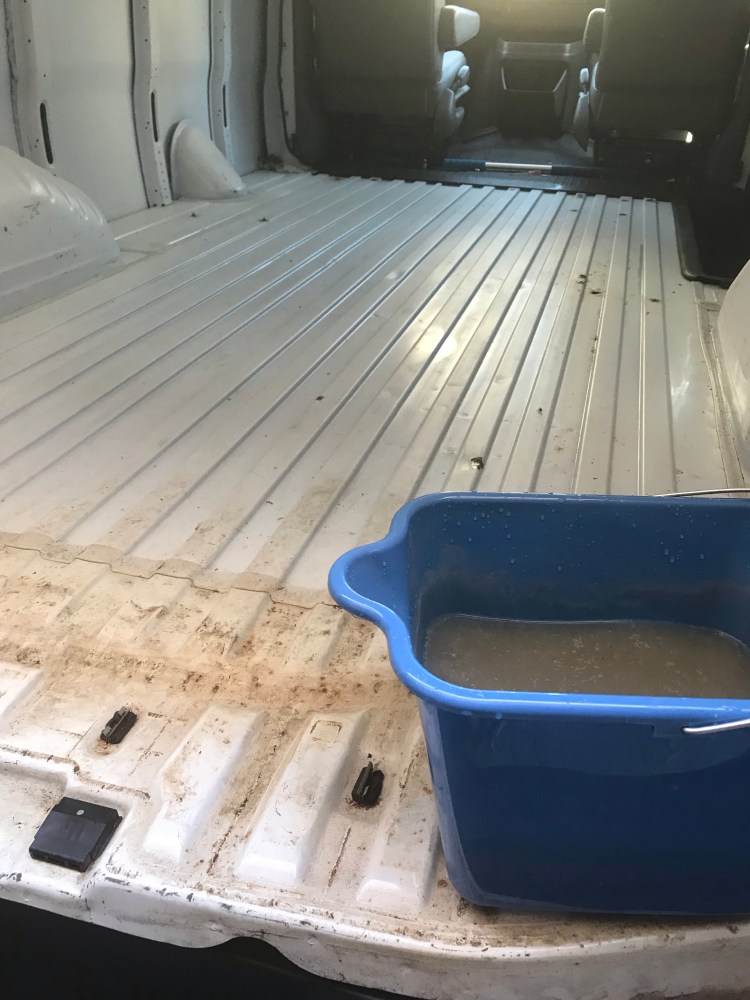
- I used only passive ventilation – cracking a window and opening the fan on the roof at night. In terms of concern over humidity, condensation within the van, mold or rust formation – in the future having the fan hooked up will be a huge plus. I used a mini wireless dehumidifier (though it is meant for smaller spaces), cat litter in panty hose (a DIY trick I’d read online, but I’m not sure how much of a difference it makes), and whenever I drove the van I’d make sure the AC setting was on recirculation mode so that I wasn’t continually bringing in humid air from outside. It was typical after a day of driving, when parked, to see a puddle of water form under the van – which was the removal of humid air from inside the van. I could tell after a day of driving how dry the air would feel in the van, too. Fun fact: the heating system in vehicles uses dry air. I had also ordered a thermometer/ humidity monitor to have in the van, but it didn’t get delivered before my departure.
- If I needed to charge anything from a USB source (mostly my phone) I would try to do so from the van accessory outlet instead of the power station.
- The solar panels ended up just coming along for the ride.
- I used a battery powered lantern for illumination in the van at night – though I liked to attune to the cycles of the sun – going to bed near sunset and waking up around sunrise if possible.
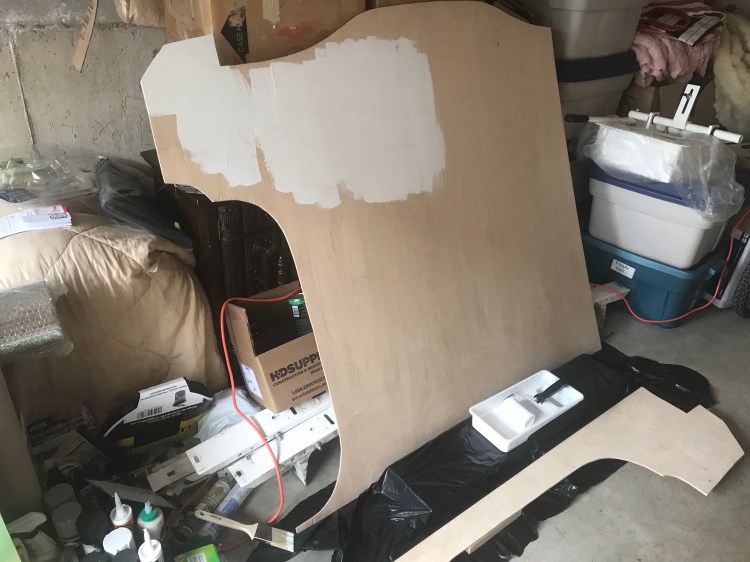
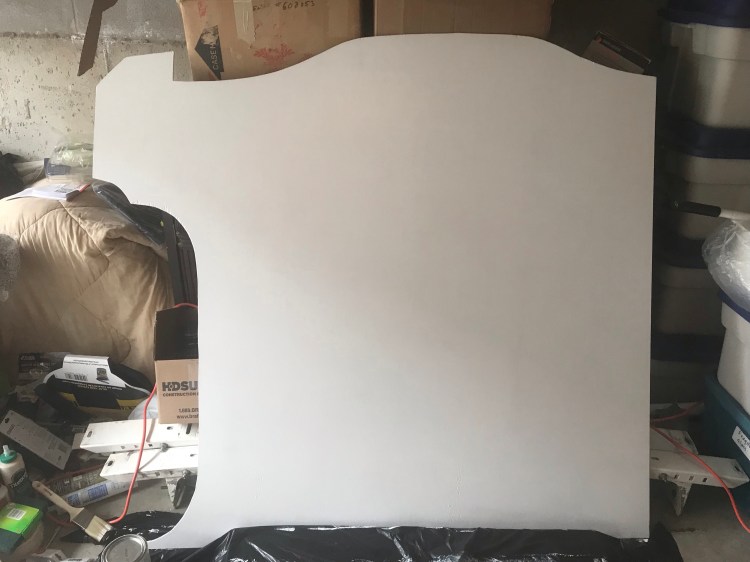
Lack of Furniture
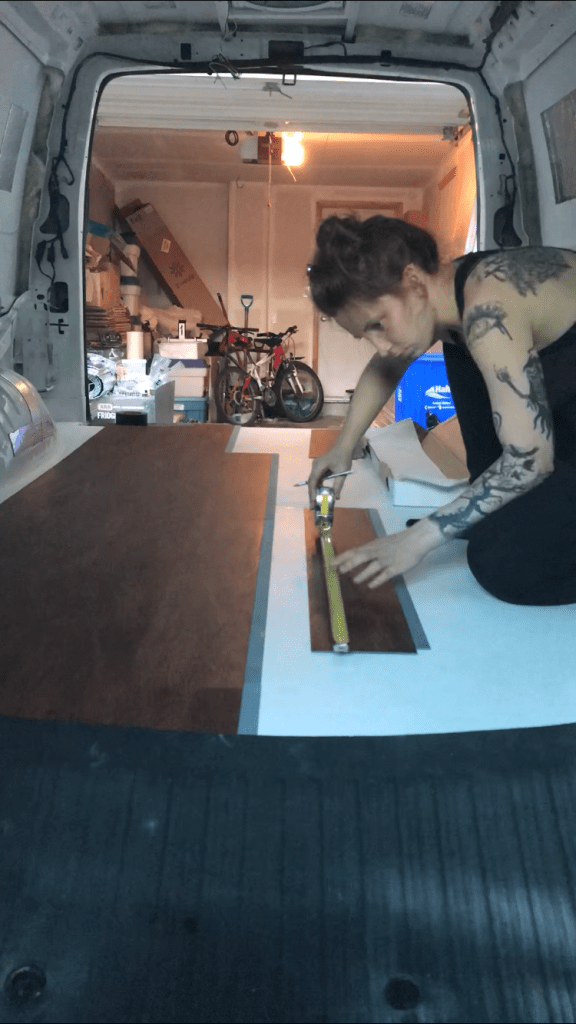
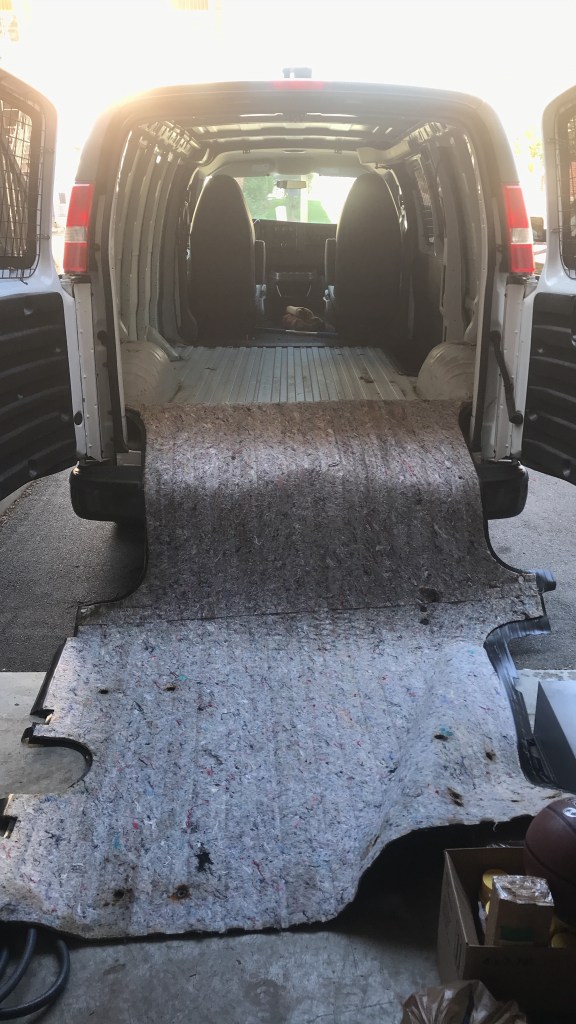
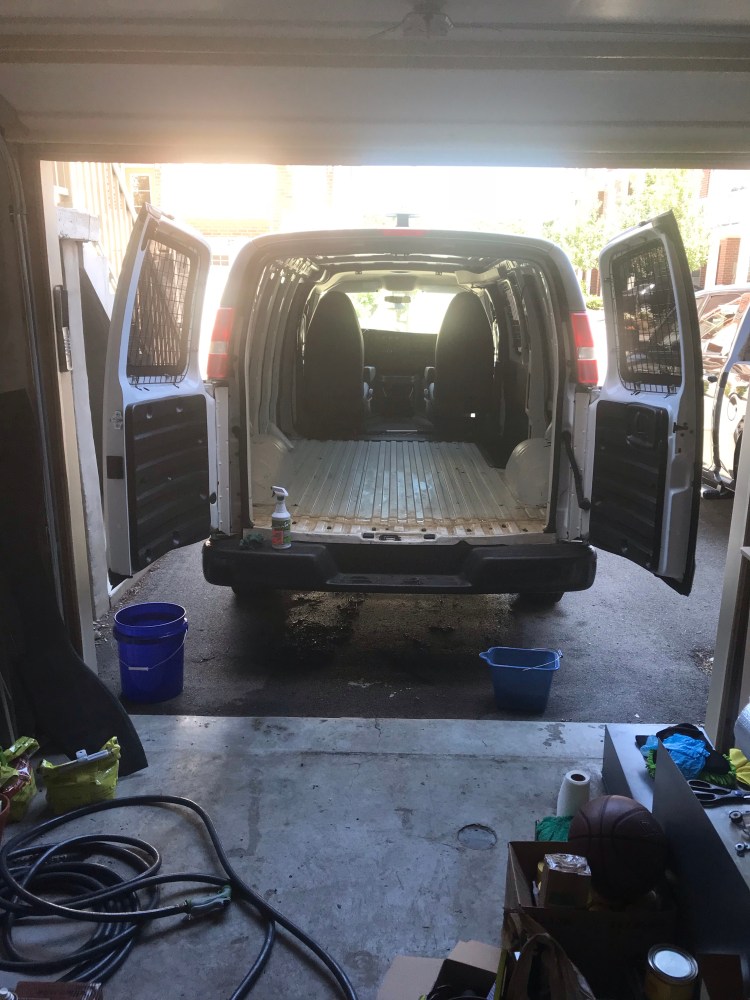
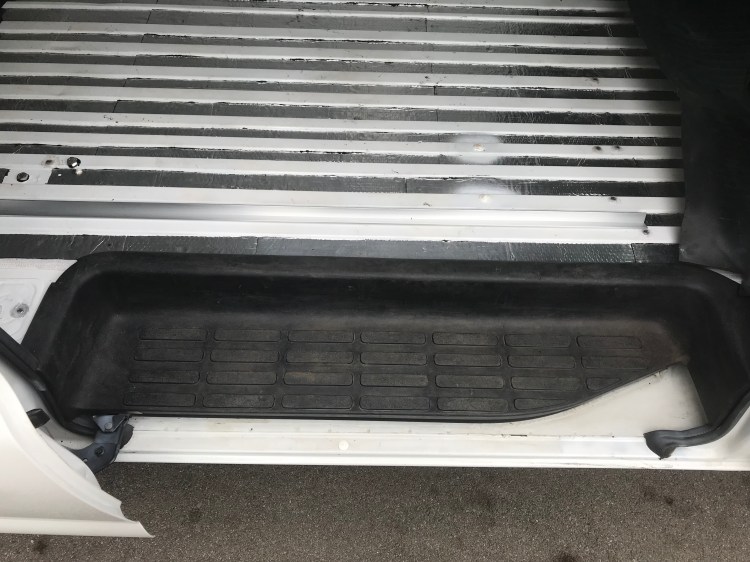
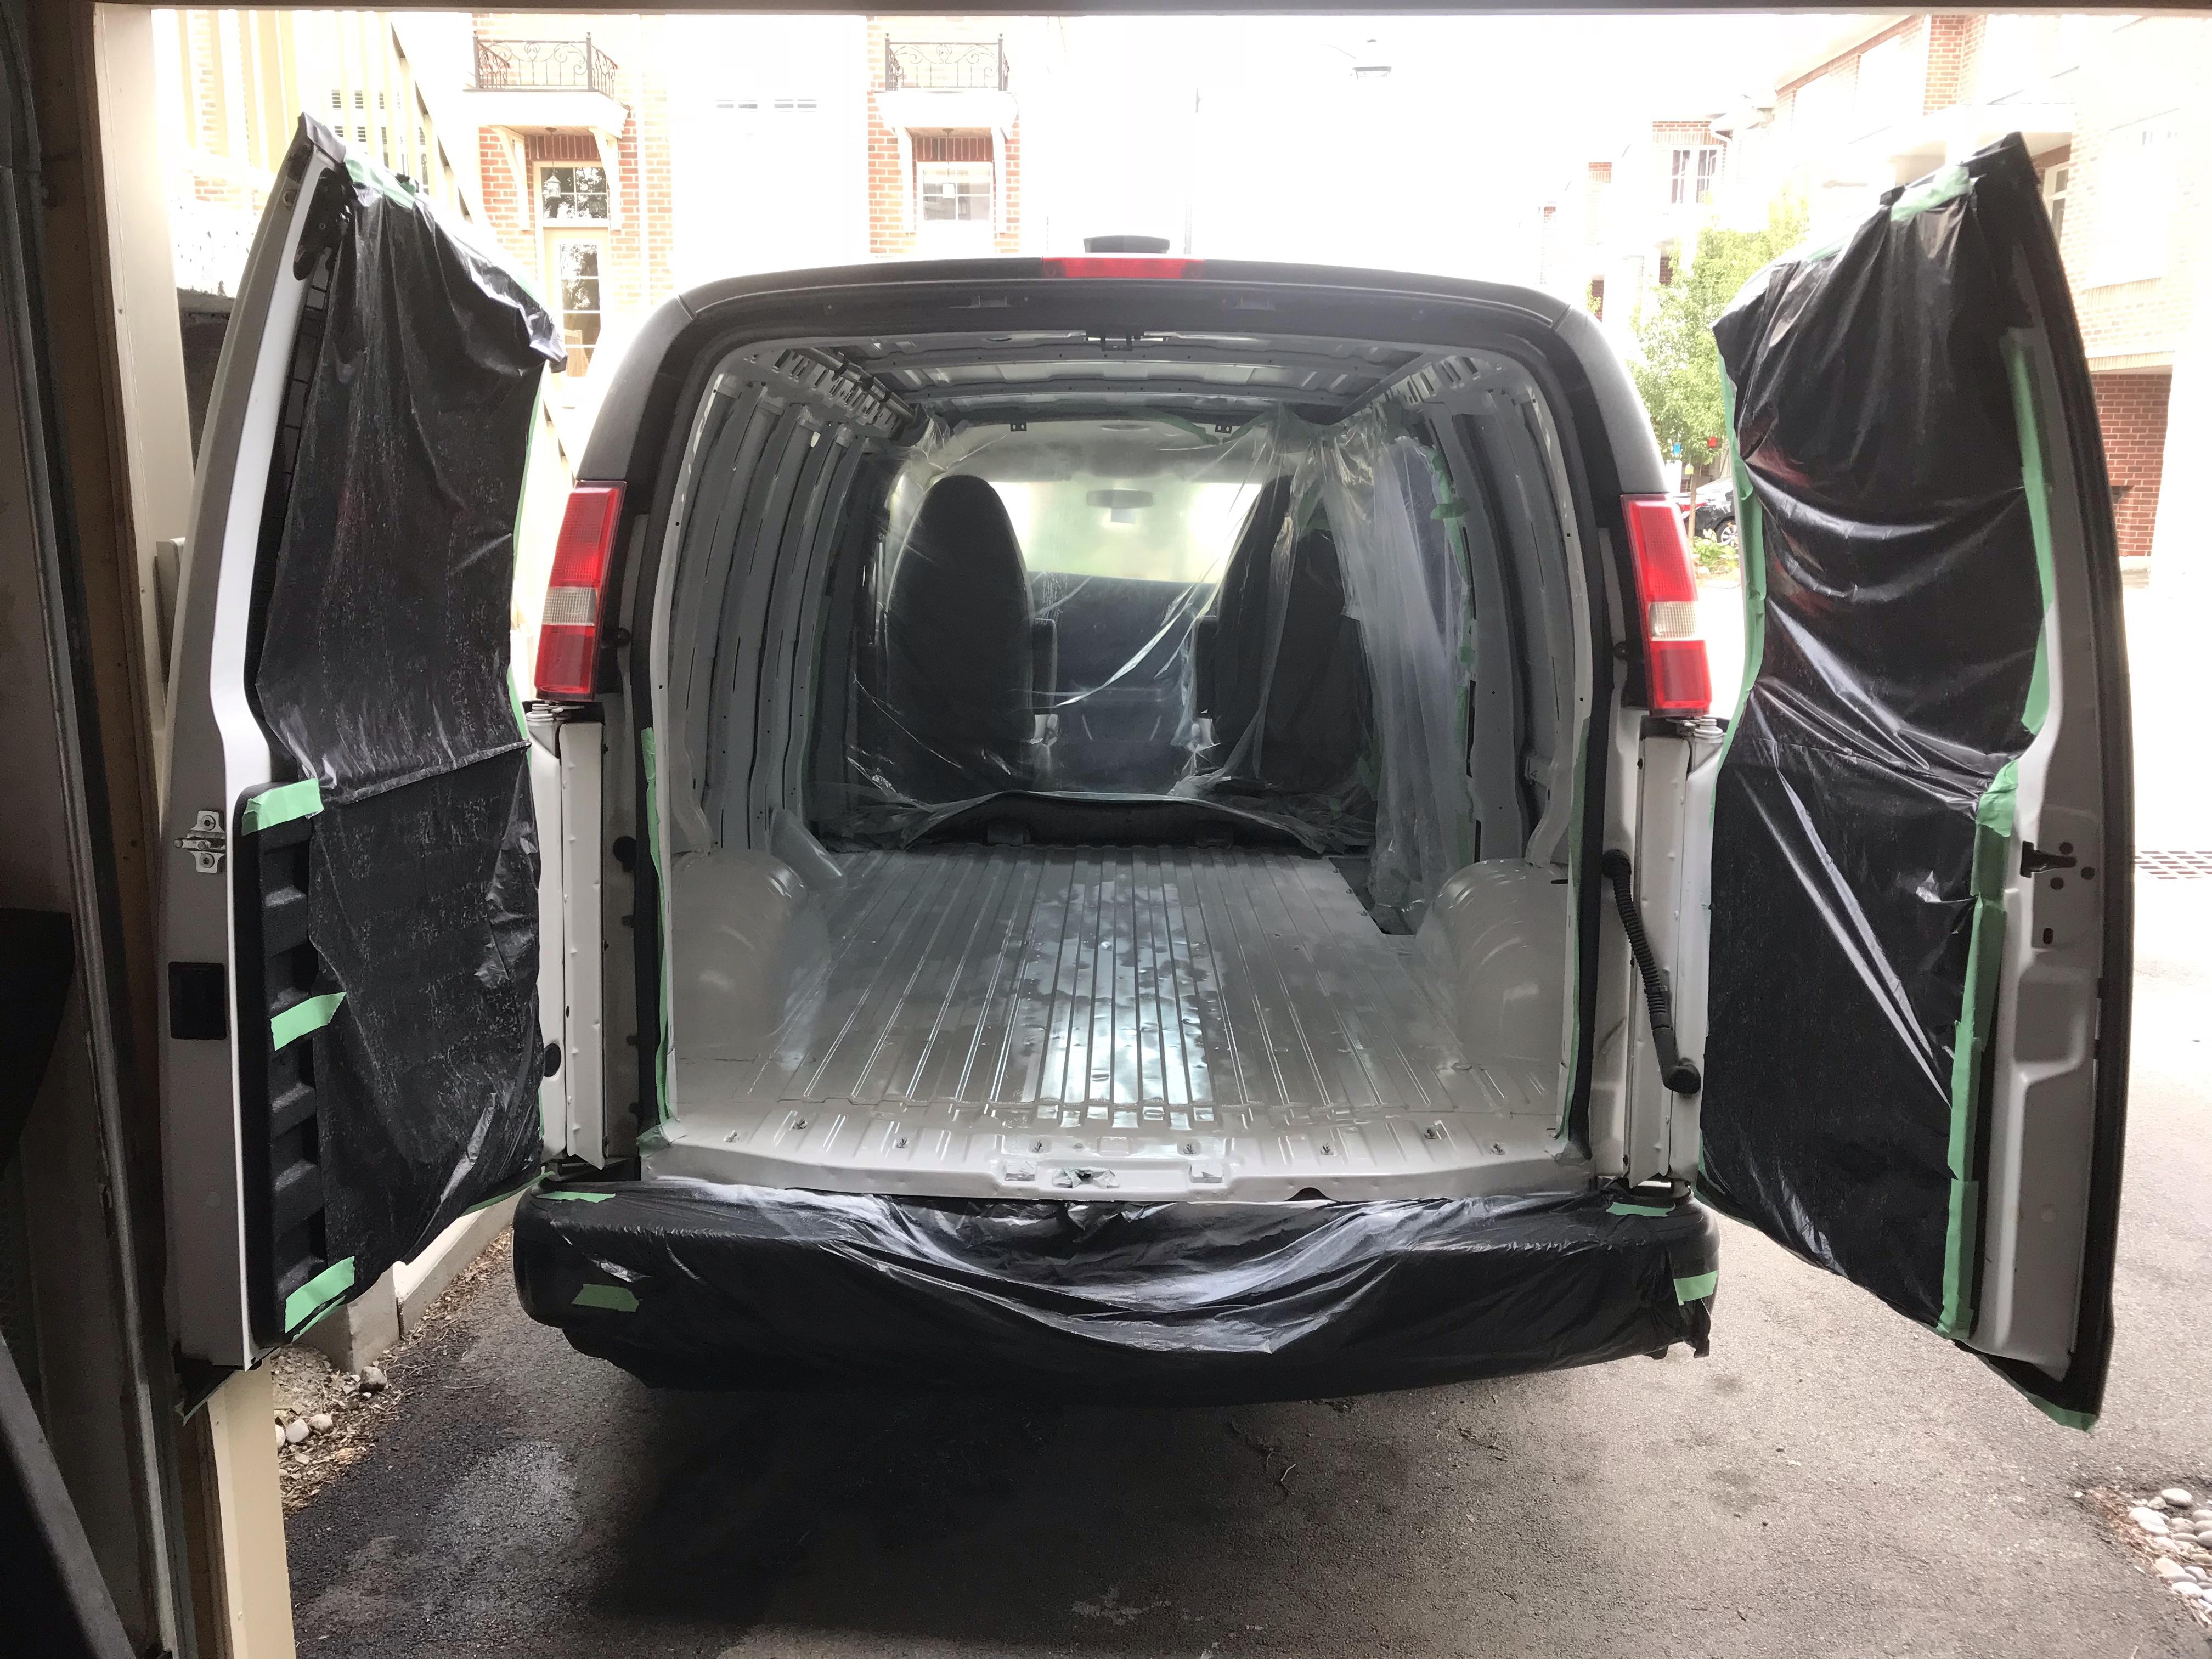
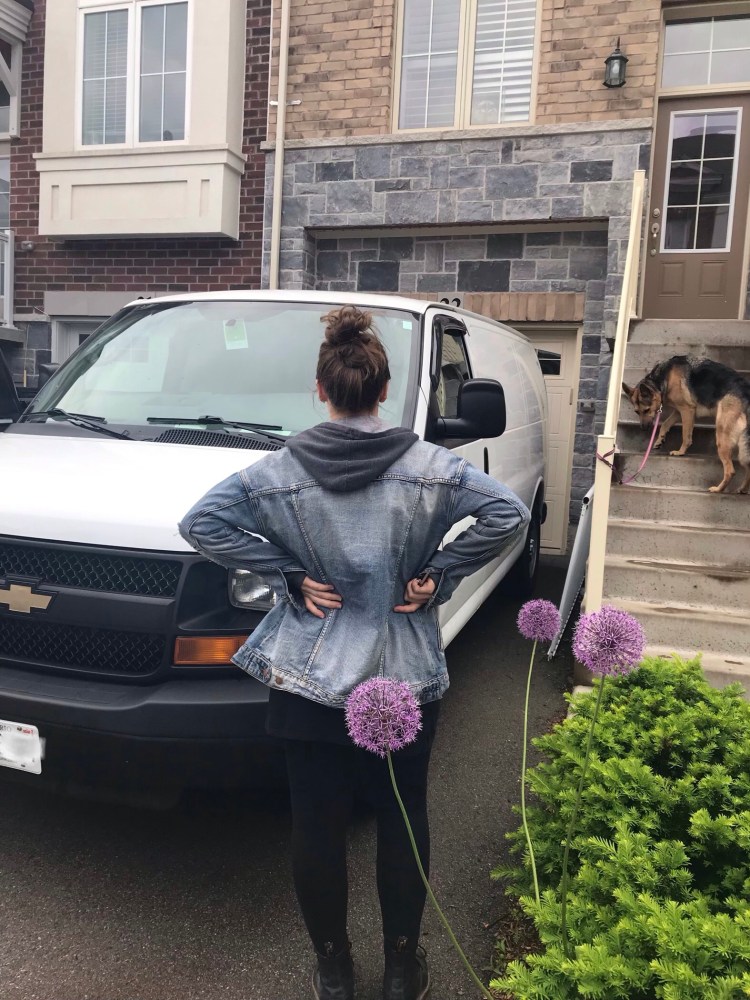
Because all of my belongings were in containers for the most part (my clothes were in a suit case, plus the fridge, power station, and bucket for bathroom emergencies), I had put mats under them. My hope was that the mats would protect my beautiful vinyl floor from scratches as well as keep things from sliding. I drove carefully, trying not to brake too hard and taking turns slowly, but things still moved. I ended up using a bungee cord, which I tethered to the van walls and wrapped around the smaller objects – this did a great job up preventing things from moving around too much while driving.
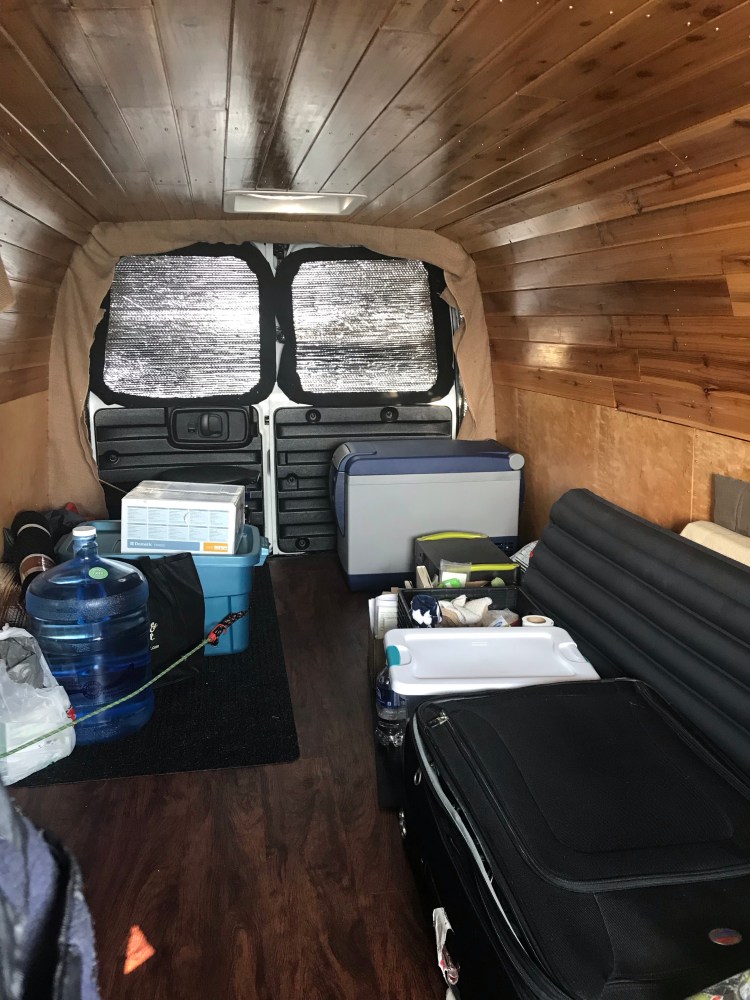
Day van: see bungee cords 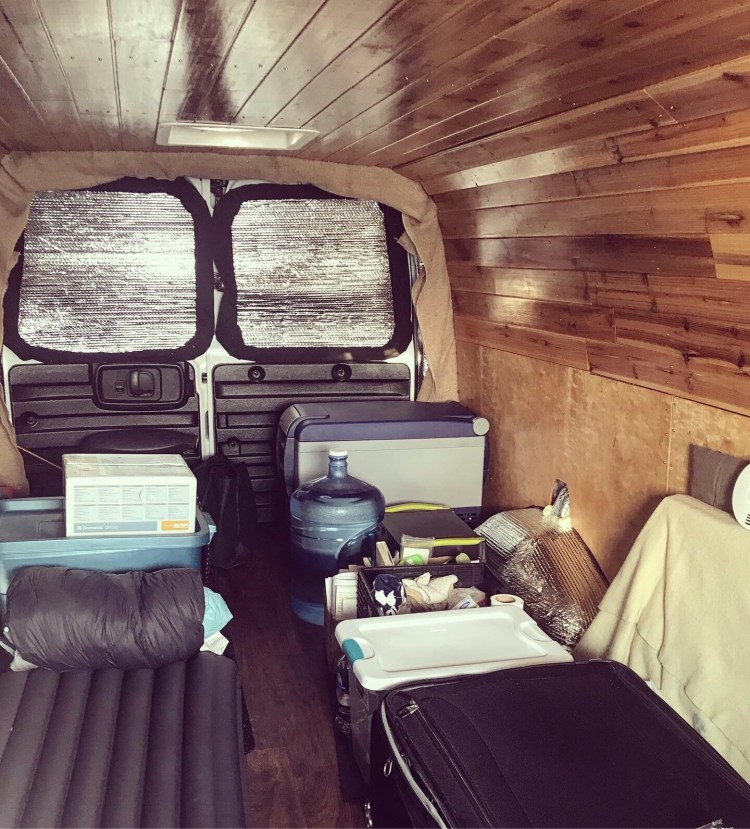
Night van: room made for sleeping pad/ bag
An important consideration while packing up the van was weight distribution. I aimed to keep things as even as possible on either side of the van so that handling while driving would not be affected.
Mechanic
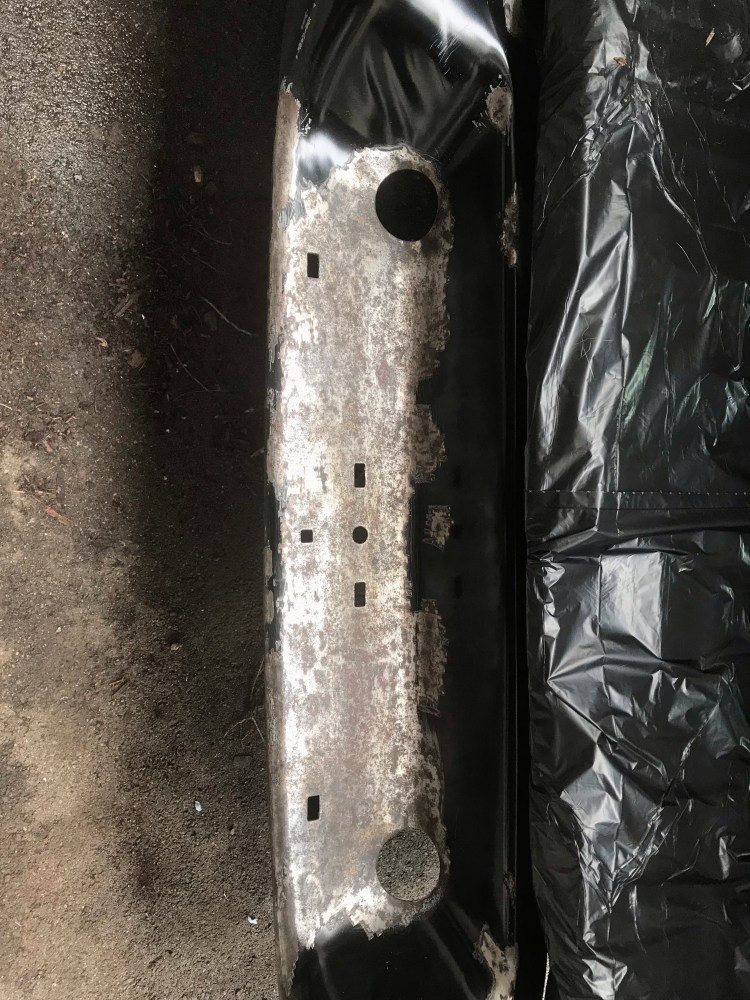
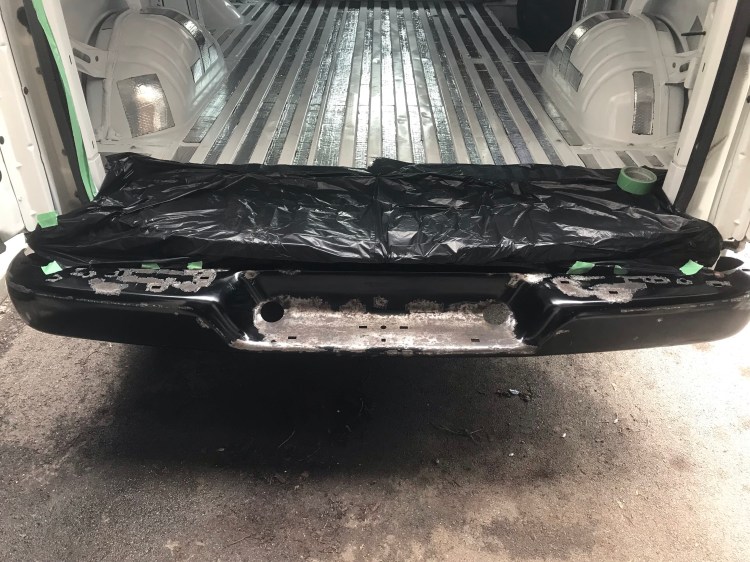
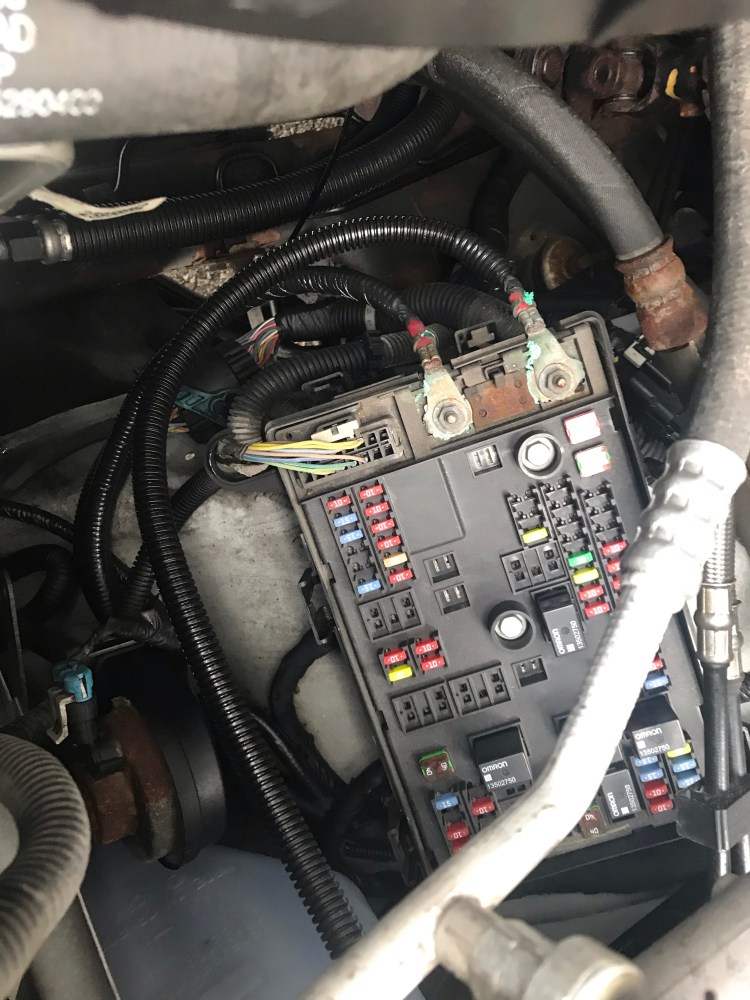
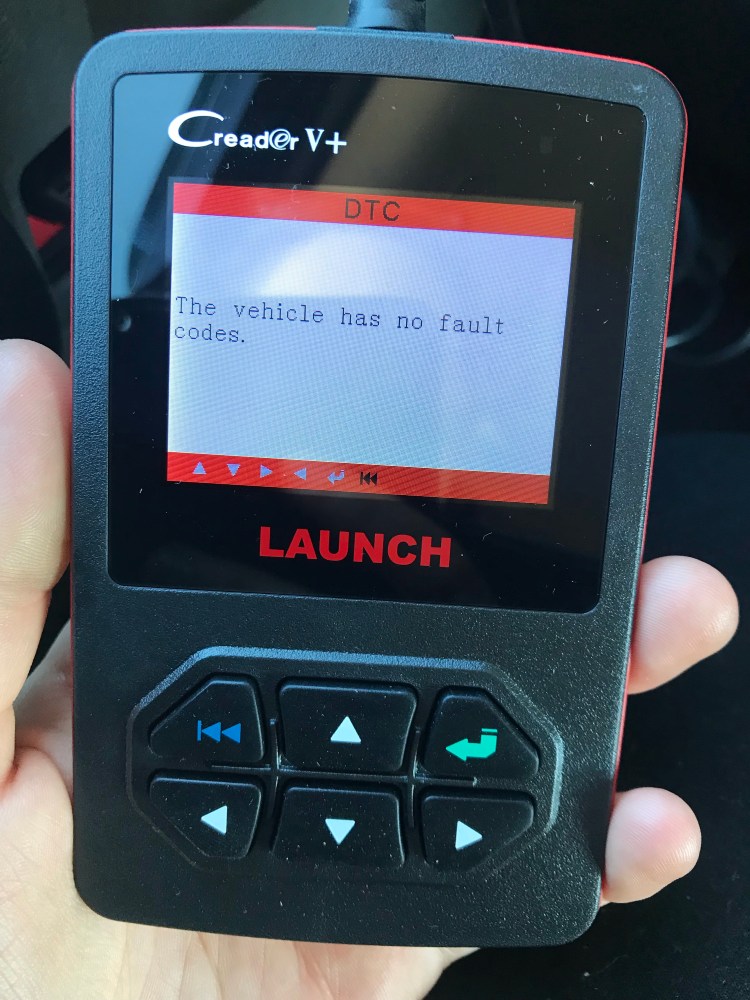
I had made an appointment with my mechanic to service the van prior to leaving. I had an oil and filter change, tire rotation, brakes checked, fluids checked, inspection for faults, tire pressure topped up (including the spare). It was suggested to me that I get an OBD2 scanner to bring on the road with me – which I did and was great for checking for fault codes and putting my mind at ease if I suspected any issues. I was also shown the fuse box under the hood and where the fuse (20A) for the accessory outlet was located, just in case I was to blow a fuse by charging my power station from the van.
Security
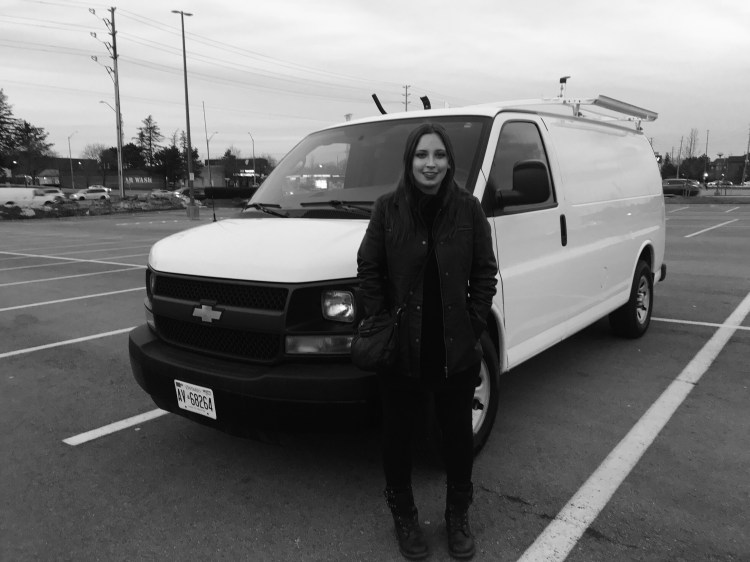
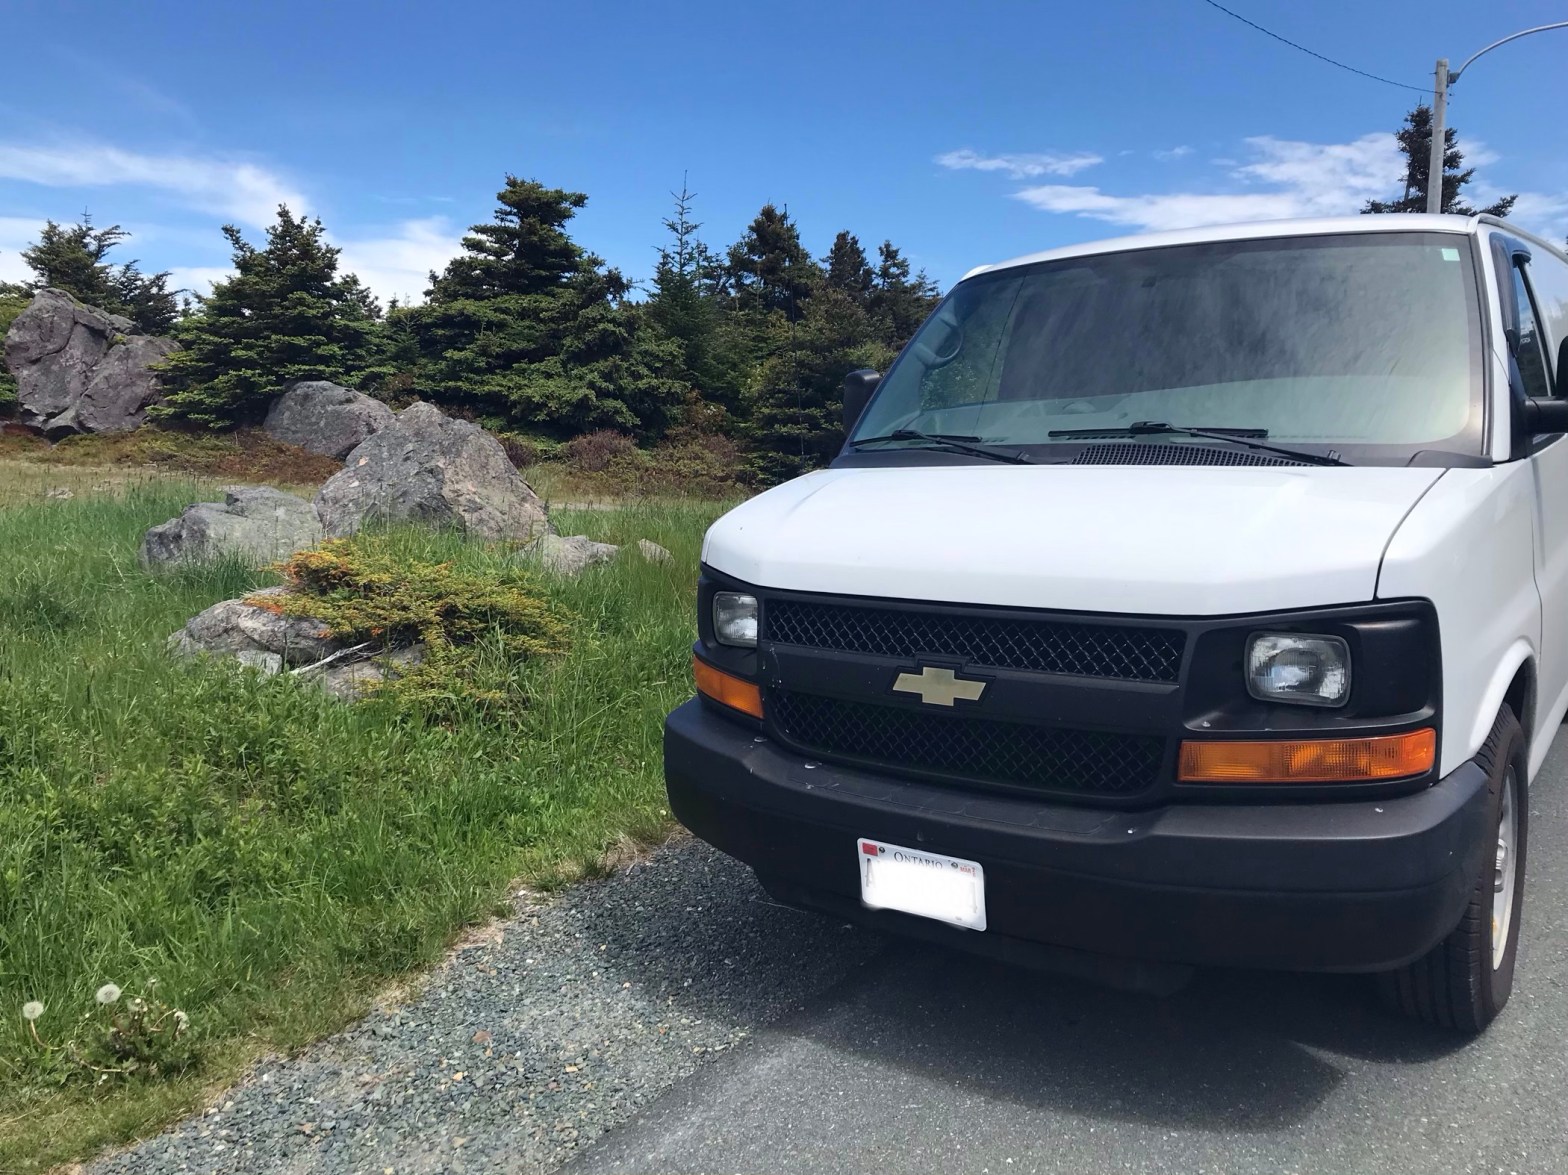
I also looked heavily into security. My van came as a base model cargo van – with very few features (manual locks). Other than that it came with metal screens on the windows that were installed by one of the previous owners, and the rear and side windows are deeply tinted.
There is a plethora of ways to protect your van and everyone’s got an opinion on and preference for what works best. My personal preference would be to install extra deadbolts on all the doors, but I could only find this service being offered in the UK. I think if someone wants to break in or steal your van – they can find a way (like the “peel and steal” thefts). Even with a car alarm – if I’m spending a lot of time in the middle of nowhere, who’s going to hear the alarm? And in terms of slick locks – they don’t go on the front doors (in which case it would be helpful to keep the divider permanently installed behind the front seats) and would they just signal to potential thieves that there’s something worth stealing inside? You can get GPS trackers to keep in your van – though I’ve heard some thieves have ways of detecting and dismantling these. And a hidden lockbox may be useful for valuables that you aren’t carrying on your person.
A neat option is getting Sherlock anti-theft marking applied to your van. This can get you a small discount on your insurance and is a deterrent for theft. And who knows, maybe if potential thieves see the markings they’ll make the assumption that you have other forms of security as well and not bother to target you.
I also considered more makeshift/ DIY options. Such as just getting some bike locks/ combination locks and putting them between the back doors and the passenger doors. Sure, it could be a slight nuisance to not be able to open those doors without undoing the locks, but it would be an accessible budget method. Then there are items to defend yourself. Some people just have a big dog to guard their vans. It’s technically illegal to use pepper spray in Canada, but I keep bear spray for hiking in certain areas so that could be seen as a backup. Though it is important to note that if you use it on a person you can be charged with using a weapon – but it at least may help you sleep easier. I’ve also heard of people leaving music or a podcast playing while they’re out of their van so that if anyone comes snooping around they might be fooled into thinking someone is still in the van.
I think, when it comes to security, half the battle is street smarts. Thinking about the areas you’re passing through and avoiding high crime areas. Where you’re parking. If you’re going to stay in big cities. Having a stealth van is an advantage. And also only posting to social media about a place you visited after leaving it – who knows these days if there are people out there who might follow you!
I will probably revisit security options prior to leaving on the next leg of my travels.
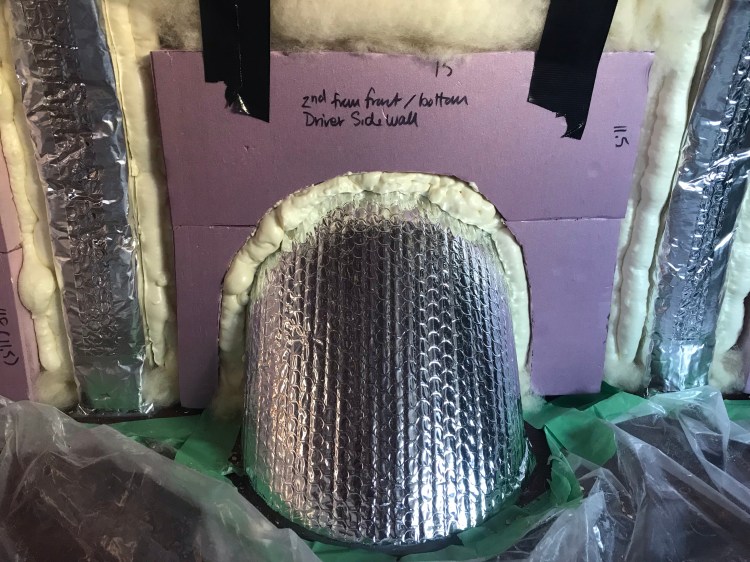
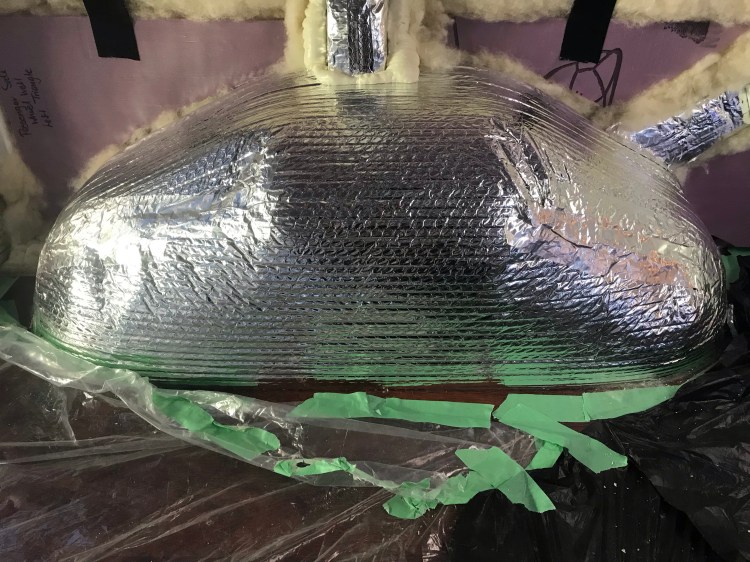
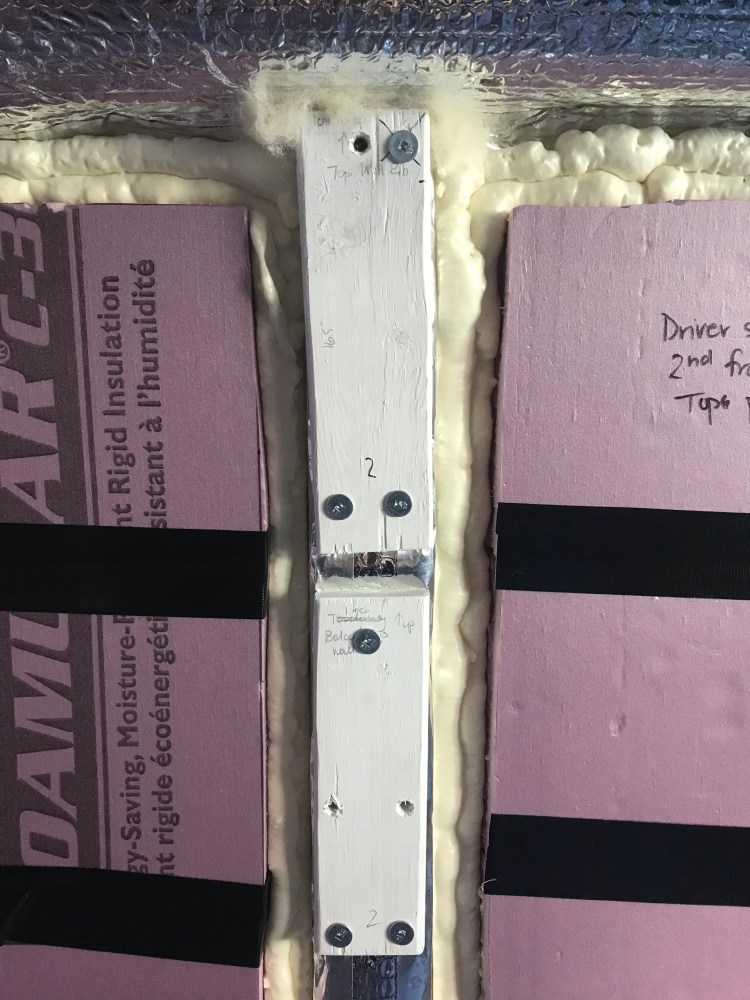
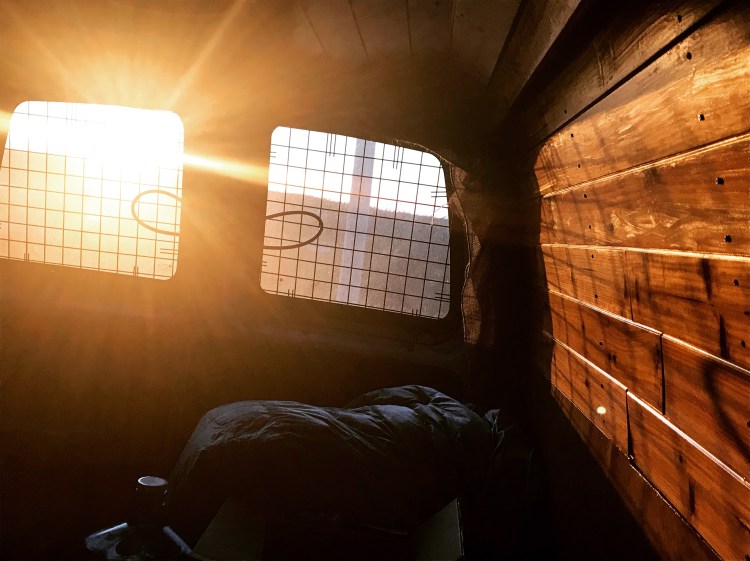
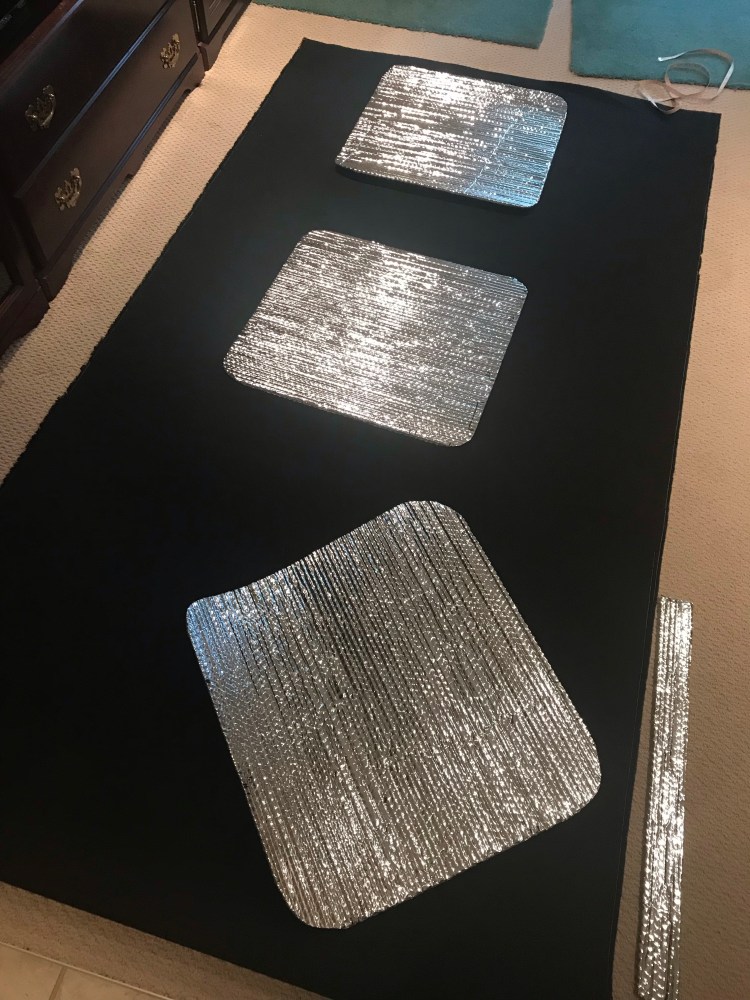
Window Coverings
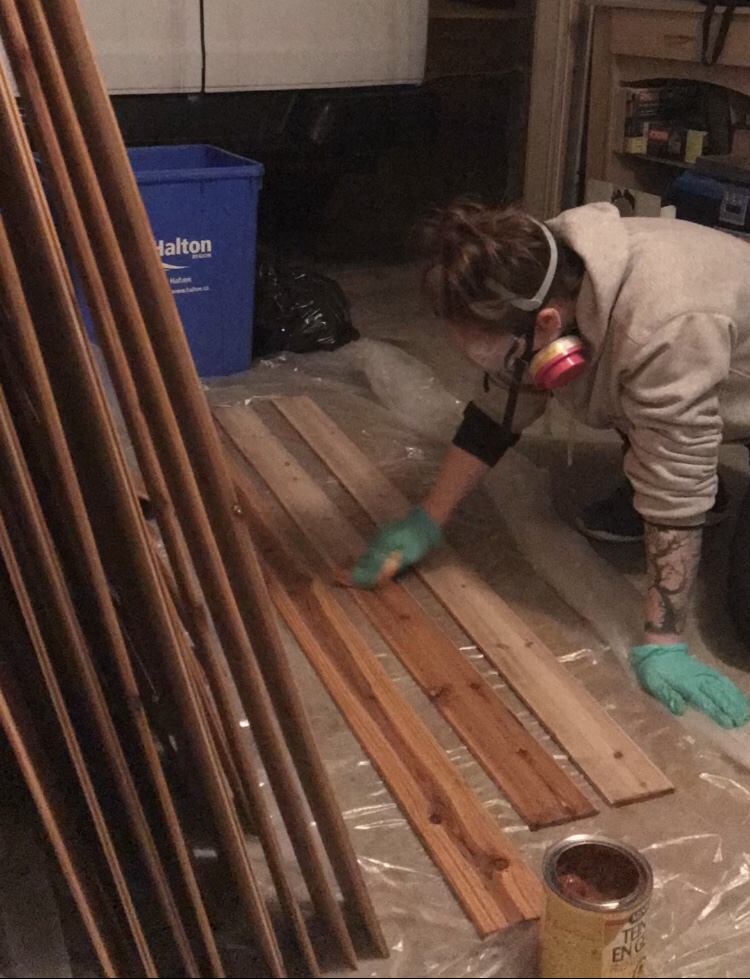
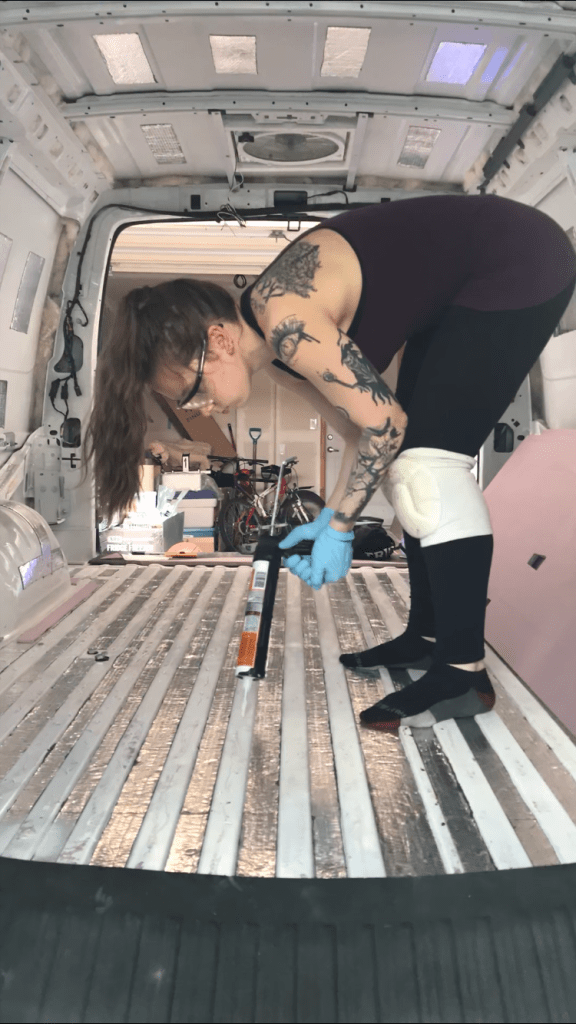
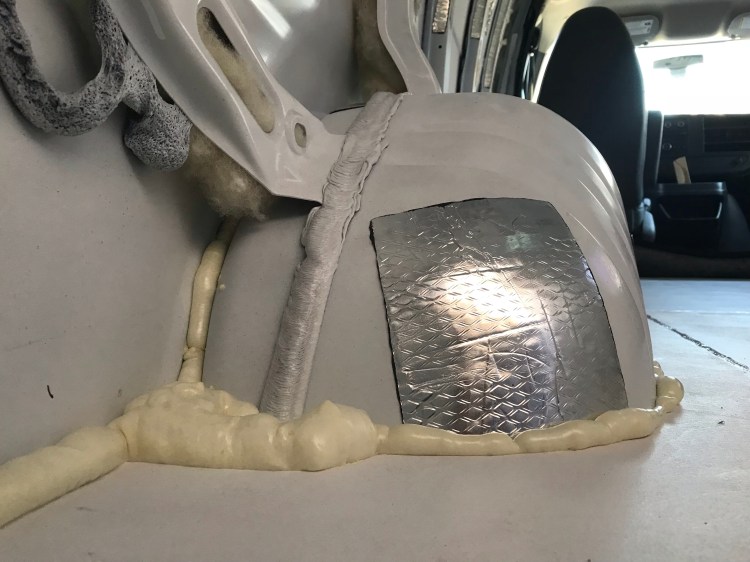
Using Reflectix, rare earth magnets, and black weather-resistant upholstery, I made coverings for my four cargo bay windows – two on the sliding door and 2 at the back.
I measured each window and cut pieces of Reflectix to fit. The Reflectix pieces were adhered to the upholstery with hot glue, which was also used to adhere the magnets around the edges of the Reflectix. The upholstery was cut around the magnets, folded over, and adhered.
Since I was in a rush to hit the road, this was a rush job. The window coverings worked fine for a while but the glue did begin to fail in some spots (I’m guessing due to being heated up by the sun), and the coverings would fall every so often, making me realize that I should have used more magnets for more strength (the ones I have are super strong, but tiny). Re-doing the window coverings will be a project for the future!
Curtains
I had purchased thermal insulated blackout curtains to put up behind the front seats. These were really handy in terms of both privacy and keeping the cargo area cool. Each morning it took a few hours after the sun had risen for the cargo bay to warm up, and there was a noticeable temperature change when I stepped into the front cab (yay – the insulation was working!).
For installation I got a 1″ diameter aluminum rod and some cup hooks, which I screwed into the studs just in front of the ceiling edge. I placed the curtains on the rod and secured the rod into the cup hooks.

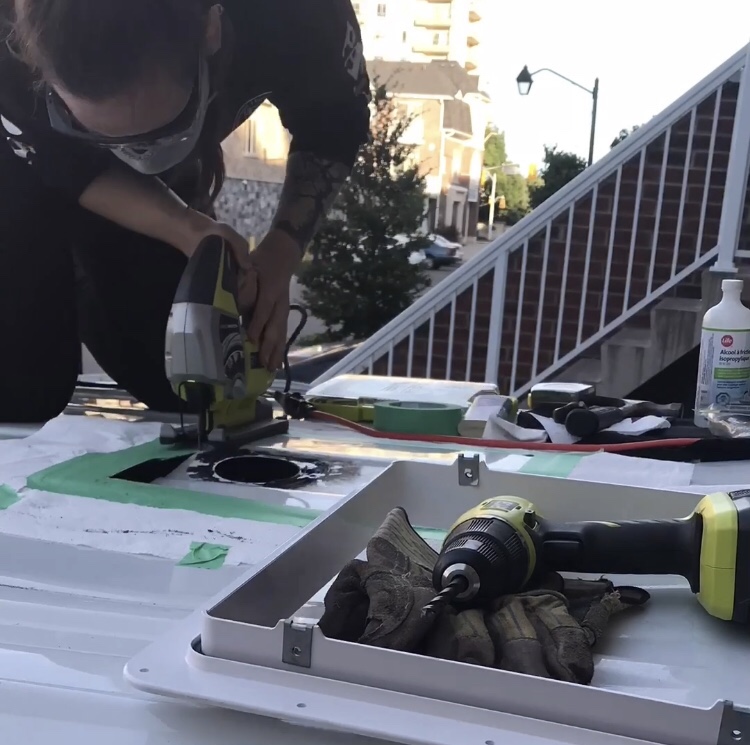
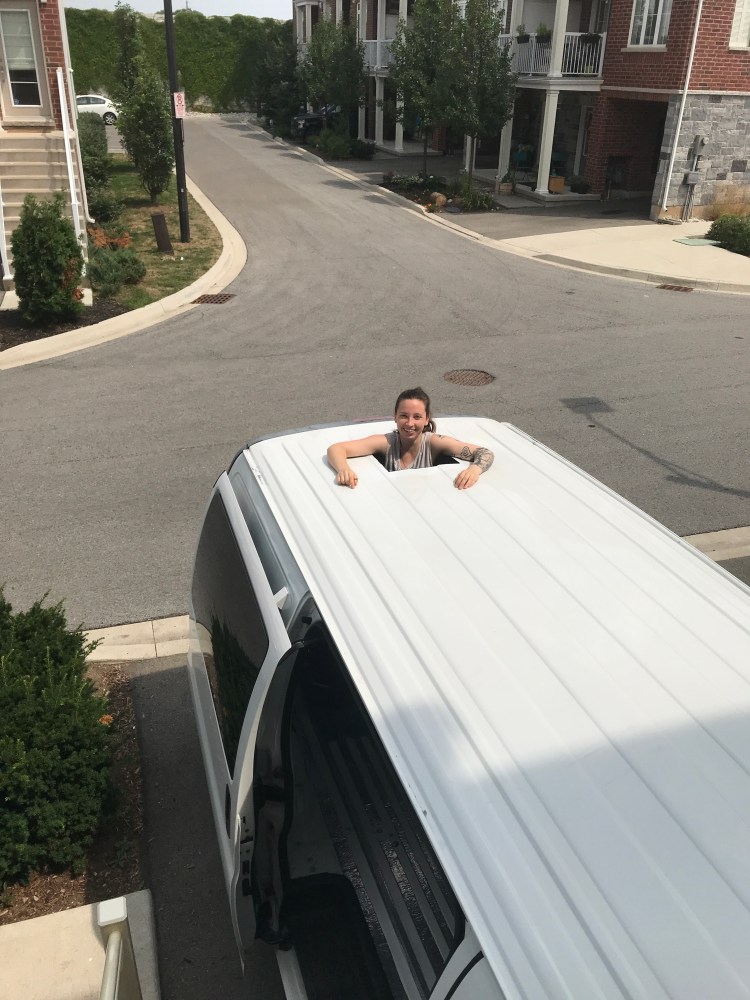
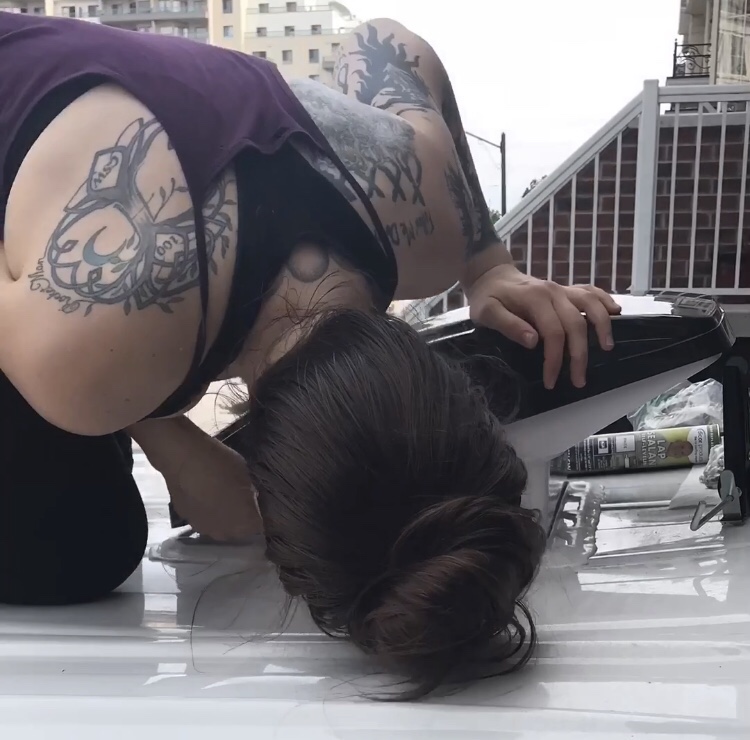
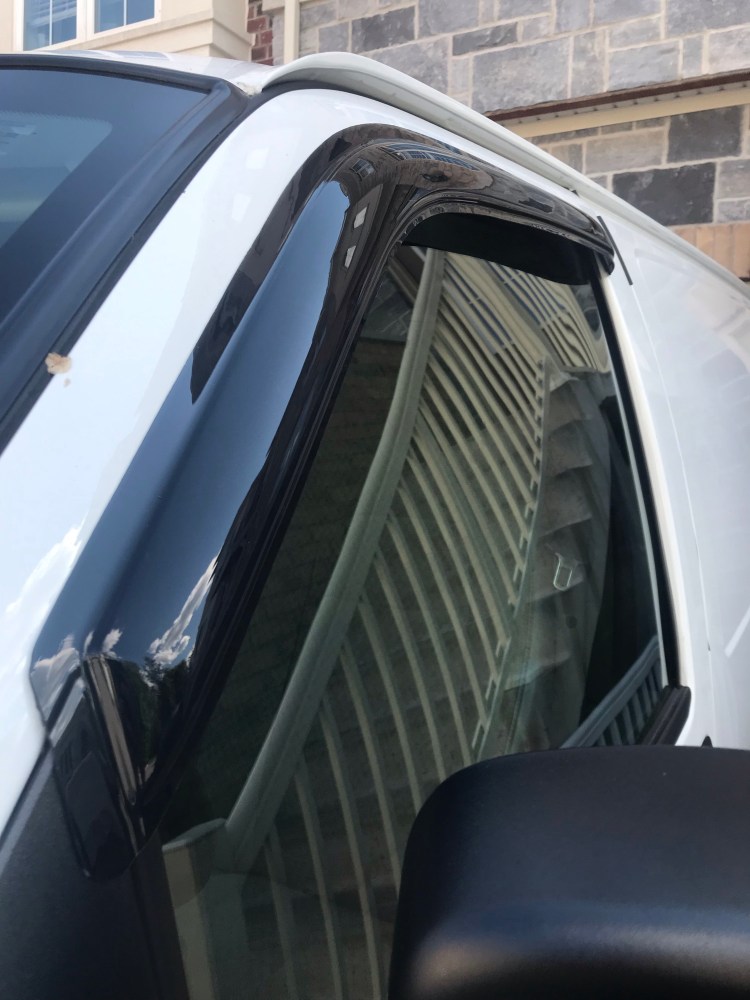
Window Deflectors
Before hitting the road I had weather deflectors installed over my two front windows. Adhered with 3M double-sided tape, these haven’t moved. I really wanted these so I could still crack my windows even if it was raining, and it provided some stealth to conceal cracked windows to onlookers.
Research
I had done A LOT of research in the year or so prior to hitting the road. Anytime I discovered useful information I would add it to a document on my computer for future reference. The document covers three general sections: the van (mechanics, maintenance, specs), the build, and the travel (places and activities to keep in mind), with all sorts of links and useful tidbits. I printed this document off and also emailed it to myself so I would always have access to the info if I needed it while on the road.
What’s In The Van
I had a list of things to bring with me on the road and things I needed to buy, either before leaving or while on the road:
- Sleeping pad + Inflator
- Sleeping bag
- Water jug + pump
- Food (snacks)
- Clothes – note that merino wool is a great option as it is naturally antimicrobial and has moisture management. Every time I changed I would hang my clothes up somewhere in the van to air out (hot and sticky summer days) before putting them into my suit case. I didn’t want them holding moisture! Also – hats! You can get away with any kind of hair when you have a good hat.
- Shoes (running shoes – indoor for gyms and outdoor, sandals, hiking boots, heels for wedding, walking shoes).
- Toiletries (including but not limited to: toilet paper, paper towel, ziploc bags, natural all-purpose cleaner [water, vinegar, rubbing alcohol, essential oils], DRY SHAMPOO, basic makeup, WET WIPES, sunscreen, toothbrush, toothpaste, floss, shampoo/conditioner/body wash, hand sanitizer, nail clippers, pain killers, brush, compact mirror, aloe vera, essential oils, deodorant).
- First Aid Kit (rubbing alcohol/ hydrogen peroxide, tick removal kit, bandages, antimicrobial salve – I had made one with St. John’s Wort infused oil and beeswax)
- Books, Manuals (van manual, appliances like the fridge, power station, solar panels, fan), National Geographic on Parks, Research Document, Journal
- Herbs and Supplements (It certainly was not as easy to drink herbal teas in an unfinished van, and tea makes up a lot of my liquid intake, but I carried several herbs with me for practical reasons in case I really did need them, and I had some pre-made tinctures with me, as well as elderberry syrup, echinacea, and garlic capsules to stave off any sickness – and I didn’t get sick once on the road! I had also pre-made capsules with powdered ginger root in case of nausea – though I never got road sick, but was good to have on the ferry just in case – and if my stomach got upset as eating different foods all the time could take it’s toll).
- Fridge
- Power Station + 12V Car Charging Cable
- Solar Panels + Cables + In-Line MC4 Fuse Holder with Fuse
- Bucket + Laundry Detergent Container + Funnel (Back up bathroom, though I didn’t end up using it if I could help it)
- Flat Tire Tools + Torque wrench and socket set
- Window Covers
- Windshield Shade
- Gas Can
- Origo 1500 Single Burner Alcohol Stove + Fuel (Denatured alcohol) + lighter
- Spare tire
- Extra engine oil
- Tire pressure gauge
- Wheel chock
- Smoke and CO alarm
- Fire extinguisher
- Dehumidifier
- Cedar pouches (to put at doors to deter bugs)
- Carabiners (great for hanging damp clothing, whether it be sweaty, wet from rain, or spot washed)
- Thru-hike supplies (see my thru-hike post for details)
- Windshield repair kit
- Scissors
- Gorilla tape
- Mats to protect the floor
- Crates and containers for storage and organization
- String Lights
- Lantern/ puck lights (used as I hadn’t hooked up the string lights; did find that they dimmed fairly quickly)
- Speakers (since my van is a base model, it has no way to play music from my phone – no bluetooth, no USB, and no satellite radio – just plain old AM/FM. Which I didn’t mind when I dipped down through the states and I could channel surf and actually came across some stations I liked. But for those drives where nothing was satisfying me sonically, I brought a speaker to hook my phone up to so that I could either listen to my own music or podcasts).
- Optional: air compressor to top up tire pressure (or just do so at gas stations)
- Phone holder/ car mount for phone on dash
- Extra fuses (van accessory outlet, fan, solar panels, power station car charging cable)
- Mosquito netting (windows/doors)
- Heater (I haven’t invested in one yet – looking at a buddy heater for the future – since I was travelling during the summer. There were only a handful of nights where it got chilly, the coldest being 6C one night when I first got to NL – but I just put on layers and zipped my sleeping bag up [rated to 0C and a mummy bag so covers everything but your face when fully done up] all the way and I was fine). I might try and get away without a heater (which makes me a little nervous having the propane burning in the van plus giving off extra condensation) by sticking to warmer climes as much as possible, using a hot water bottle I can sleep with, and long johns and a hat!
- Extra fasteners/ basic tools in case anything needs repairing in the van; tool pouch
- Optional: NOAA radio
- Shovel/traction mats in case get stuck
- Garbage bags (I mostly used ziploc bags or any plastic bags I got from Walmarts)
- Laundry bag and detergent
- Microfibre towels
- Camping chair
- Cutlery and dishes (though I really didn’t use them on this trip)
- Kettle (I had my camp stove)
- Optional: yoga mat (I might get one for my next trip)
- Mini broom/ dust pan
- Tow strap
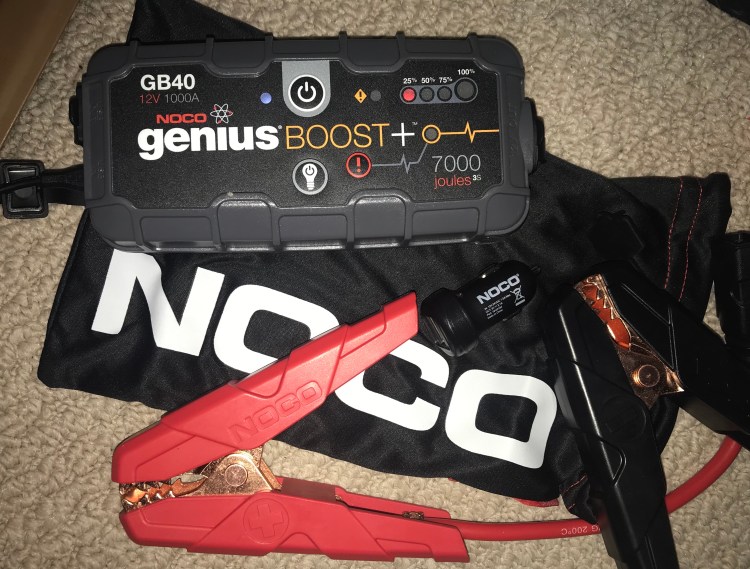
- Jump starter or booster cables
- Recycling bag/ container/ area
- Passport, registration, insurance, ID, possibly an international driving permit
- Optional: ear plugs. Some people can’t sleep with road noise, but I had no trouble even when I was parked overnight next to a highway – but that’s just me. I also want to remain alert in case someone knocks on the van or there is a disturbance of some kind – so I wasn’t comfortable with the idea of ear plugs.
- Book bag/ gym bag
- Lint roller
- Bike lock/ combination lock
- OBD2 Scanner
- Bungee cords
- Pillow
- Glasses/ Sunglasses/ Contacts
- Batteries
- Canada and US Park Passes
- Gym Membership (?)
I shoved all my stuff in the van and hit the road. I was in such a rush that I almost forgot my flat tire tools… luckily I remembered last minute, and didn’t get a flat on the road (knock on wood).
I didn’t feel fully prepared to be on the road, but I had prioritized the most important stuff to get done, and I think sometimes you just have to do it – or you never will.
Driving/ Overnight Parking
Ontario has “ON Routes” along the 401 and I had called ahead to ask about overnight parking – which they had no problem with. That was about it for my “planning” of the drive to Newfoundland – everything else I figured out as I went – with the exception of the ferry (from North Sydney, NS to Port Aux Basques, NL, which I had purchased my ticket for in advance).
Day 1 saw me stop into Kingston, which was one of the only places where I could find the alcohol stove I wanted (and at a decent price). I picked up the stove then went for a walk along the waterfront, before heading to a nearby ON Route for the night.
Day 2 was a high stress day – I had no idea where I was going to sleep that night. I function best when I’m organized, so the thought of not knowing where I was headed or what I was going to do when the sun went down was a bit overwhelming as I tried to keep to my road trip schedule and adjust to this new way of life. I sat myself down in a Tim Hortons in Ottawa and checked my “research document” for answers. I had looked into this in the past, but hadn’t looked into it recently. As time was of the essence and I wanted to hit the road, I settled on Walmarts being the best option for now. I downloaded the All Stays App and began looking for options. I called a few locations to ask permission, noted the ones that were a yes, and hit the road to see how far I could get before dark.
While a lot of people may not be a fan of overnight parking in Walmart parking lots, it can truly be a lifesaver if you need a last minute place to park. I found it was a good place to ease myself into the van life lifestyle. It was familiar. There were washrooms and food and any supplies I might need to pick up along the way. It was convenient and I was grateful. Plus there were often other RVers around, which made me feel not so alone
With that major stress out of the way, I could now focus on getting to Newfoundland. I put in some long drive days, but didn’t get tired or bored as I listened to music and was exhilarated at being on the road. Triumphs like figuring out where to sleep boosted my confidence. Night 2 was spent in Drummondville, QC. Night 3 I was in Fredericton.
Night 4 I was on the overnight ferry to NL (I had tried to get a room so I could have a bed and shower, but the overnight cabins sold out well in advance). I would have preferred sleeping in my van to the reserved seating (like first class plane seating) I tried to sleep in – and let me tell you it was freezing. After a few hours of sleep I drove to Corner Brook for some breakfast and to fill up on gas, then headed to Gander for the night.
The next day I made my way to the east coast – Mount Pearl, where I grew up. There were three Walmarts between St. John’s and Mount Pearl that I would end up rotating between (along with a campground now and then as well as a beach). Despite having grown up in Mount Pearl, I felt least comfortable at the Mount Pearl Walmart (I had seen broken glass on the pavement and there weren’t any other RVs or campers there while I was there). I loved the Walmart on Kelsey Drive. The one off Stavanger was further but still nice.

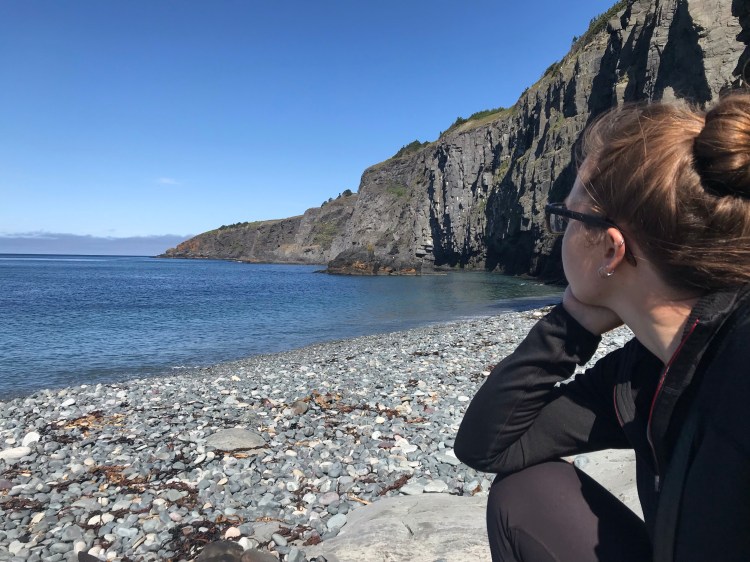
I was comfortable with having Walmarts as a constant option. I opted for campgrounds every now and then, which provided access to a shower and laundry and the sounds of nature to fall asleep to. As I got to know a place I would eventually figure out alternative spots to park overnight, such as Middle Cove Beach, and the Visitor Centre parking lot on Signal Hill – both of which I had no issues with (though the beach could be pretty crowded on weekends as people would come to have bonfires, or while the capelin were rolling).
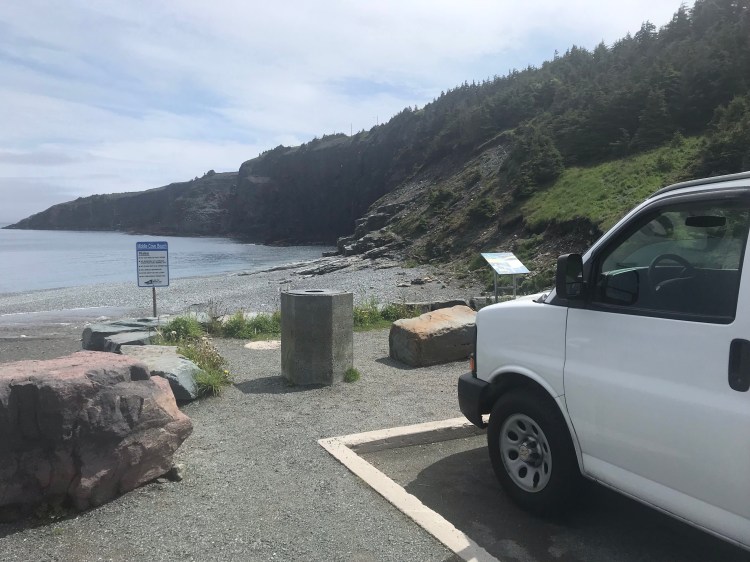
Middle Cove Beach 
Signal Hill
On my drive off the island I stayed at the Walmart in Grand Falls-Windsor as well as the one in Corner Brook.
I had decided to take the day ferry to North Sydney as they still had cabins available.
I basked in the luxury of a room to myself – a bed, a shower, and a couple beers and TV!
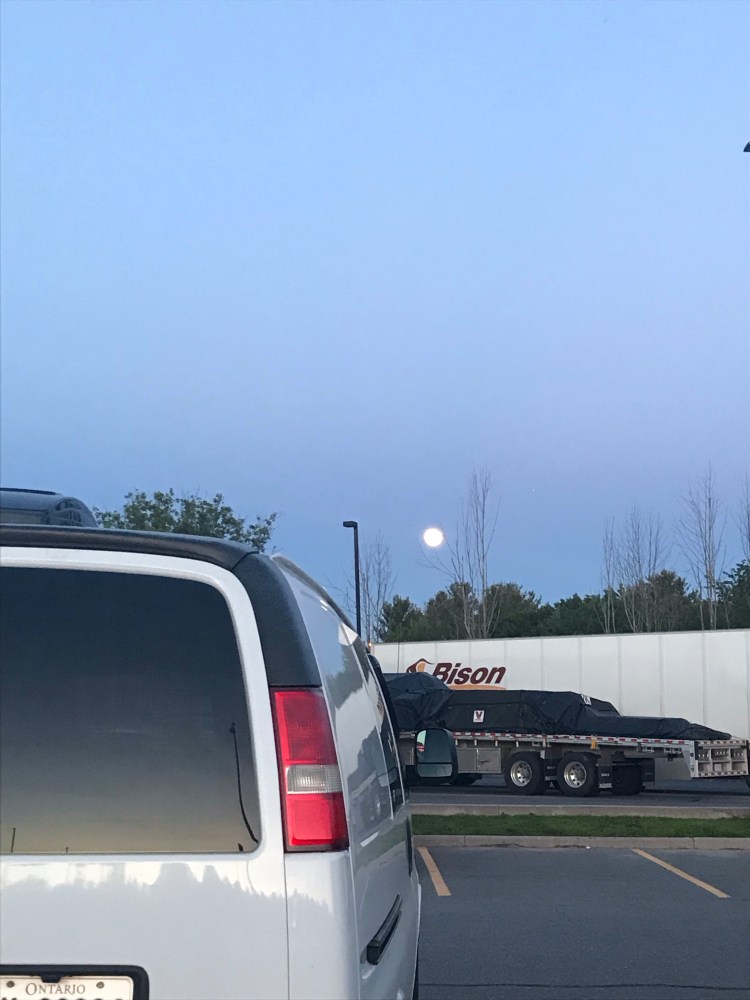
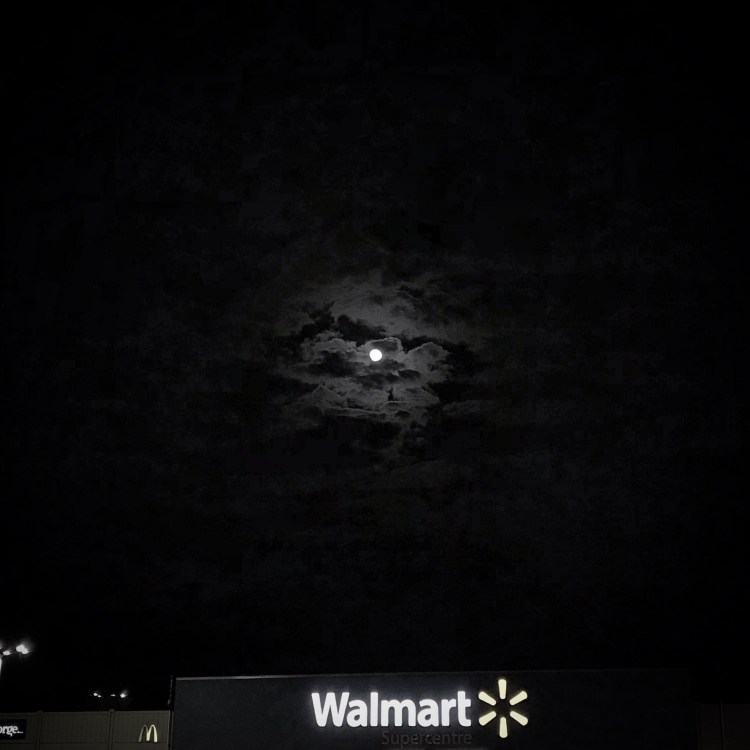
That night I drove to New Glasgow, NS, and gazed at the moon from their Walmart parking lot, which would be full a few night later in Moncton…
As I made my way through Nova Scotia, New Brunswick, Maine, New Hampshire, Massachusetts, Vermont, Quebec, and Ontario, I stayed overnight at Walmarts, campgrounds, and one street parking space that had been recommended to me.
Other Overnight Parking Options & Info
Over the course of this first bout of vanlife I went about the transition by doing one new thing at a time and slowly adding to my repertoire. There are many options for overnight parking, and which ones you choose really depend on your comfort level, preferences, and unique situations – which change on the daily. I started with Walmarts due to comfort and being mostly in urban areas. Campgrounds were a nice way to be a little more in nature and have access to a shower and laundry. Other spots revealed themselves as options when I stayed for an extended period in one place and got to know the area. Eventually, I will try new types of places to park overnight and develop favourites.

I have yet to try stealth street parking, and it’s not at the top of my list, but it seems to be an option when in a pinch.
I know some people rave about casinos, and this is certainly something I would consider when in a city centre.
Park and Rides are another option. I’m not sure if it’s technically allowed, so I would definitely aim to be stealthy.
I think dispersed camping in National Forests and on BLM land in the states will be something I really enjoy. Finding your own little spot with ever-changing views sounds magical, with privacy and the sounds of nature as a big bonus. The nature of dispersed camping means little to no services/ facilities. Generally, National Parks do not allow it, but it differs across parks. This is free camping. While each national forest has different rules, generally you are allowed to camp anywhere outside of designated campgrounds and recreation areas. Usually there is a 14 day limit and regulations vary regarding fires. It is encouraged to set up camp at least 200ft from water sources, and Leave No Trace!
Rest stops and truck stops are additional options. But again, things (laws, vibes) vary.
There are also a lot of things to keep an eye out for when considering a place to park and sleep overnight. One is checking signage – if it says no overnight parking – move on (unless it’s a Walmart that has given you permission to park overnight – which I have experienced and had no issue). A well-lit area is also a bonus as it is less likely to attract suspicious characters. Busy places or even near police stations can provide extra reassurance when choosing a spot. And if leaving your van for an extended period, using a lot with security like gates or cameras is a good idea in the event that you can’t leave it with someone you know!
There are many apps out there that can be used to locate spots for the night. I used the Allstays Walmart/ Camps & RV apps.
If you’re trying to be stealth or aren’t sure of the safety of an area, it’s prudent to not get out of your vehicle after parking and avoid drawing any attention to yourself. As a solo female van dweller I think this is a super important point in terms of safety. I also made a point of “dressing down” sometimes if I was feeling on edge. Specifically, there was one night where I pulled in late to a Walmart in New Hampshire and felt a little sketched out. I put on some baggy clothes and my glasses before heading in to the store to use the bathroom and buy some supplies. Can’t hurt, right? You never know who’s watching. Luckily, I was not disturbed that night.
On that note, I also tend to read the reviews on each Walmart I check out on my app – people sometimes describe the area and feel of the place. Generally I feel safer when I pull into a Walmart and there are several other campers there already.
It’s also a good idea to have a plan in place or quick exit strategy if you get “the knock” or are disturbed.
Here are some more resources re: overnight parking:
Fresh Off The Grid – Free Camping USA / Canada
Rubber Tramp Artist – Fundamentals for Boondockers
Into The Mystery 13 – Top 5 Boondocking Apps / Sites
Interstate Rest Areas – Overnight Parking Rules
Gnomad Home – Sleeping, Camping, and Overnight Parking
Cheap RV Living – Stealth Parking in the City
Cheap RV Living – Where to Stealth Park
The Vanual – Sleeping and Safety
Frugal RV Travel – Overnight Parking at Rest Stops
Treehugger – Free Campsites in Canada and the US
The Routine
After spending some time in the van, you develop some routines, especially morning and nighttime routines, and other ways of doing things.
Night 1 in the van was interesting. The sounds of the highway were close by. Since I was at an ON Route there were people coming and going all throughout the night. This made me feel somewhat at ease, though at one point I could hear a couple of men whispering next to my window, which freaked me out for a minute, but eventually they moved on. Nights were still cool as this was only mid June. I had a wool blanket and two thermarests, which delivered an uncomfortable and cold “sleep”. I ended up investing in a sleeping pad and sleeping bag from MEC, which made a world of difference and resulted in a wonderful sleep on night 2.
Eventually, I got my nighttime routine down pat. First, I’d make sure the front cab was clean and bring my belongings back into the cargo bay. Then I’d draw my curtains and put up my window covers. If the next day was going to be hot I would put up my windshield shade. I’d crack the front windows and raise the roof fan for passive ventilation. If it was already dark I’d take out my lantern for lighting. Next, I would rearrange my belongings to make room for my “bed”.
Many nights encompassed a late dinner in the van so I would gather my food (I might pick up Subway or something from a grocery store if I was going to stay at a Walmart, or use my camp stove if I was at a campground) and drink and put Netflix on my phone as my phone charged from the power station. Whenever I was connected to wifi on the road I would download shows to the Netflix app so that I could watch them when I wasn’t connected. If I felt the need to be super stealth I could use headphones and keep lighting in the van to a minimum.
I usually kept all garbage together and disposed of it daily (especially if there was food as I didn’t want to stink up the van or attract bugs).
I used my lantern and a compact mirror while getting ready for bed. In the beginning I would go into Walmart to brush my teeth, being as discreet as possible… but I quickly learned that I didn’t like to do this (can’t wait to have my own sink in the van)! Instead, I started using a ziploc bag and a water bottle in the van which would go out with the garbage in the morning. I’m aware of the issue with single use plastic and this is definitely an area for improvement. I used the bathroom as close as possible to going to bed. Since I was without sink I also used makeup remover wipes to clean my face. I had privacy to change my clothes before settling in to my cozy down sleeping bag.
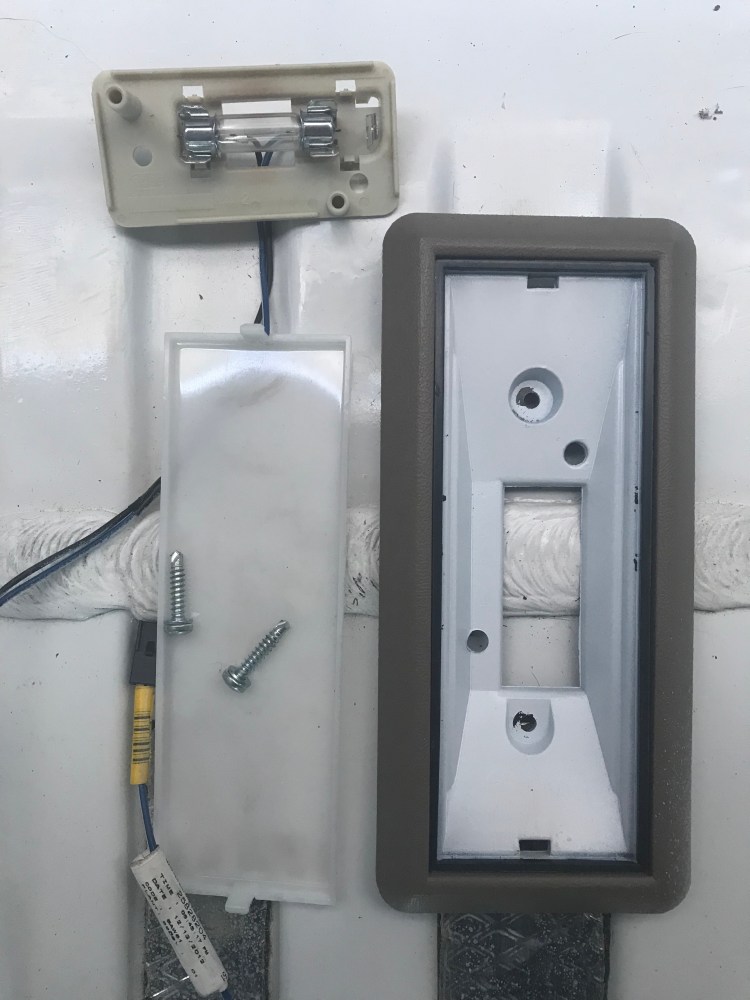
I would also take out my smoke/ CO detector at night (which will be screwed into the wall in the future).
Mornings usually began with considering bathroom options. Usually if I went in to a Walmart I would buy something as I never felt okay about using their facilities and parking overnight and not buying anything. But this worked out as I could grab breakfast there, which might consist of a smoothie, fruit, veggies, and/or mini croissants (the cheese and jalopeno ones made fresh in their bakery were pretty good).
After the sun rose I knew I only had a few hours before it would start to get warm in the cargo bay, so I tried to get ready for the day before it got too warm. This often included some form of meditation to start the day. I would get changed, put my bed away and put everything back in their “day positions”, secured with bungee cords for driving. I would make myself presentable – clean myself up and “put on my face”. The last thing I did was take down the window covers and put down the fan/ roll up the windows.
Then I would start my day – or decide where I was going or what I was going to do. A lot of my “plans” on the road were born of a “go with the flow” attitude. Being on the road was teaching me to get away from super rigid plans – to have malleable plans and be willing to change directions with a shift in the wind so as not to miss any opportunities that presented themselves. I, myself, became fluid.
Some habits I developed on the road included parking where I could see my van easily (for example if I was spending some time in a Starbucks I would park near the windows and sit where I could keep an eye on my van).
I also drew the curtains when parked so that people would not be able to see into the back of the van.
I was meticulous in checking that I had my car key whenever I was getting out of the van and locking up. I would double- and triple-check, often holding the key in my hand, as getting locked out was not something I wanted to endure.
Funny story: I did lock the key in the van once on this trip. Luckily it was outside a friend’s house. I was flustered and in a rush since it was my last night in St. John’s. This friend happened to have a friend with a sort of “slim jim” tool – he came right over and got me into the van in no time and I bought him a beer in return.
Lessons
The first couple of weeks in the van were an adjustment period. Humans naturally struggle with change – we are creatures of habit. And there was no easing into it for me, I was suddenly all in, so it was a shock to the system. Especially as I was figuring things out as I went. That being said, there’s nothing like getting out of your comfort zone to push you to learn new things.
Bugs
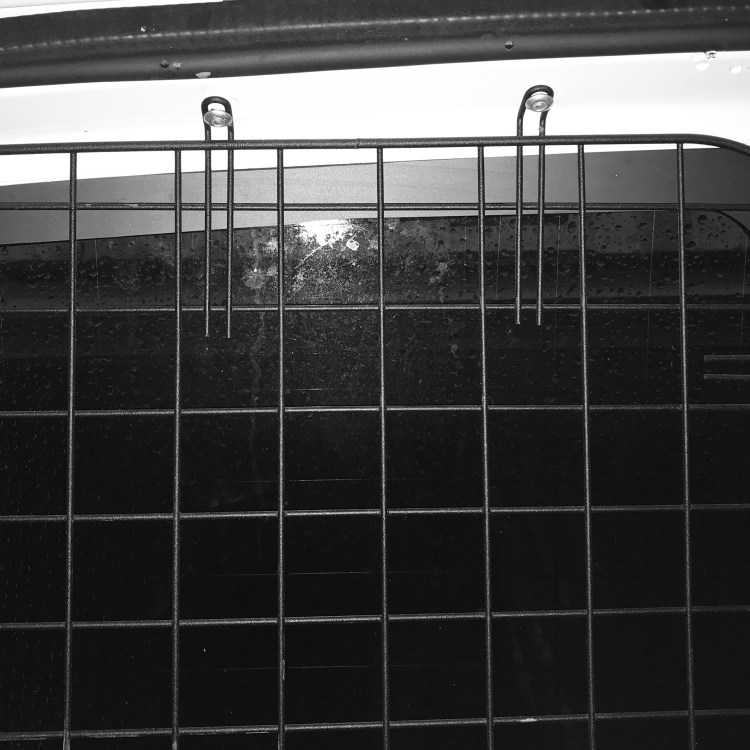
Since I was cracking the front windows every night for passive ventilation, I found out the hard way that even in Walmart parking lots – mosquitoes would find me. I purchased some mosquito netting from Walmart, placed it over the passenger side cracked window, and sealed the edges with tape. It wasn’t perfect, it didn’t look pretty, and I will certainly update it with a better method in the future – but in the moment it was a quick fix that did the trick!
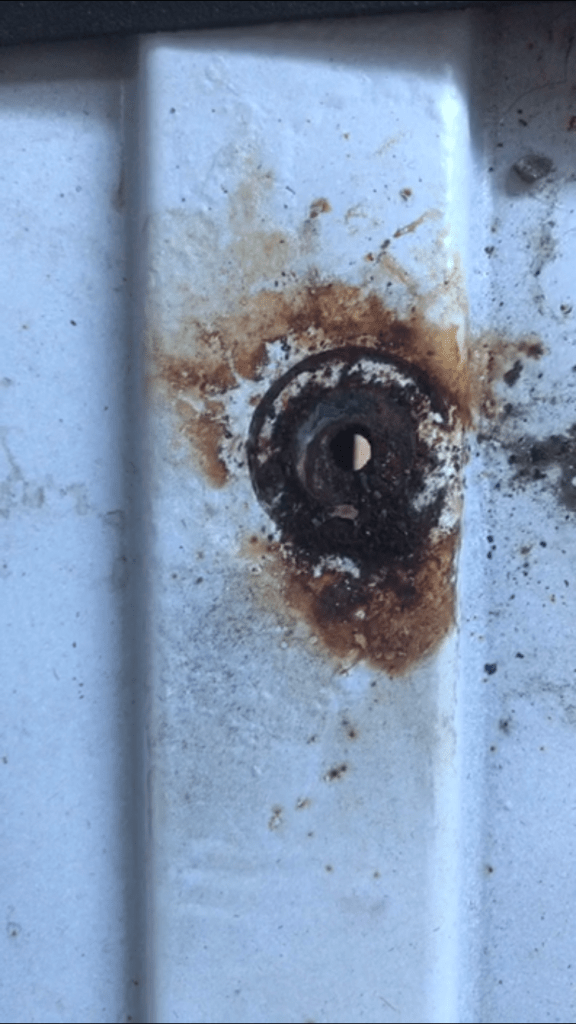
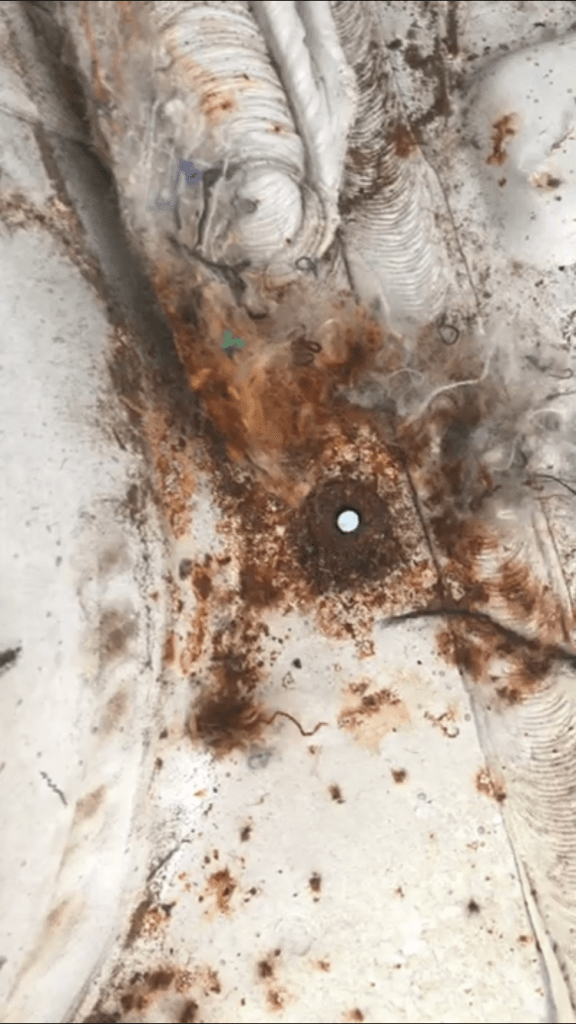
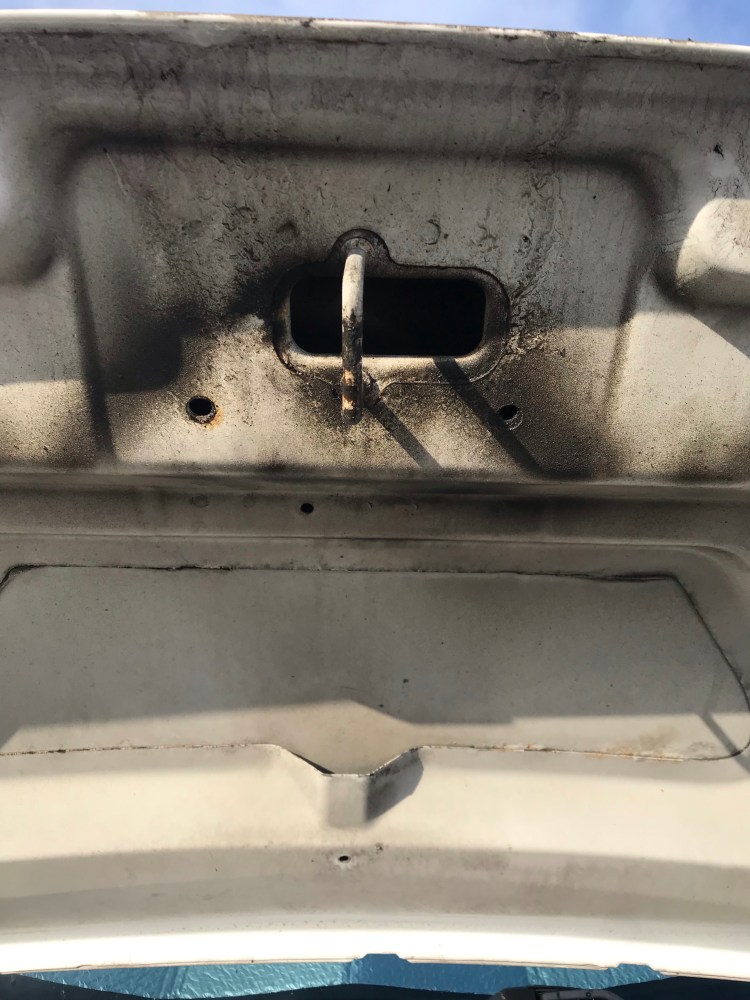
Overheating
After one of my long driving days, I noticed some black residue all along the edges of the hood of the van. When I propped up the hood this residue was also around the inside of the hood. It felt dusty. I did some googling and the next morning called my mechanic. After sending him some pictures he said it looked like the undercoating I’d recently gotten done as rust protection.
I was relieved to know that the van wasn’t overheating. Coolant level was good. But since I was doing a lot of driving I figured it was good that I’d learned a few things to prevent overheating. Since it was summer, having the AC on all the time could put a strain on the van and lead to overheating. Limiting AC can help, as well as turning on the heat, which redirects heat away from the engine (though not a desirable remedy in the summer sun). Also having the AC on recirculation mode to improve efficiency helps in that the van is not constantly cooling warm outdoor air. Taking breaks from driving is another trick. Keeping an eye on the coolant level and engine coolant temperature gauge. Not pushing the van too hard up hills. Keeping an eye on the engine oil level/life. And obviously pulling over if engine temperature continues to rise.
Bathrooms
I had heard of other vanlifers using liquid tight containers/ funnels if they really had to use the bathroom in the van. I usually have to use the bathroom in the middle of the night and always like to have a backup plan. This is certainly an option if needed and you can wash out the container with bleach or vinegar and water (though the plastic does seem to hold onto some of the smell). Personally, I’d rather not use the bathroom in the van if I can help it. I did use double bagged large ziploc bags a few times. You get creative in a van. After thru-hiking for two weeks, I am perfectly fine with relieving myself in nature. Campgrounds were great in the sense that you have access to a bathroom 24/7. More civilized overnight parking spots, like Walmarts, require timed visits to the bathroom or covert methods. I also stopped in to visitor centres, malls, coffee shops, rest stops. A friend mentioned that hotels are a cleaner option, too, where staff will most likely assume you are a guest.
Showering
I was fortunate to have friends offer me their facilities should I need them while in Newfoundland. I took a few of them up on this, but since I was in town for a while my go-to became an indoor track on MUN campus called the Field House. For $3 I could use their indoor track and then shower in their change rooms afterward. I used a combination lock for my belongings and needed to have indoor running shoes. It was economical, a place I was familiar with, and a nice facility.
If I stayed in a campground I made sure to use their showers during my stay.
I also looked into gym memberships. I went in to speak with a Good Life associate. Their day pass is $15, so for this trip I mostly stuck with the Field House. But for future reference, since I would be travelling I would need a membership that covers all provinces – the Atlantic membership does this, ringing in at $70 for one month. Towels cost extra. In terms of travelling through the states I might look into Planet Fitness (lots of locations) depending on how much time I’ll be spending in remote areas/ parks vs urban areas.
Another option could be some truck stops, like Flying J. I have yet to try the ‘Trucker Path” app, but it’s something to look into.
Prior to leaving on my travels I had ordered a solar/camp shower. Unfortunately it didn’t arrive in time, so I didn’t get a chance to use it, but this would definitely be something I would use on the road, especially when boondocking in a remote area on public lands in the states.
And to keep things fresh in between real showers – wipes can certainly help. Even a cloth and water. And don’t be afraid to get creative. If thru-hiking taught me anything, it’s that showering everyday is a damn luxury and there are some neat tricks to keeping clean when doing without running water. There might be some instances where it’s not a priority (like in the middle of nowhere with no one else around) or accessible when on the road. Often I just needed a water bottle and soap – which I later realized was something Where’s My Office Now does, too!
Having good quality (natural) deodorant and dry shampoo were also great. So far in my explorations I’ve been using and love Pit Ninja by St. John’s Soap Works (NL) as well as Lunah Natural Deodorant. And I make my own dry shampoo for dark hair. Here’s the recipe in case you’re interested:
- 1/4 cup arrowroot powder
- 1/4 cup cocoa powder (cacao or carob work, too, though I find carob to have a strong scent)
- 1/8 cup baking soda (optional – some people are sensitive to baking soda, can leave out or substitute bentonite or kaolin clay)
- 1/2 Tbsp powdered horsetail (optional – silica helps keep hair healthy)
- 1/2 Tbsp powdered lavender (optional – smells nice, calming, antimicrobial)
- 10 drops essential oil(s) of choice (Optional; I like lavender and orange, rosemary is also a great option with many benefits for hair and scalp)
For more ideas on keeping clean on the road, I found this article really informative.
Laundry
On this particular trip I was able to use my friends’ washer/dryers, and also did laundry at campgrounds.
Laundromats are always an option, too.
Since I like to keep active with running and hiking – aka sweating often – having clean clothes is a frequent consideration. Another great lesson I learned on my thru-hike was “spot washing”. All I need is a little water and soap and I can wash the pit or crotch area of my active wear and it really helps keep things fresh longer. Having naturally antimicrobial fabrics is another plus (e.g., merino wool).
Is it Legal to Sleep in Your Car?
To me, a campervan seems to be grey area between a car and an RV. That being said, if I’m passing through a state that deems it illegal to sleep in your car, then I am going to be super careful and probably avoid parking overnight on city streets (though that hasn’t been an appealing option to me so far). I know that there was a lot of push back to making it illegal in California as people viewed it as discrimination against the homeless.
While I was in Massachusetts, it seemed that all Walmarts in my area did not allow overnight parking due to town bylaws, so I looked into the legality of sleeping in your vehicle, and sure enough, Massachusetts does not allow it. While reading up on this it seemed to me that the reasoning for these laws was to preserve parking spots and avoid issues with people parking in residential areas. So I simply strive to be cognizant of where I am and how laws may differ, remain stealth, don’t do anything to attract attention or disrupt those around me, and choose my parking spots carefully. Moving around and not being in one spot all the time also helps to not draw too much attention.
Talking to locals can also help – when I was in Salem and staying at a campground, one of the employees shared with me a location where people park their RVs, even overnight, for free without issue. Or you can call the local police non-emergency line.
This, this, and this are great articles that go over sleeping in your car. Pros and cons to sleeping in your car, why people do it, and tips like not parking on city land, near schools or parks, or close to residences, as well as where it is legal to sleep in your car.
Mail on the Road
In my haste to get on the road, I forgot to bring a few vital things (like my hiking boots!). I had the option of having these things mailed to me. So how do you receive mail when you’re mobile? I used Canada Post’s Flex Delivery. Simply sign up for an account, add post office locations, and use the address given (P.O. BOX) for shipping. You’ll be notified once your package arrives.
Gnomad Home also has an in depth post on this topic!
Gas Station Zip Codes
Okay, so this had puzzled me on several trips in the past, but I’d just bypassed the issue by paying in-store before fuelling my vehicle. This time around I decided to ask the gas station attendant – what do you do when asked for a zip code at the self-serve pumps but you don’t live in the US/ have a Canadian postal code? I had tried random zip codes (like 90210…) but it didn’t work, and wouldn’t let me pump gas. I was told that I just have to use the three numbers in my postal code followed by two zeros. So, for example, with a postal code of A1N 4V2, I would enter 14200. Sure enough – it worked!
Things to Keep in Mind
My research document has a LOT of info in it. Almost too much to keep track of. But here are some things I liked to keep in the back of my mind while on the road.
Keeping high crime or sketchy areas in mind. This could take the form of research prior to visiting locales, like researching high crime areas (e.g., Oakland, North LA, Anaheim). Or being mindful of reviews re: potential overnight parking spots. And trusting your intuition. You can often tell if a place has an unsafe feel to it. If your gut is saying no it’s time to go.
Being careful not to transport hazardous materials (fuel, propane, etc.). There have been incidents where leaks occur inside a vehicle while someone is sleeping inside and they have died from carbon monoxide poisoning. Combustion may also be a consideration. This is why it would be nice to have some storage outside the van in the future (though the trade off would be stealth).
Weather. Prior to getting to Newfoundland I was aware of how windy it might be (especially driving along the coast and through the “wreckhouse” area) and how this might affect handling of the van. Surprisingly, I had no issues with wind on this trip. But it’s important to be aware of your surroundings and the risks for certain types of weather and natural catastrophes. Other considerations include hurricane and tornado season, flash flooding, earthquakes, and forest fires. It’s a good idea to listen to local weather reports and know the risks for each phenomenon in the area you’re passing through.
Putting stress on the van. I was cognizant of not putting pedal to metal up hills so as to not ramp up the RPM or put too much stress on the engine, especially with a load.
Alcohol. Be careful if you’ve been drinking and plan on sleeping in a vehicle, or if you have alcohol in the vehicle. Definitely stay out of the front seats with the car keys if you’ve had anything to drink. Avoid having open alcohol in the vehicle. Avoid any situation where it could be construed that you might drive under the influence. You can be prosecuted if police think there is any intention to drive. Laws may differ by location.
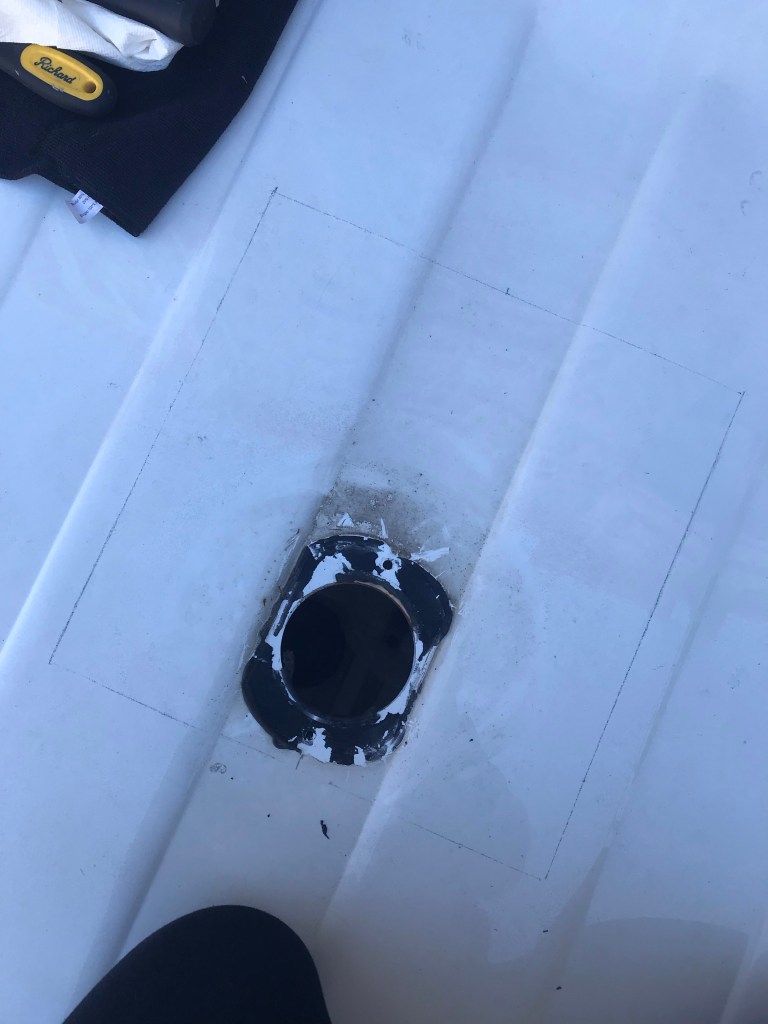
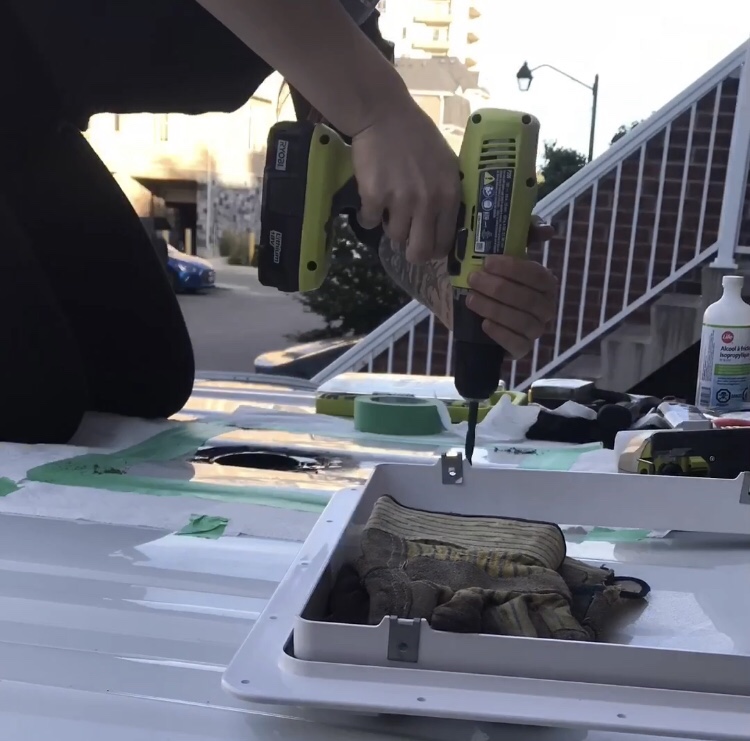
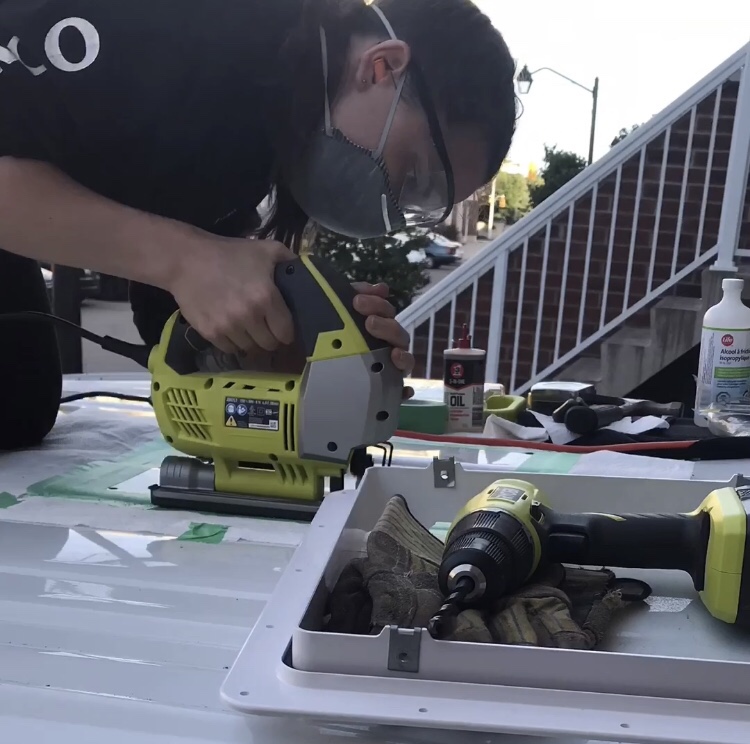
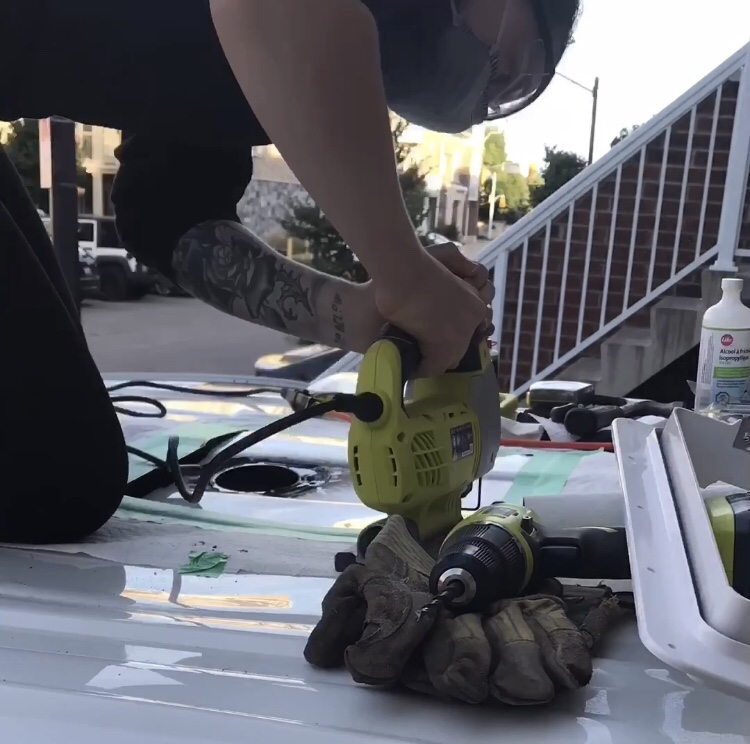
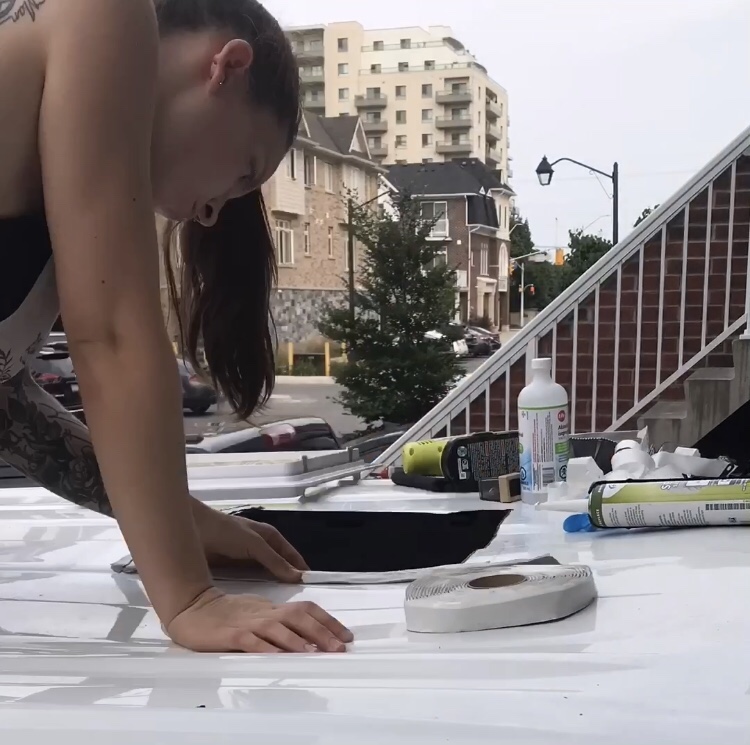
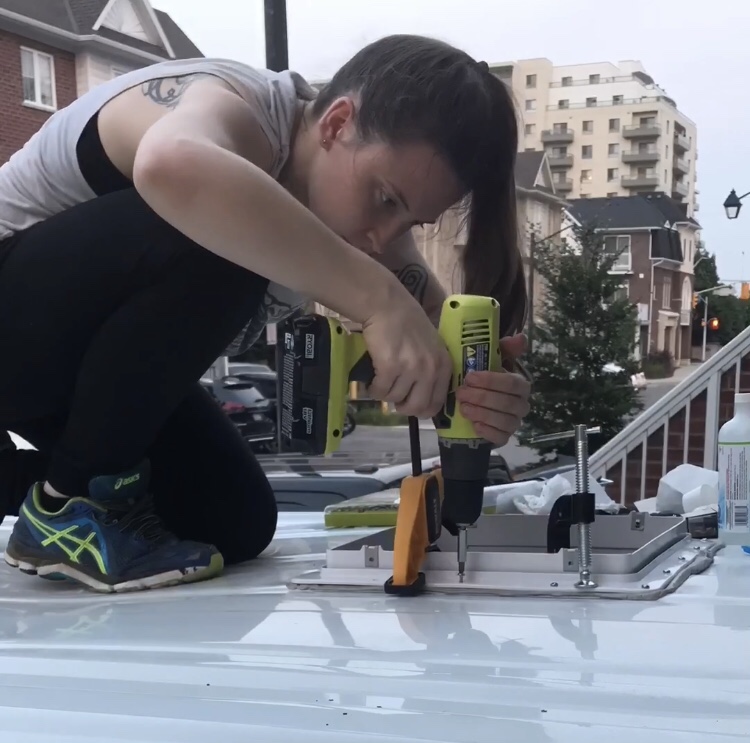
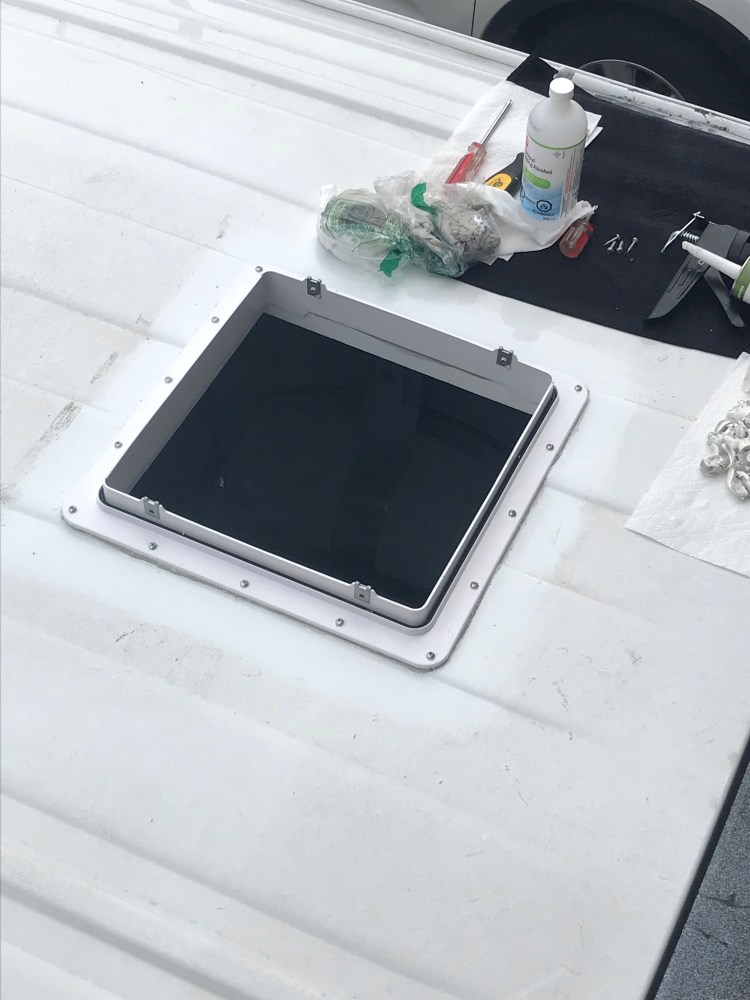
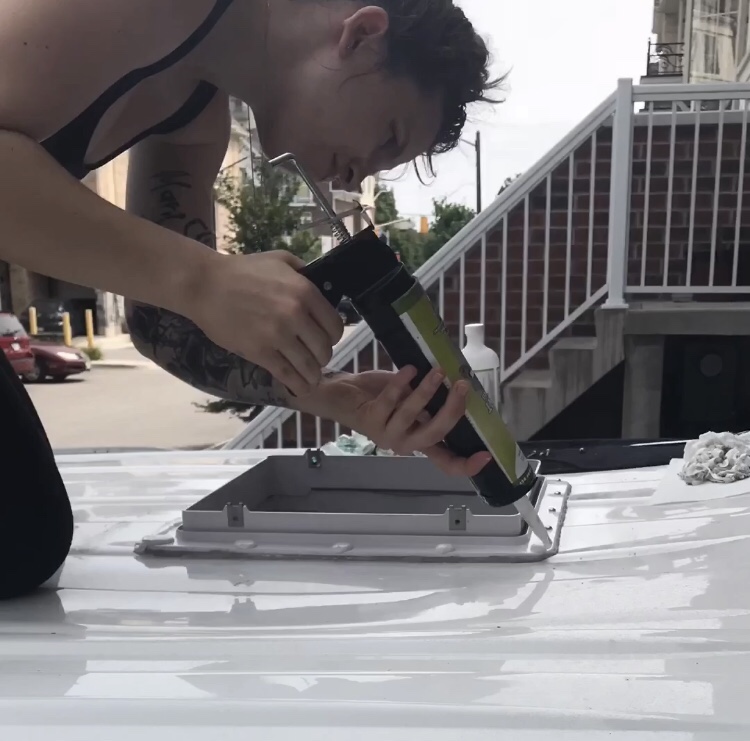
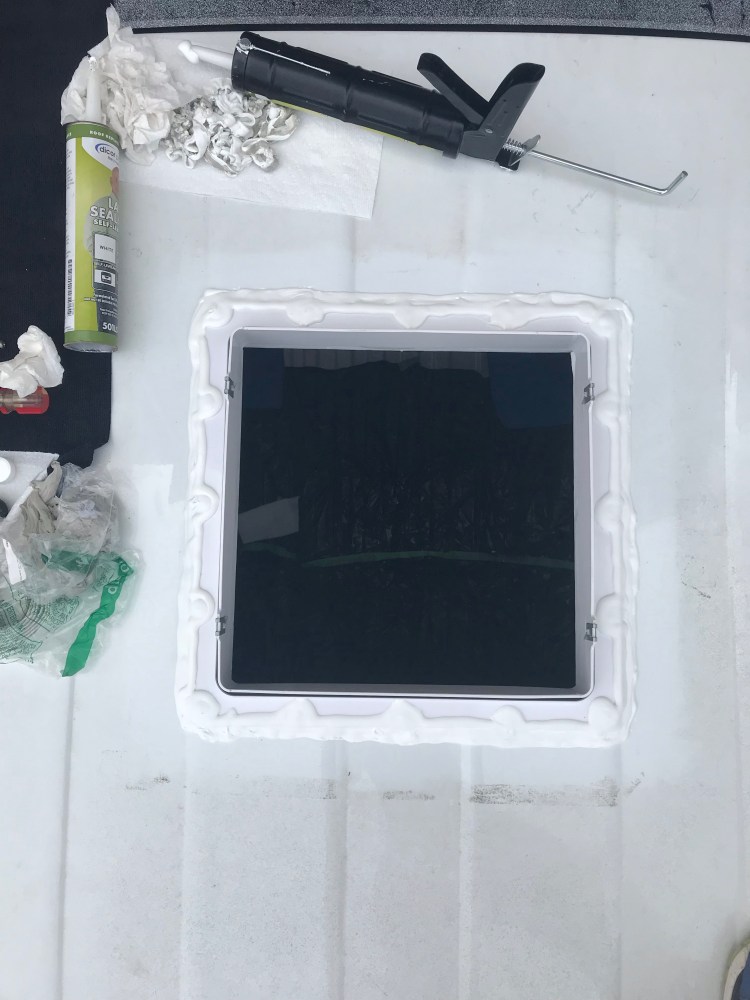
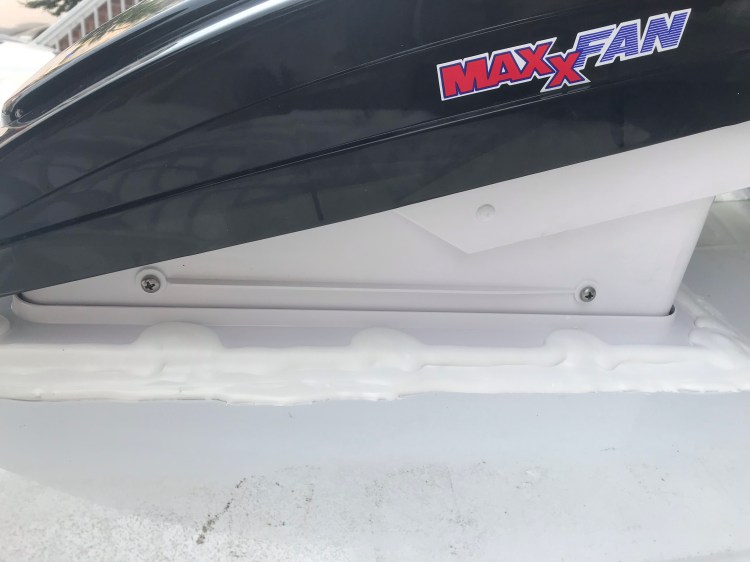
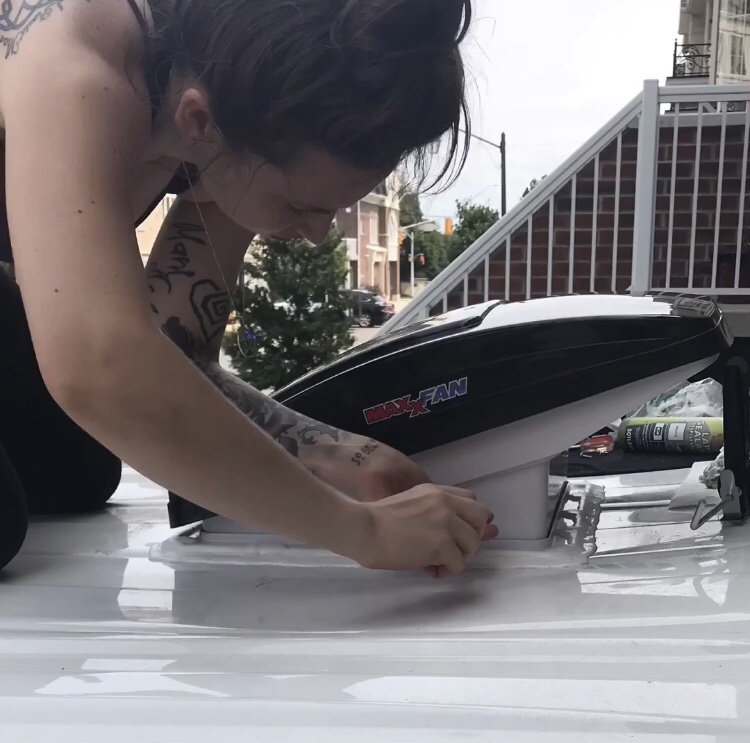
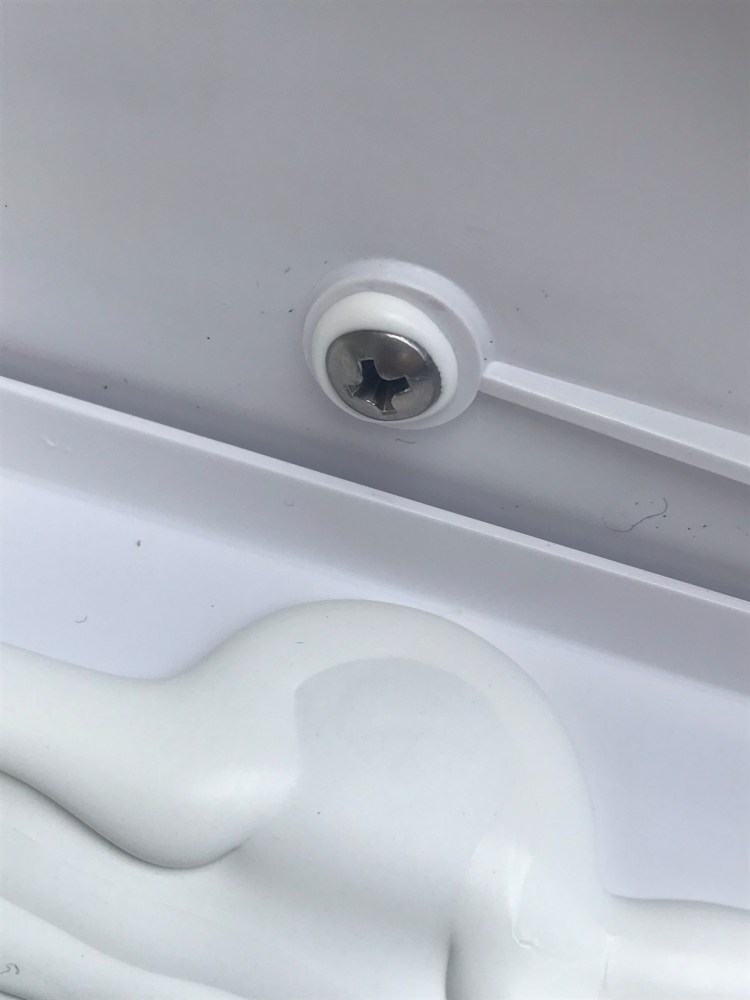
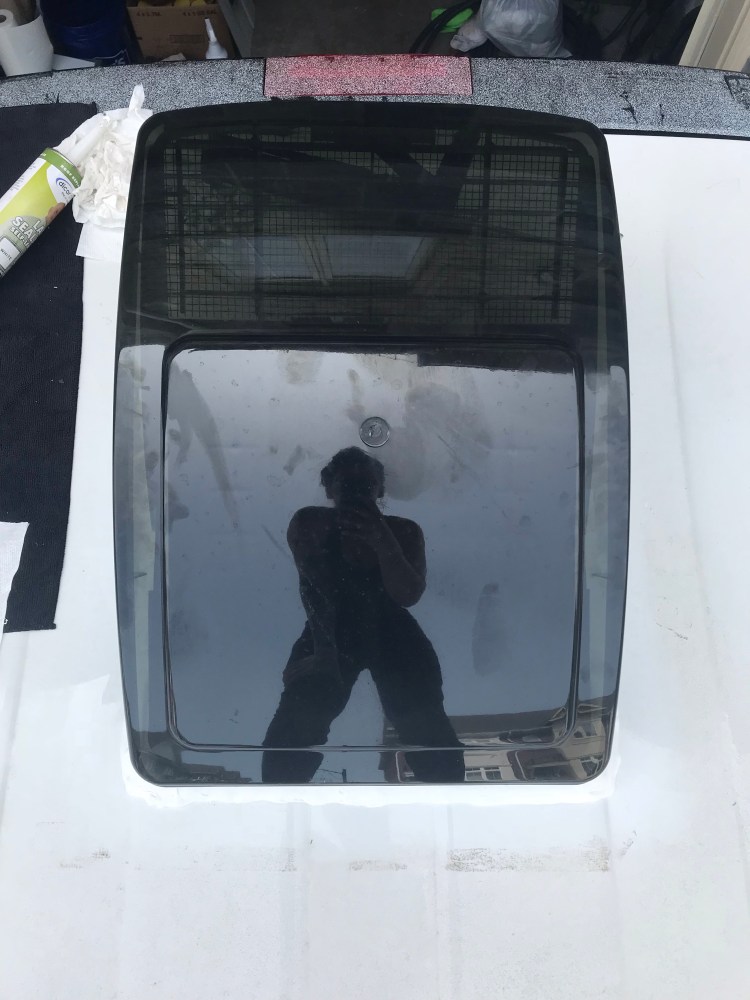
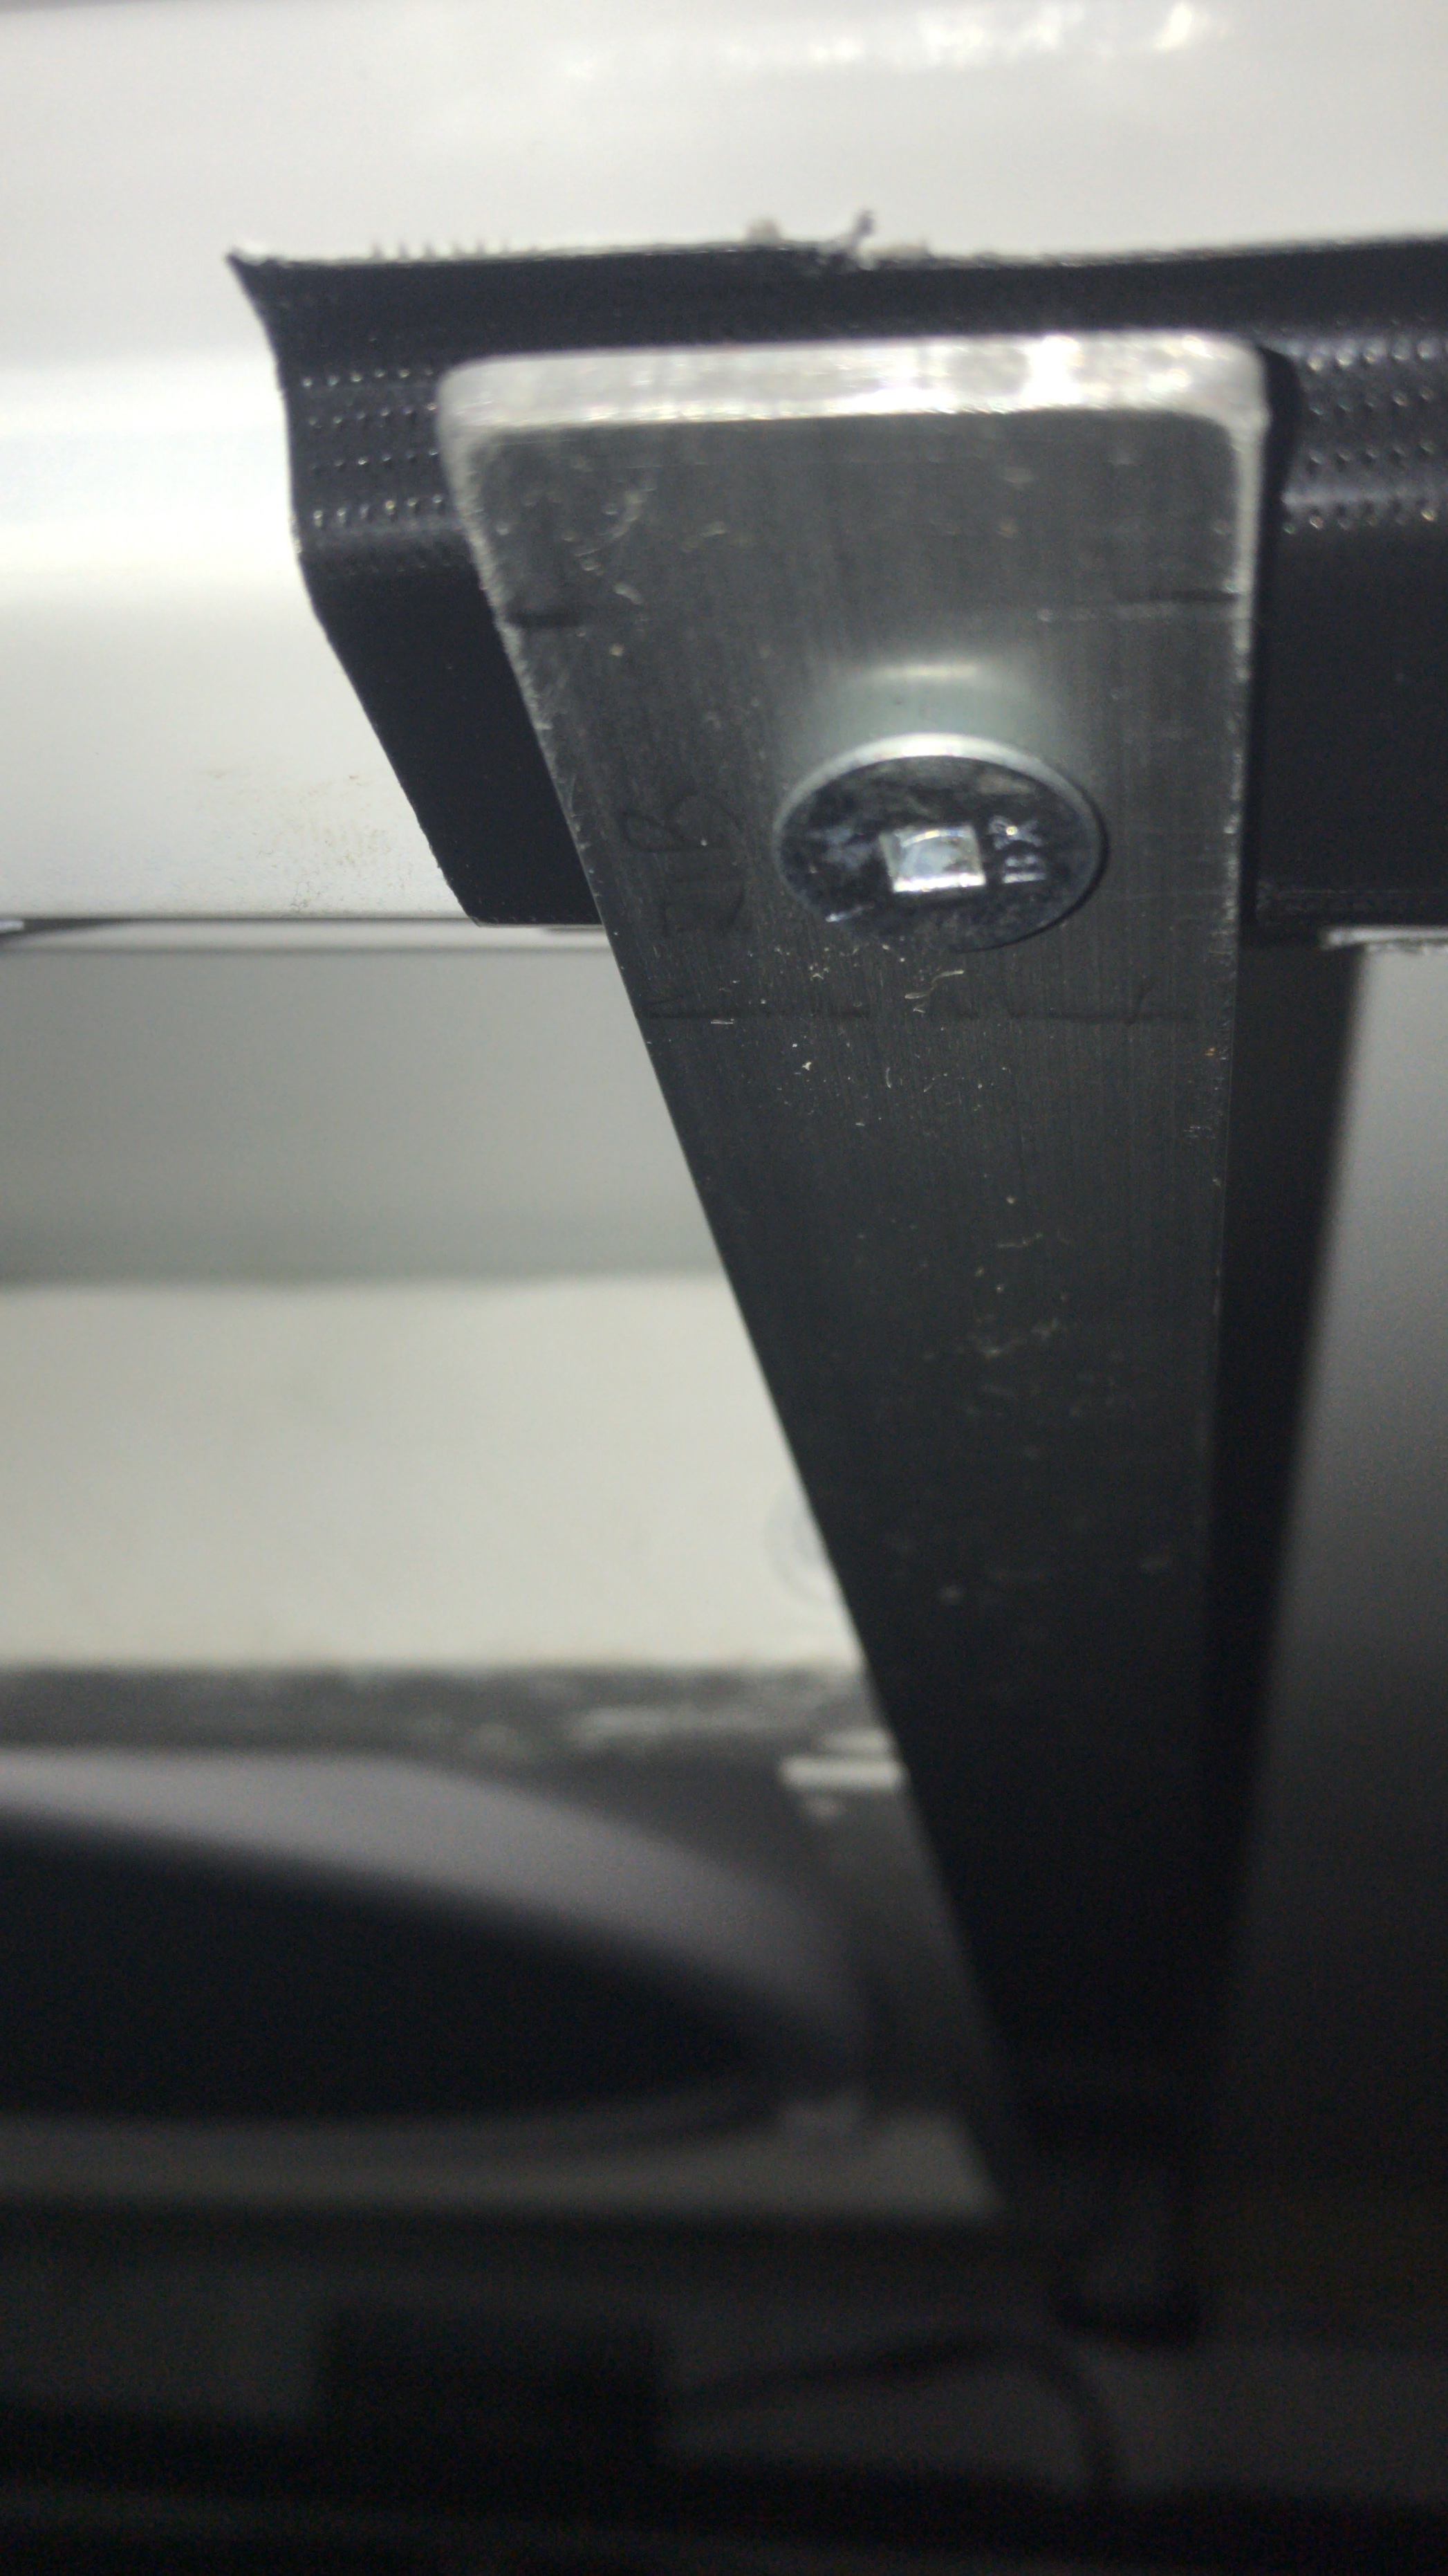
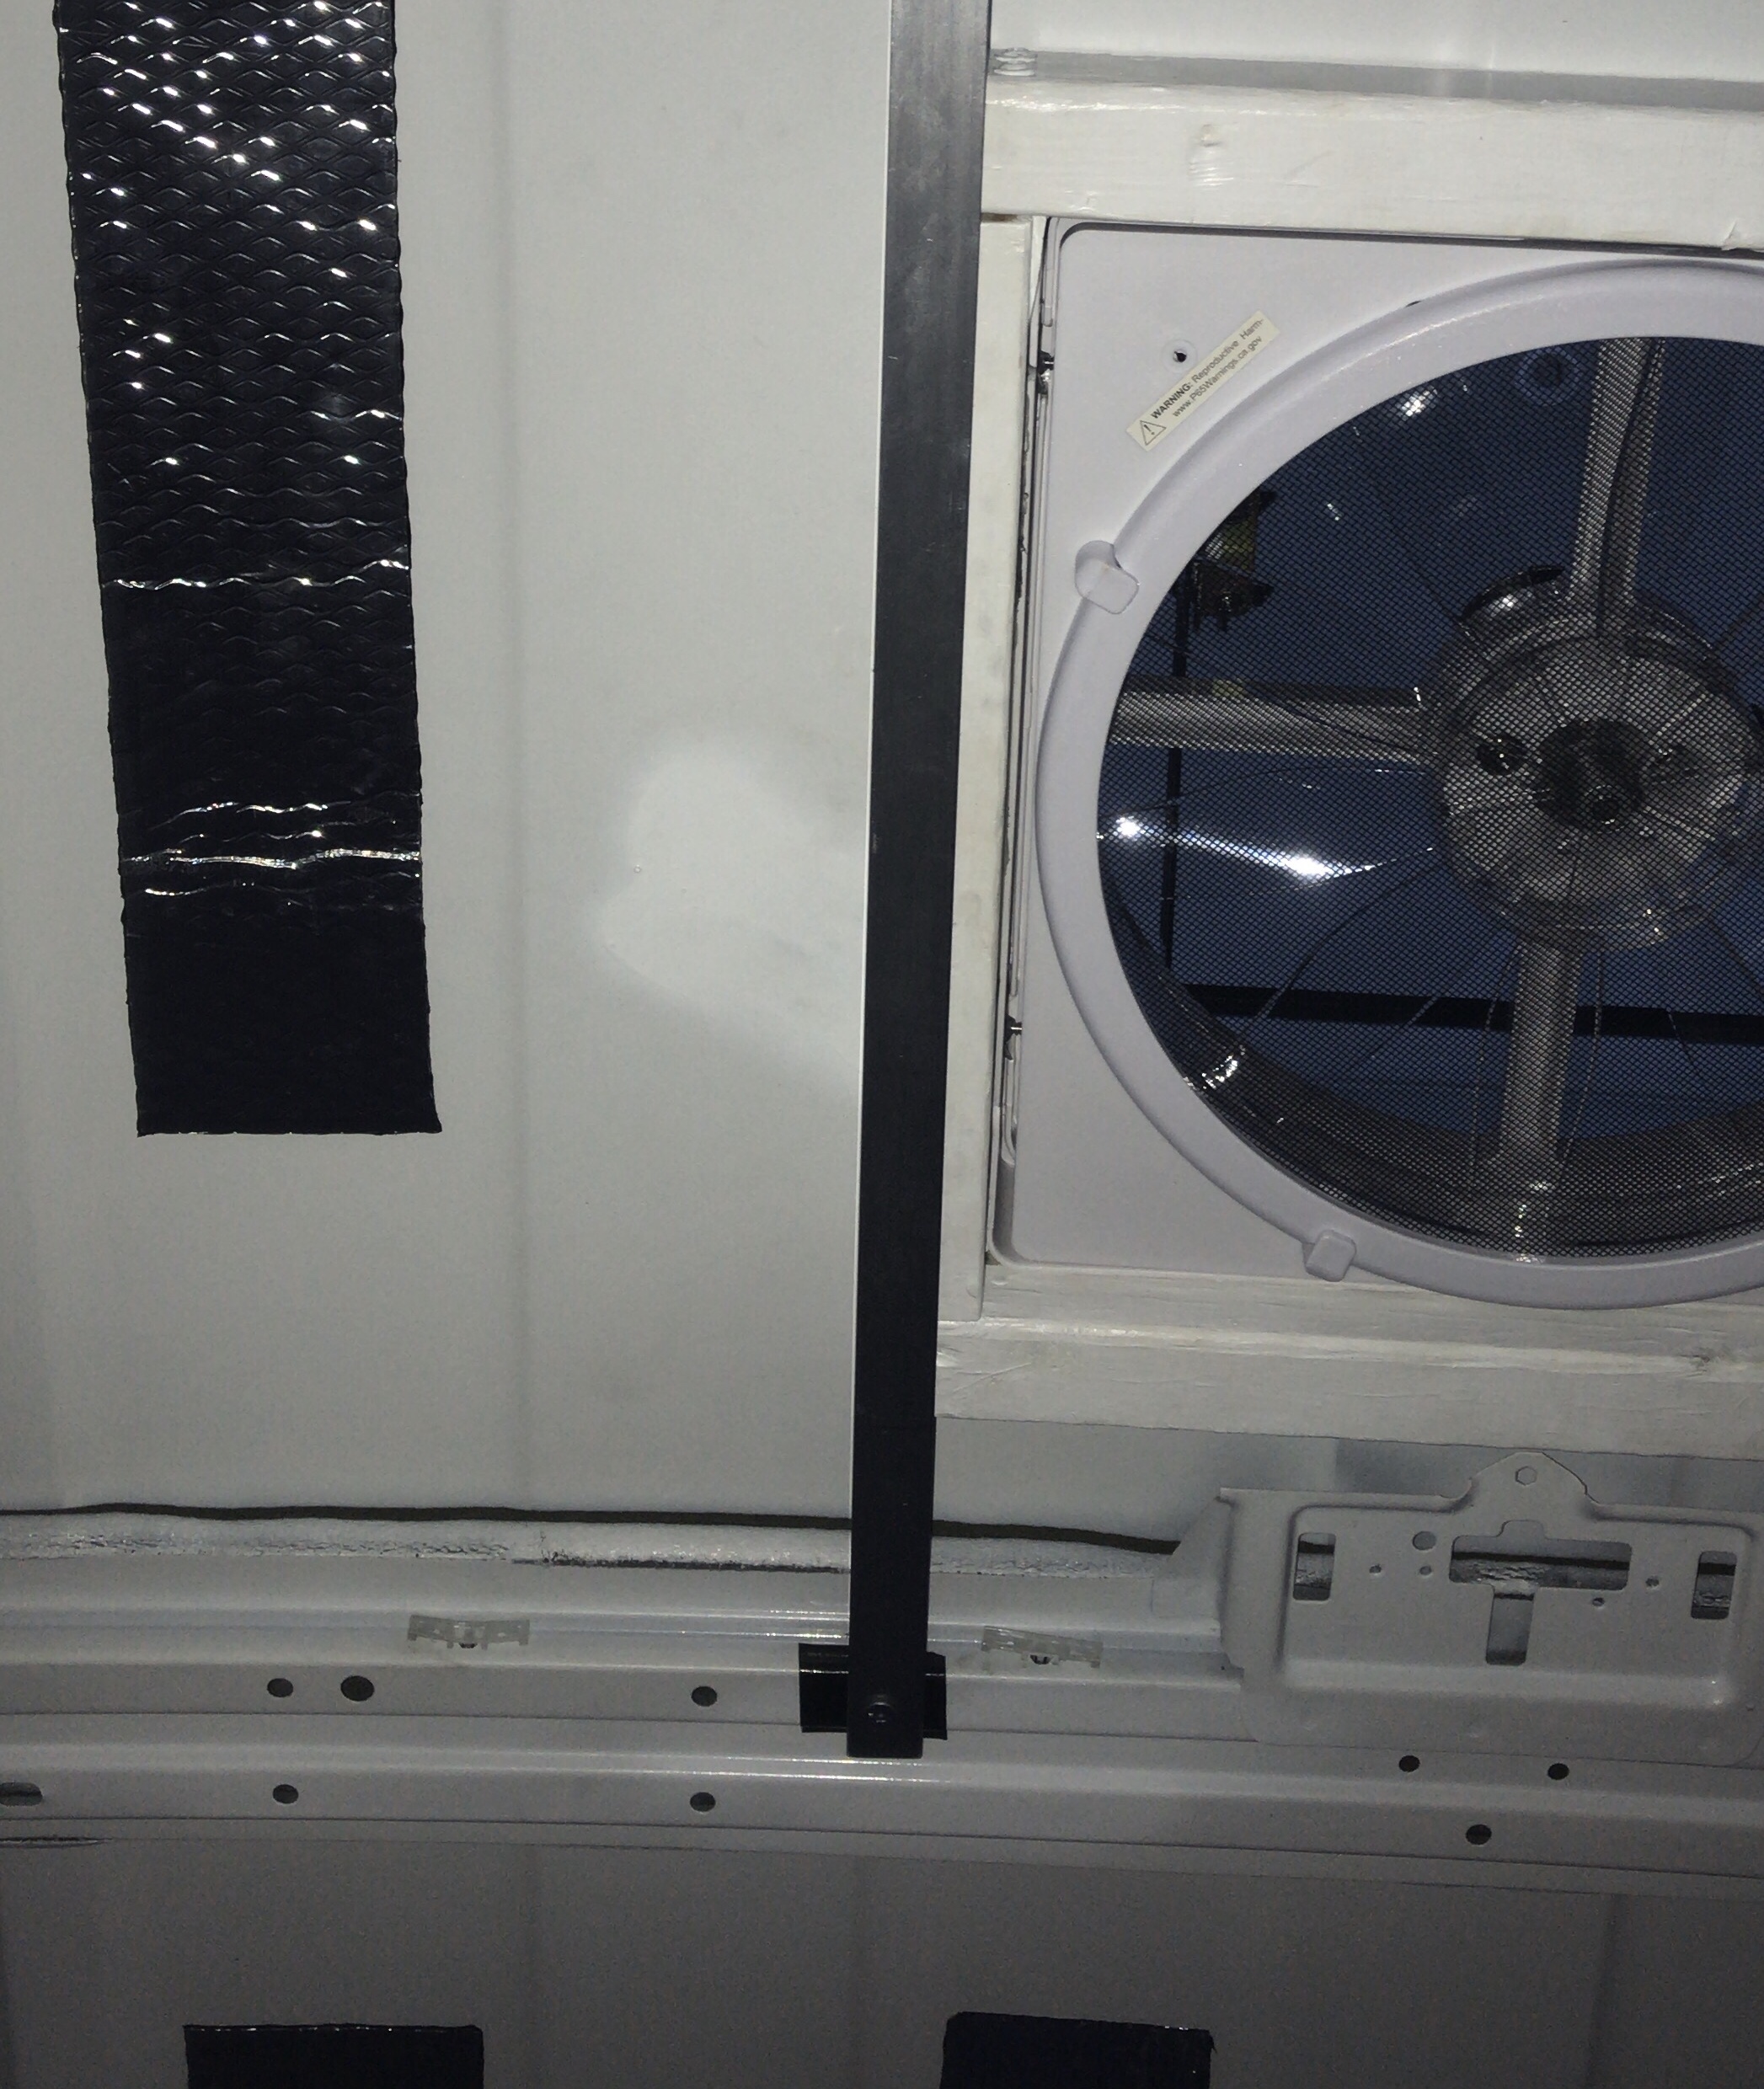
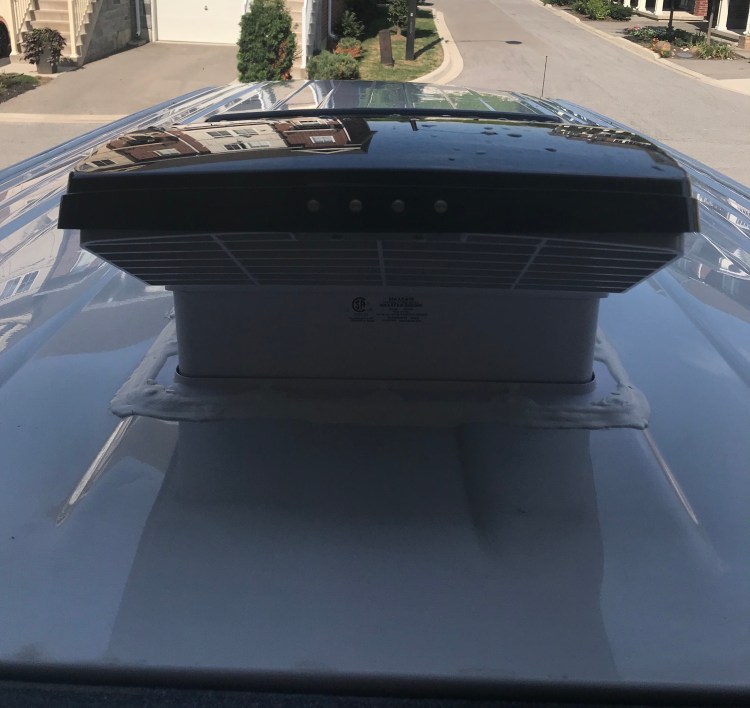
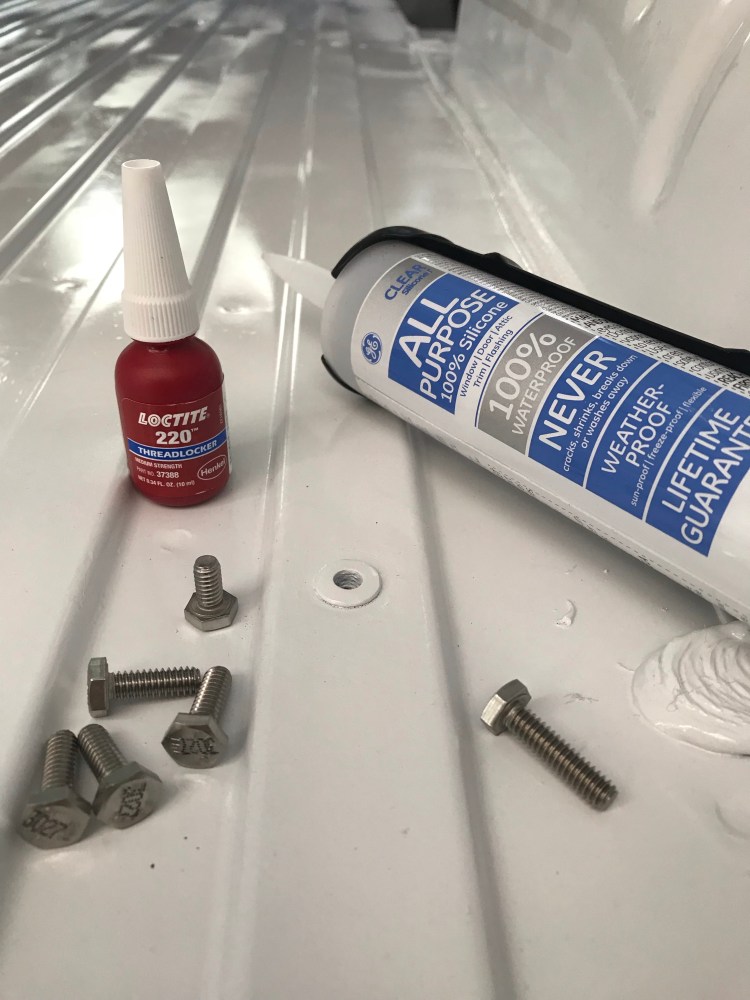
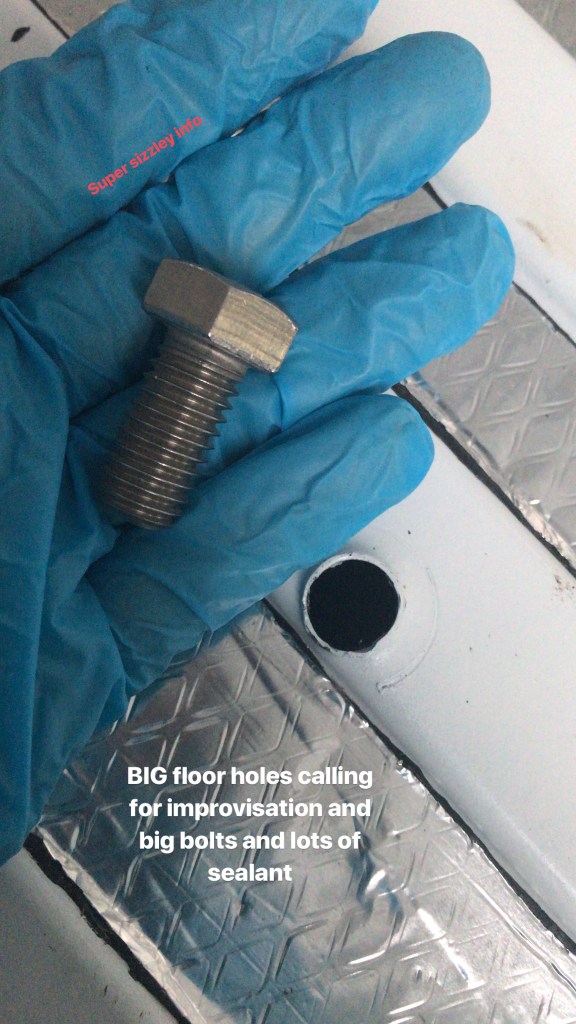
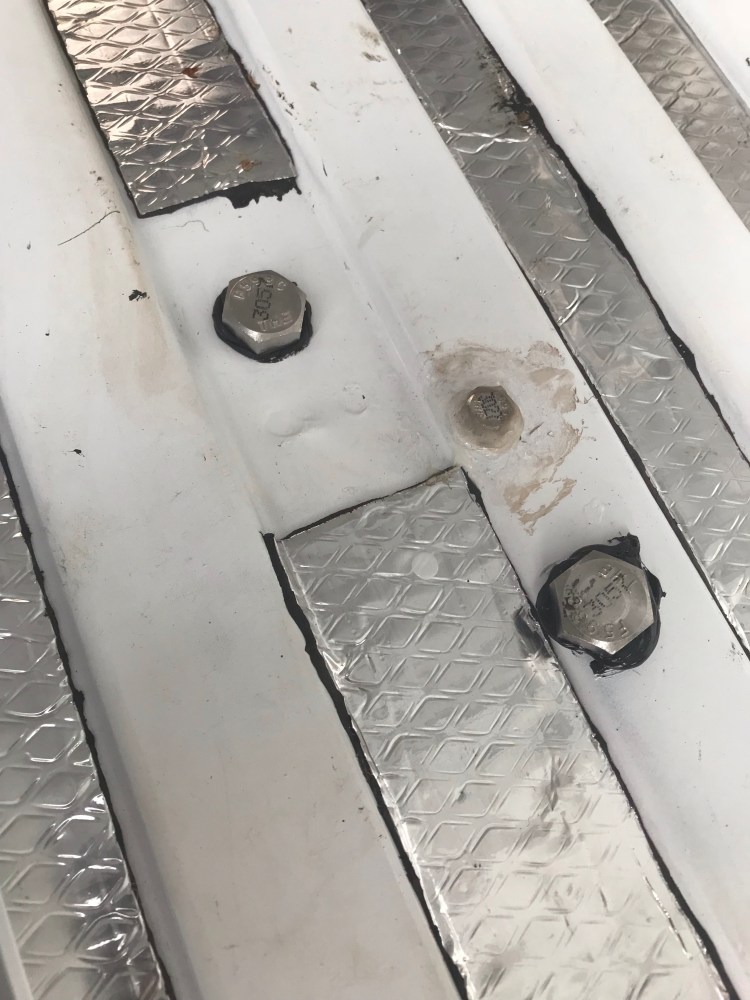
Safety checks. Keep an eye on tire pressure and top up when needed. Monitor for tire wear. Periodically check fluid levels (engine oil, coolant, windshield washer fluid) and top up if needed. Keep an eye on all your lights (signal, brake, night, high and low beams) to make sure they’re all working. Get your vehicle serviced regularly. Also periodically check fasteners to make sure they are still secure and sealants (e.g., around rooftop fan) to ensure no leaks. These two things are especially important for any installations outside of the van.
Van weight. My van is only permitted to weigh a certain amount. The vehicle weight is 2201kg/ 4842lbs and gross weight allowed is 3000kg/ 6600lbs. So I can add (pack the van with) up to 799kg/ 1758lbs (which would still be 600lbs less than it’s capacity). I had calculated a rough estimate of weight added to the van in the build as well as from what I’d pack it with on my travels to ensure I was within this range. But you can also go to a weigh station to see what your load is.
Nature. Different locales have different native species. This includes moose and deer to be vigilant of on roads. How to properly store food so as not to attract bears in national parks, provincial or state parks, national forests, or any wilderness area that has bears. What are the proper practices if you encounter a bear in the wild? Where might you encounter snakes, scorpions, tarantulas, ticks? What insects or plants should you watch for (e.g., poison ivy)? How can you keep ants, mosquitoes, or other critters out of your van? I’ve heard of places where there are critters that like to snack on rubber under your vehicle and people actually have to barricade the base of their vehicles to keep these animals out!
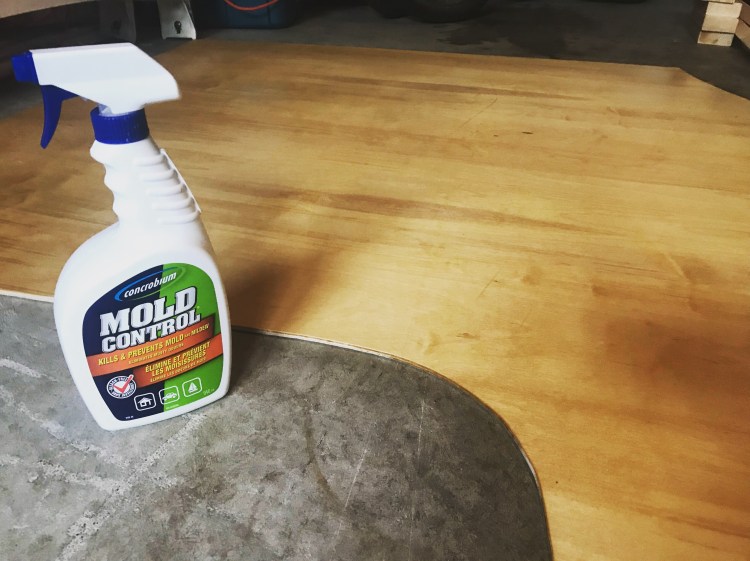
Preventing Condensation/ Mold/ Rust. I think ventilation is the best prevention. So I’ll definitely have the fan hooked up to pull air through the van and moisture out on my next stint. I think having the AC or heater on recirculation mode while driving is also helpful. Avoid bringing wet clothes or towels into the van. Use quick drying fabrics as much as possible (e.g., microfibre towel). If using a heater, dry heat is ideal, though maybe harder to have (e.g., wood stove). I’ll be building my bed with slats so the mattress can air out. Here is an informative article on the topic.
WiFi. Public WiFi – that’s all I did!
Sights & Experience
It was absolutely surreal to be back in Mount Pearl, NL, after having left for what I deemed the final time three years prior. It’s amazing the memories and emotions that begin to flood back.
Upon my arrival I met up with some friends who were staying at a downtown St. John’s Airbnb and they let me use their shower – which felt magical. We caught up over a beer and I scouted out a Walmart for the night.
The next day was my friend’s wedding, and basically a high school reunion. It had been a long time since I’d seen some of my best friends and it was great to see them all.
The first week in Newfoundland was a bit odd as I adjusted to being there. I had known going in that there would be a lot of emotions bubbling up. Childhood and teenage memories, baggage from the past, and being in the place where my Dad had passed away.

The only reason I’d been in NL three years earlier was to get closure, be with family, and help my mom sell my childhood home and move. When we left I knew that I would need some space. If I’m being honest, I wasn’t sure if I’d ever come back. But at the very least I knew I needed time and space so I could heal and get perspective.
I did that. And now I needed to be back so I could dig up the remaining vestiges of a life long gone. I needed to see what still hurt, what was still holding me down, so I could explore “why”, work through it, let it go, and move forward.
Through meditation and time in nature, I was able to do this.
My first week or so on the island was spent seeing friends, who I am so grateful to have been able to reconnect with. I feel like I strengthened a lot of bonds.
Following the wedding and socializing, I decided to thru hike Newfoundland’s East Coast Trail (I have a blog post that goes into detail on that). I took a week or so to plan it out. I bought maps, organized my route and schedule, researched best practices on the trail, made a list of supplies, and then went out and bought everything I would need.
I had one amazing friend offer to drive me to the southern trailhead at the start of my trek. I had another amazing friend who offered me a place to park my van while I was on the trail. And I had a third amazing friend who picked me up at the end of my hike.
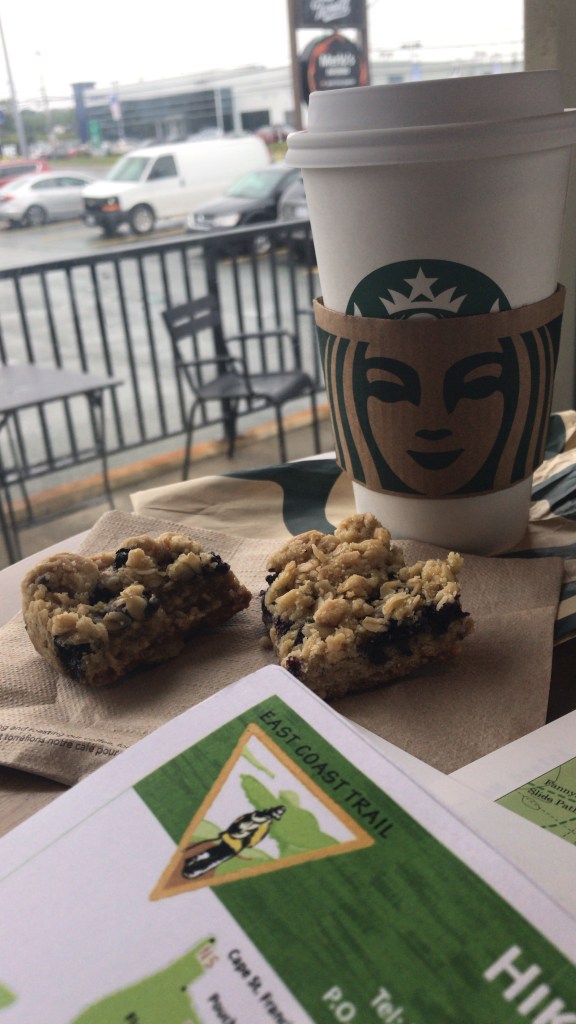
The thru-hike spanned 15 days, followed by several recovery days. As my body healed, I slowly reintegrated and made plans to see my friends one more time before leaving the island. I frequented Starbucks for their wifi as I made plans for my route and activities on the road trip west.
I hadn’t planned on being in NL for 7 weeks, but time flies. My motto on this trip had become “go with the flow”. And I started jumping at every opportunity that presented itself and trusting my gut on where I needed to be. I even made it out to George Street Festival and Quidi Vidi for the Regatta!
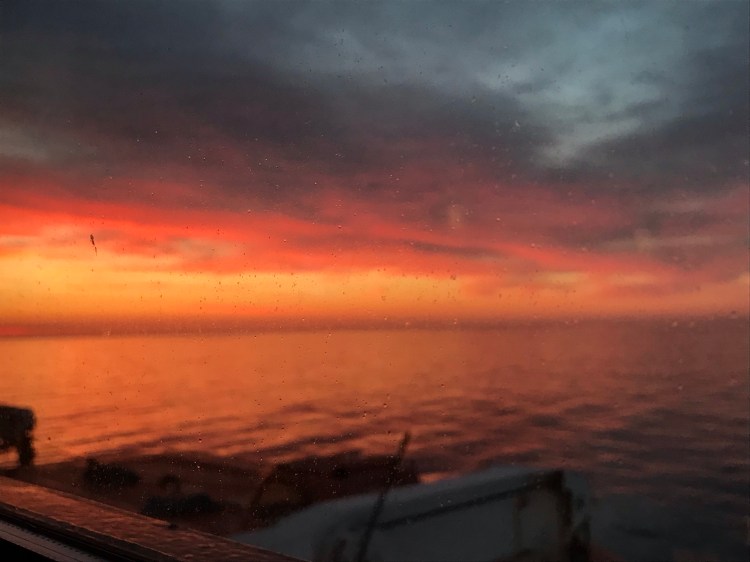
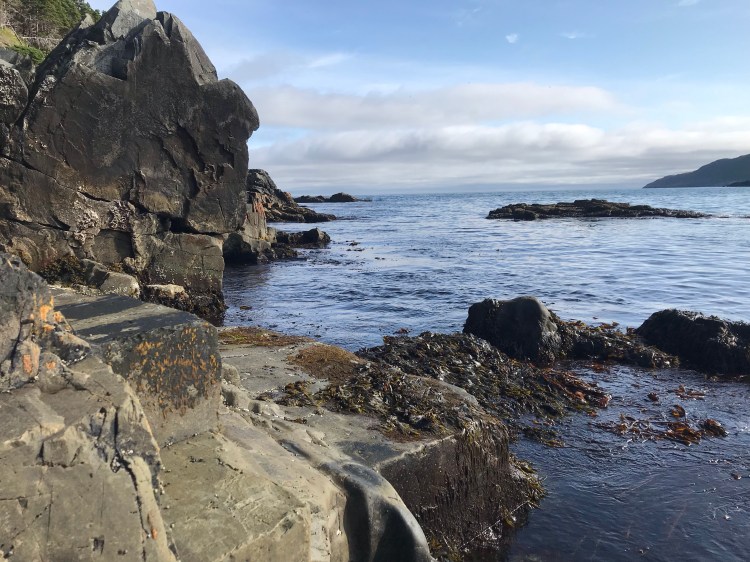
In the end, I got what I needed and more from being in Newfoundland. One morning, after sleeping at Middle Cove Beach, I did a meditation on the beach.
I realized that this trip back to a place that means so many things to me, was about reclaiming its meaning – defining it in a way that served me, rather than making me shudder. I could let the memory of my Dad dying colour things, or I could focus on the good memories of him and celebrate the opportunity to connect with those vibrations of his life that the land still holds. I could hold on to teenage baggage, or I could let it go and decide what part of the island makes me happy (namely, the coastal hiking and some special people).
So what does NL mean to me? It’s a place that had a hand in my formative years. It’s a harsh environment that conditions you to be stronger and able to weather the storm. It’s rugged beauty that is appreciated because of what it’s been through. It’s the ocean – ancient wisdom and cleansing waters and refreshing salty air. It’s the trees and the crows and the whales. It’s the handful of people who will always have a special place in my heart. It’s the place where I found myself when I had lost everything, embarking on a spiritual journey. And it’s a place that will forever resonate with echoes of my dad’s life. And I have to be so grateful to be able to visit this place.
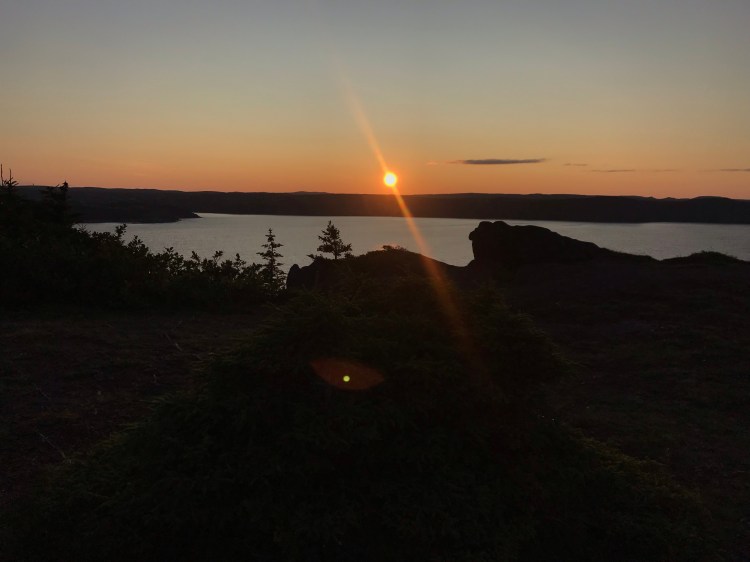
The impact that nature had on me on this trip was undeniably palpable. The thru-hike showed me what it was to be at peace. And getting out onto the ocean had the power to completely transform my demeanor. I was in NL on the anniversary of my dad’s death, feeling pretty low, so I decided to go out onto the ocean to watch the sun set – and I swear I was not the same person afterward. It was like all my pain had simply melted away – everything was okay again.
Prior to starting my drive off the island, there was one thing I’d chickened out of doing. The urgency that fills you when you realize it might be your only chance to do something (which happens often on the road, always moving place to place) pushed me to “just do it”. I was really nervous, but also exhilarated. I never want to regret the things I don’t do. And this experience taught me the importance of going for every opportunity that presents itself. To put yourself out there – because what do you have to lose? Van life taught me this lesson and I am so grateful for it. It’s how I want to live my life.
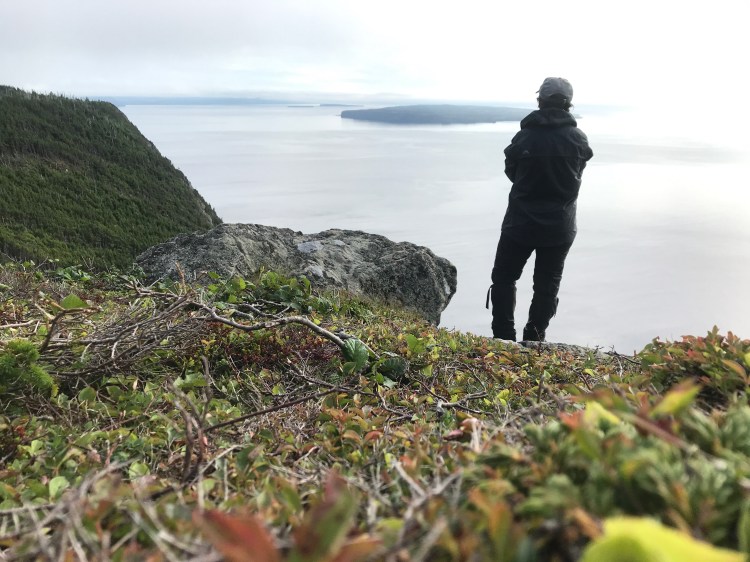
Finally, I started driving west. Before leaving the island I had a couple of choice hikes to get under my belt. The first was to Butterpot Hill – a hike I used to do with my dad.
Butterpot Hill 
At the top
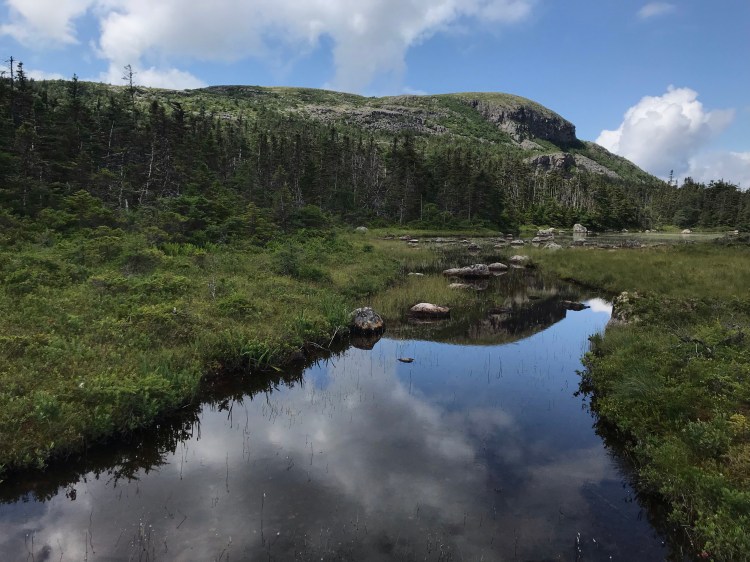
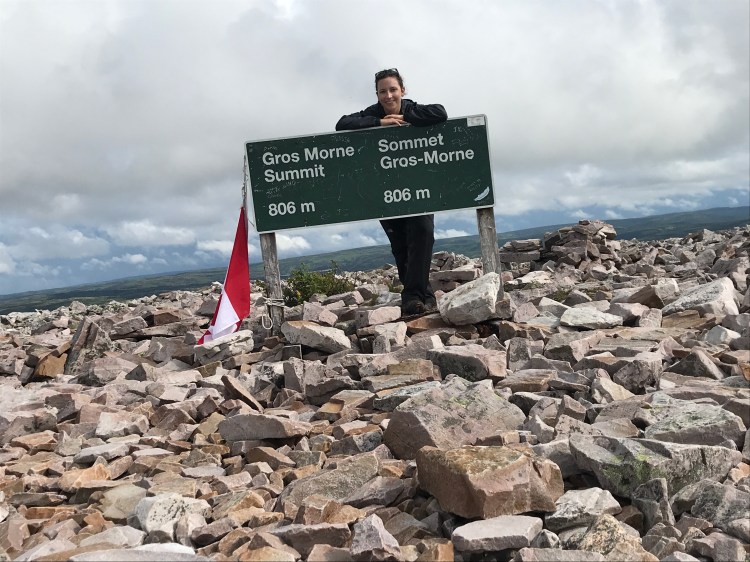
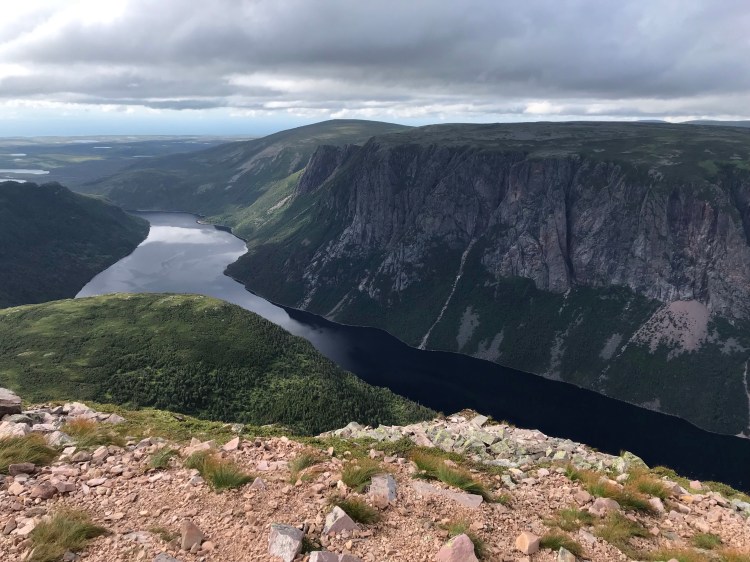
The next stop, and you could call it unfinished business, was to hike the Gros Morne Mountain Trail. As a kid we did a family vacation to the area and while my Dad did the hike to the summit, I had not been allowed due to inappropriate footwear. As an avid hiker, this had always stuck with me. Having come back to NL in large part for closure, it was important to me that I get to do this.
But it wasn’t looking good on the drive up. The skies were ominous and they opened up with thunder, lightning, and torrential rain. I had to pull the van off the road due to impossible visibility and a fear of hydroplaning. It wasn’t looking good for my hike – which was 16km. I didn;t want to give up, so I kept driving till I got to the trailhead. I had seen flashes of blue sky here and there and the rain seemed to have gotten lighter. I decided to dawn my rain gear and start the hike. It was 4km (about an hour) to the base of the mountain, so I figured I could get to the base and make the final decision there.
It kept raining, with intermittent downpours and thunder and lightning. The trail became a river and I must have passed about 20 people going in the opposite direction, one yelling out to me that I was “going the wrong way”.
But by some miracle, as I reached the base of the mountain, the sun came out. The rain had stopped. Things were actually drying out a bit. Signs warned that if you could not see the top of the mountain that you should not proceed. I could see it. While I could hear the thunder in the distance, I went for it. And by some other miracle the rain held off until I was within a kilometre of my van – only starting to pour again once I’d gotten safely inside! I did it! And it was well worth it. My heart was full and I was ready to leave the island…

Following the ferry ride to North Sydney, I decided to head down to Nova Scotia to explore and visit a friend.
On my way north from Halifax I made a quick put stop in to Amherst, Nova Scotia. Years ago I’d stayed at a motel and had a paranormal experience. I’d always regretted not asking the attendant if there were any corroborating stories about the place being haunted, so I figured, what the heck? I was passing through anyways. Unfortunately this attendant just looked at me like I was crazy… Oh well.
Then I was off to Moncton, Fundy National Park (where I hiked and saw the Hopewell Rocks), and Fredericton to plan a week in the states. I spiced things up by going to see movies some nights.
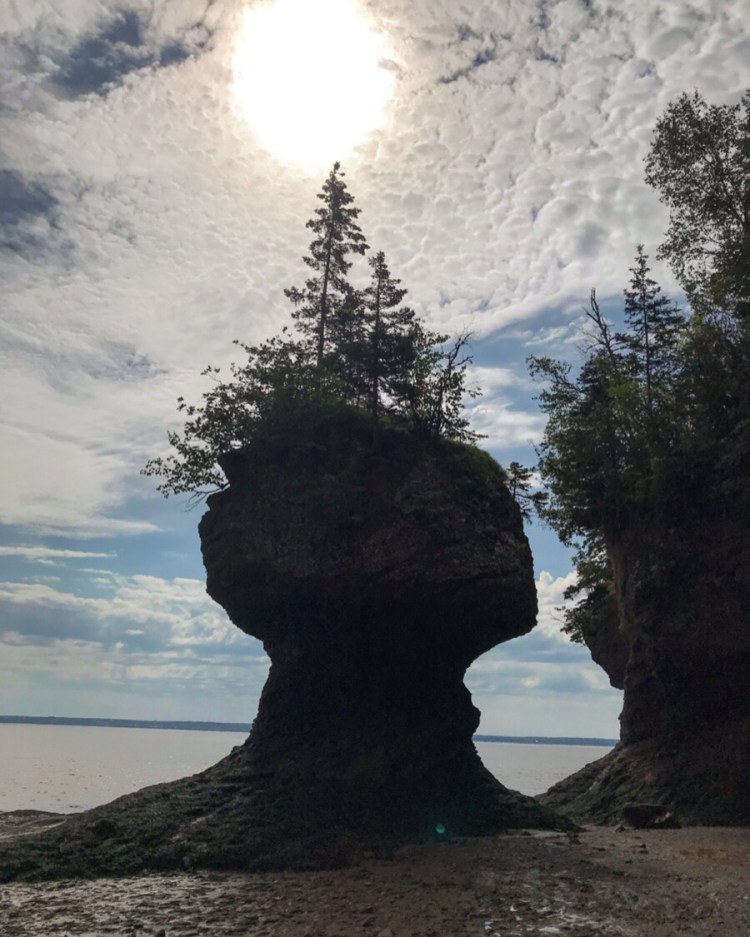
Hopewell Rocks 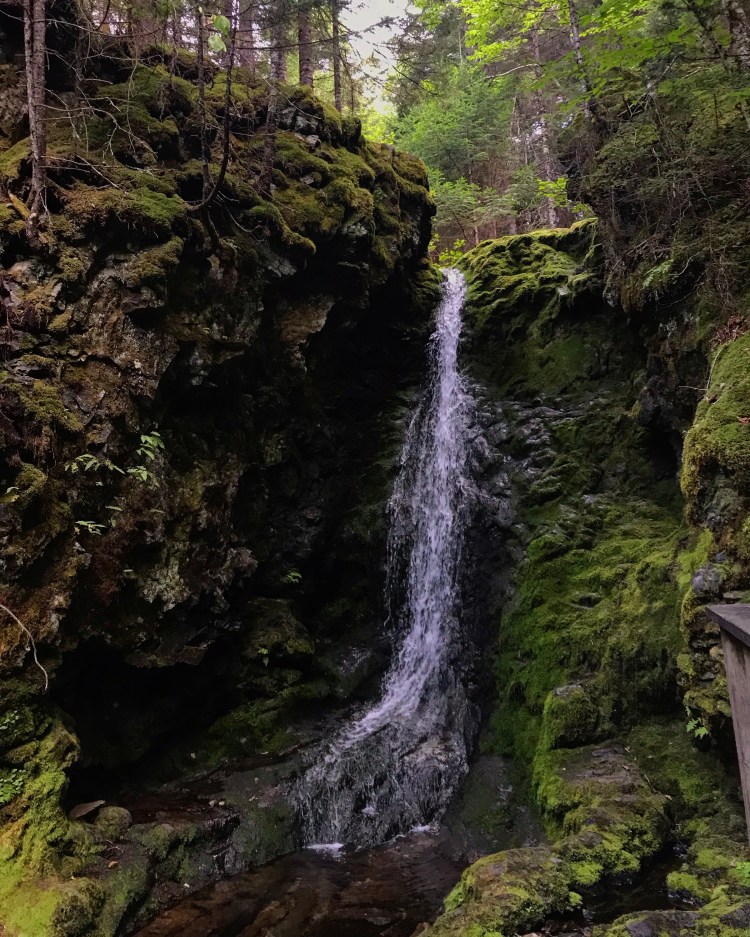
Dickson Falls, Bay of Fundy National Park
Crossing the border into the states is always nerve-racking for me. I made sure I was presentable and the van was tidy. I had booked a campground in Massachusetts so I had a destination to reference. I have nothing to hide and pure intentions, but my heart always starts to race as I approach the agent on duty. This time around the guy seemed friendly, but then out of nowhere asked, ”so what have you been arrested for?”, followed by, “give me one reason why I shouldn’t think you’re going to stay in the US”. I was dumbfounded. I’d never been arrested in my life. And since I’d been on the road and living in a van I didn’t exactly have roots, like a job, to show I had something holding me in Canada. It was just my word. I think it was purely a judgment call, and thankfully he let me through.
It took about an hour of feeling guilty, as if I’d done something wrong, before I shook the feeling and felt grateful for the opportunity to explore new land.
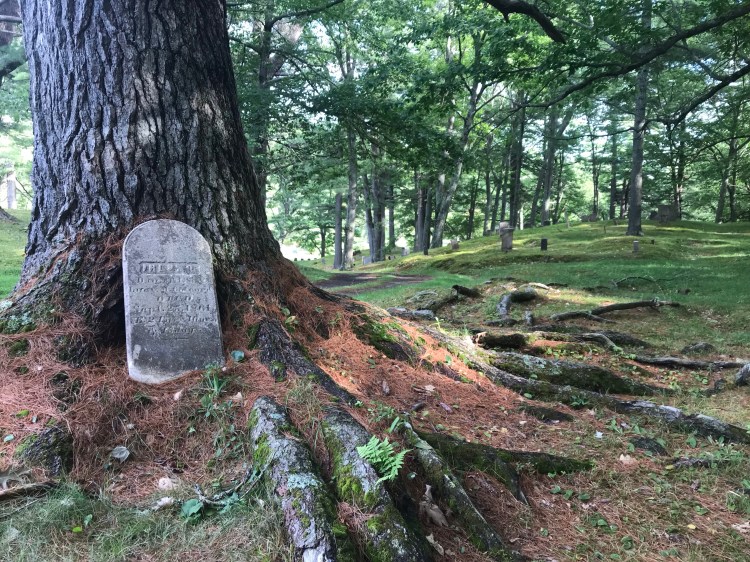
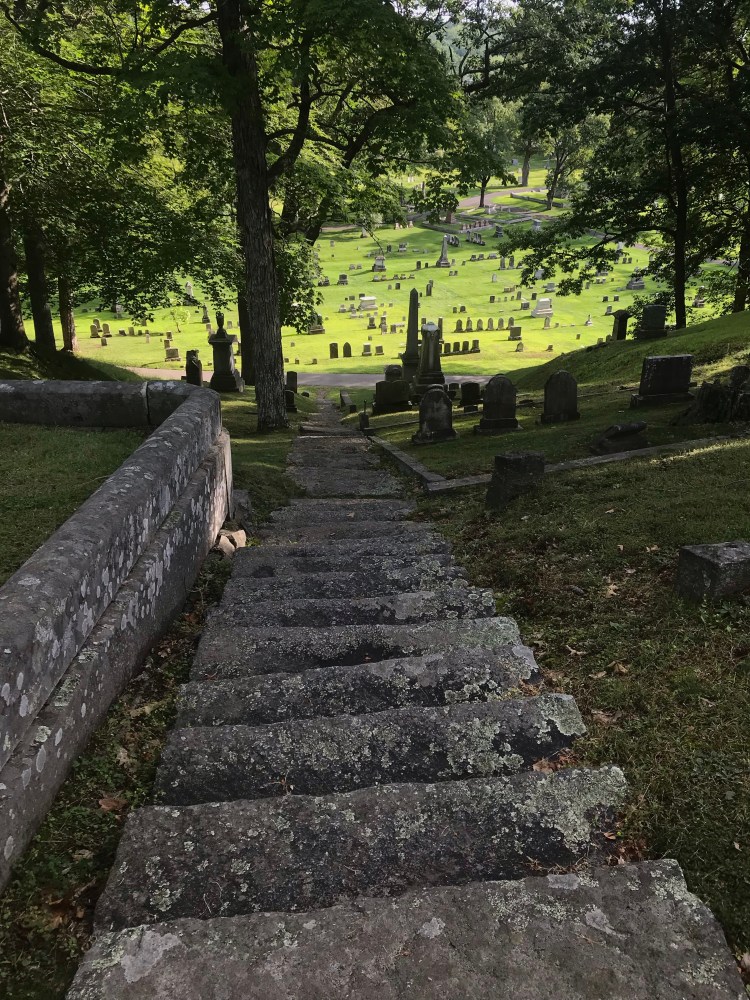
I headed to Bangor, Maine to explore some Stephen King landmarks, starting with the Mount Hope Cemetery. This is where part of Pet Sematary was filmed, and it is said Stephen King likes to go for walks here. Truly, a beautiful place.


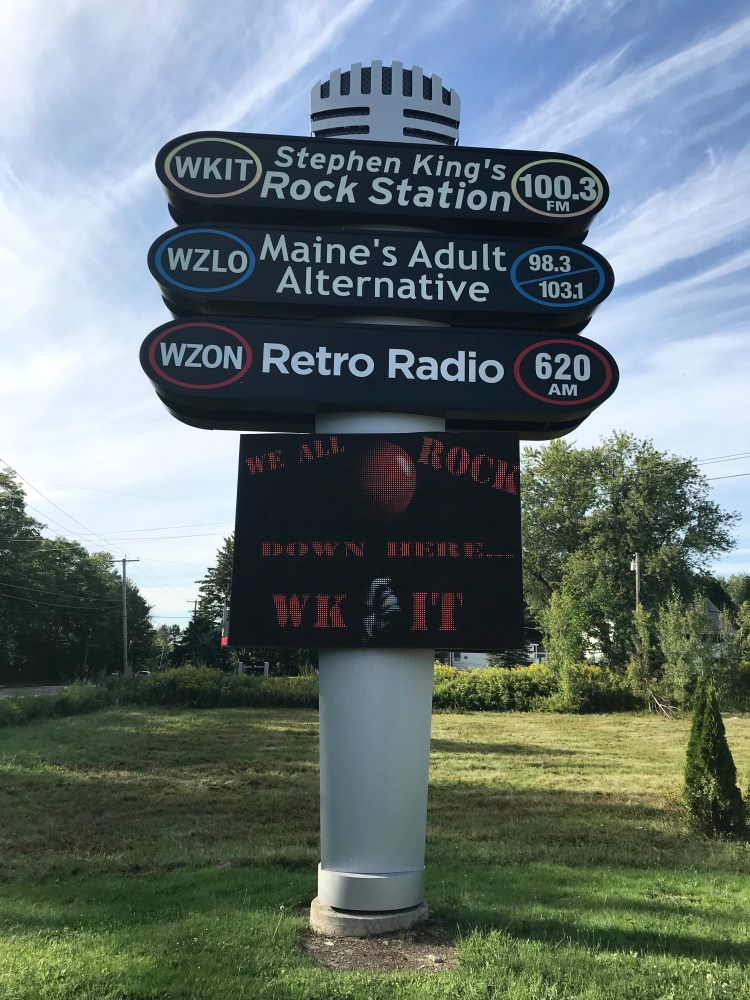
I then drove to the radio station that Stephen King owns… yes, he’s that cool. And it’s a rock radio station – I was listening to it as I drove through the area and it was pretty good! The sign for the station, 100.3 WKIT (sounds like wicked, the K is for King, the IT is for… well, you know) showcases a red balloon and their slogan, “We all rock down here”.
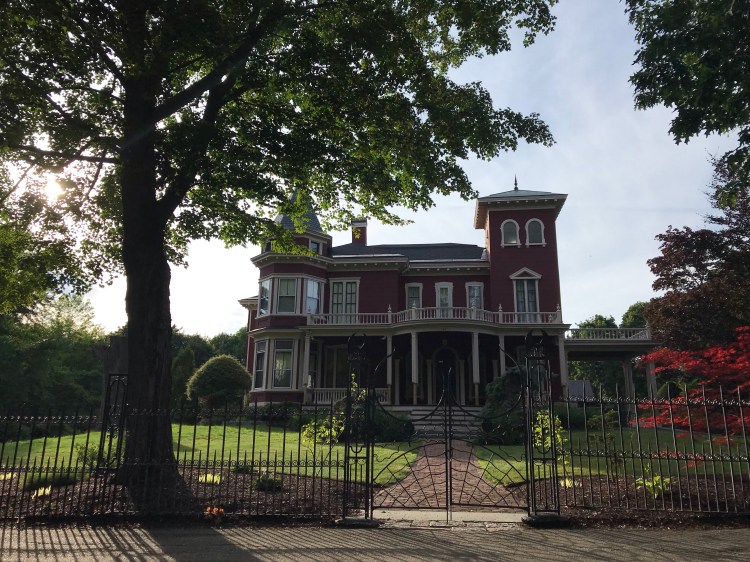
Finally, I drove by King’s 19th century red Victorian mansion, enclosed with wrought iron fencing that takes on the shapes of bats, spiders, dragons… my dream home really.
I proceeded to spend the next week exploring Salem, MA and the surrounding areas, including Boston. There is such a rich history here, whether it be the 1692 Witch Trials, maritime history, colonialism, or architecture, there is sure to be something of interest for anyone visiting.
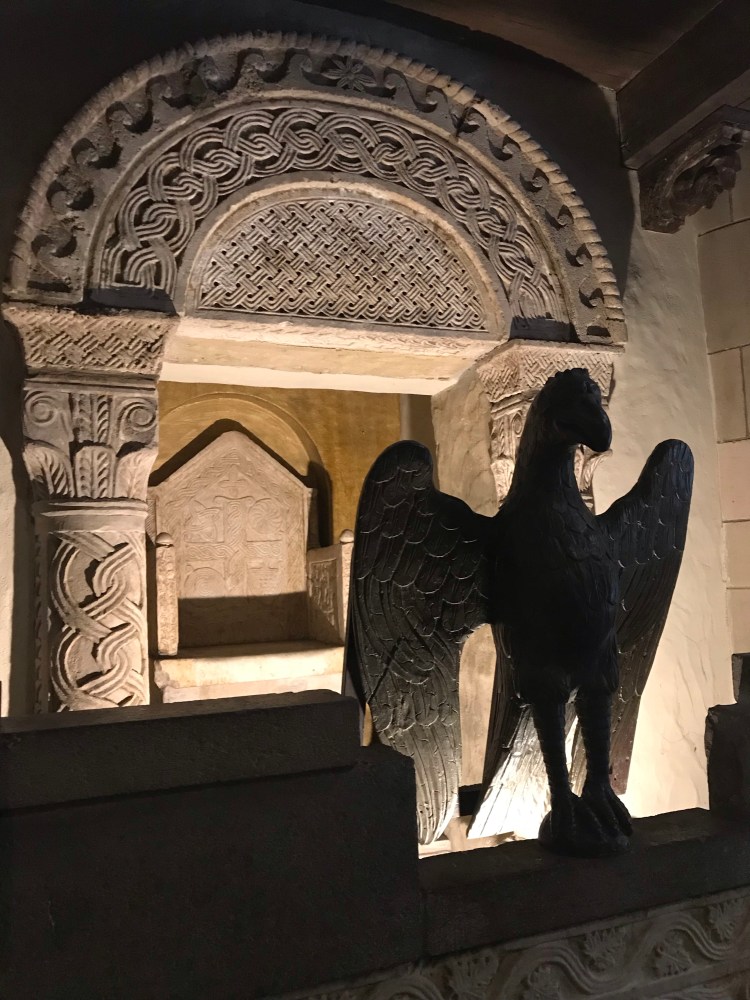
Prior to arriving in Salem, I did a tour of the beautiful Hammond Castle in Gloucester.
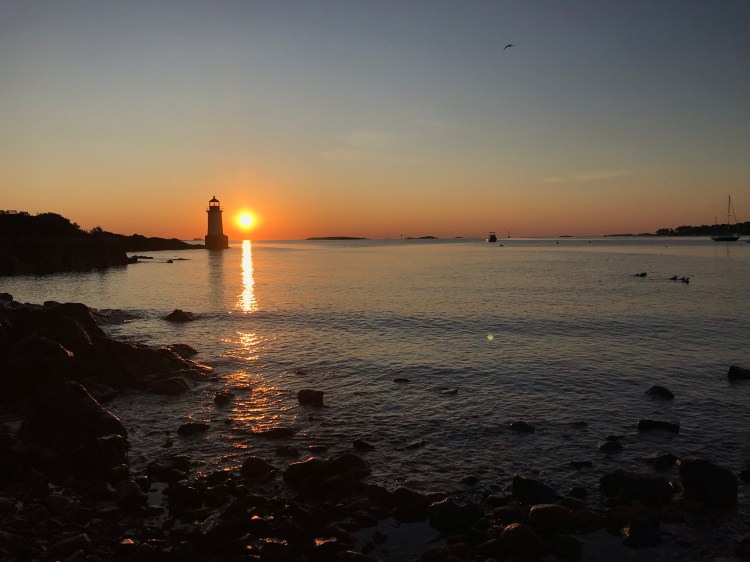
I stayed a few nights at Winter Island campground, which is a 15-20 minute walk from downtown Salem (with trolley available) and close by the ferry to Boston.
I did a day trip to Boston, taking the ferry. I explored King Chapel Burying Ground (est. 1630) and Granary Burying Ground (est. 1660) where the likes of Paul Revere and Samuel Adams are buried.

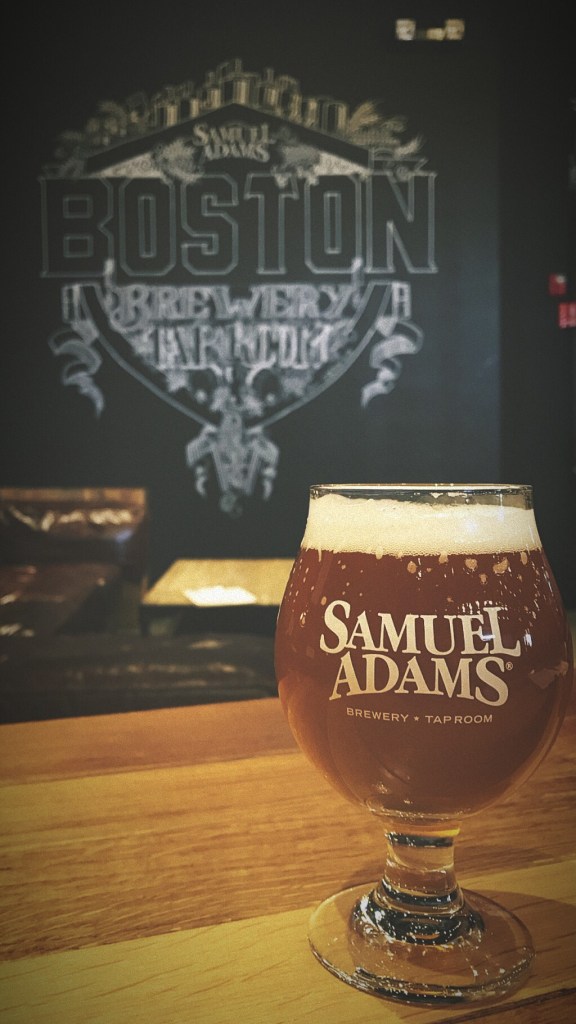
I then took the subway to the Sam Adams Boston Brewery, where I took a free tour and sampled some wonderful beers.
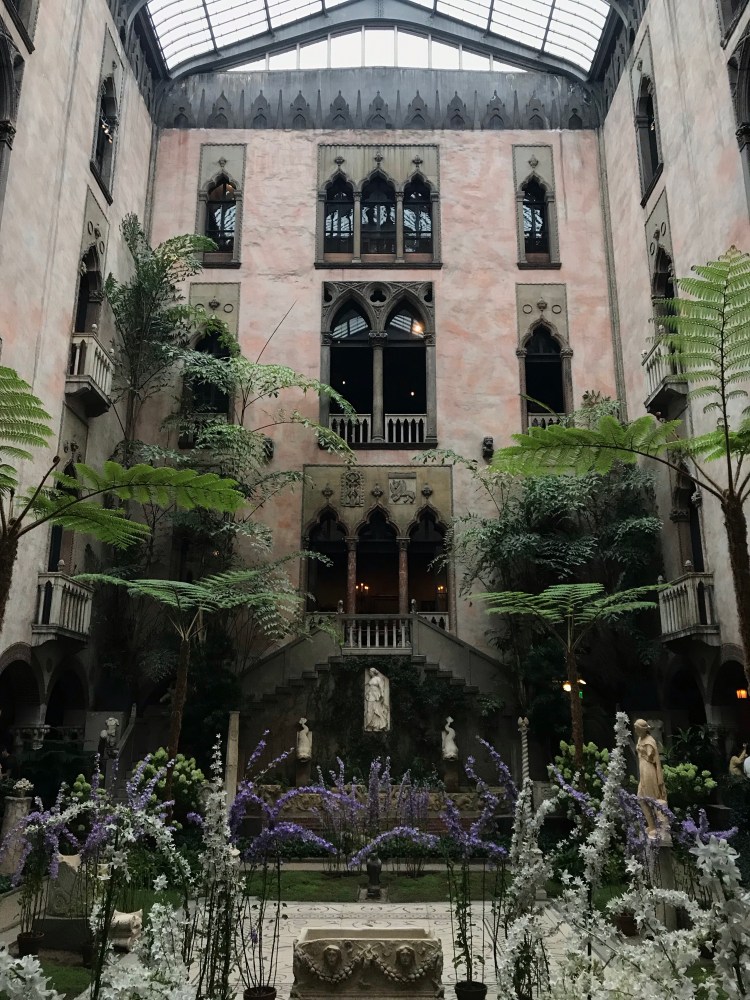
Finally, I visited the Isabella Stewart Gardner Museum, which was very beautiful.
Salem is one of my favourite places to visit, so I savoured my time here (and had a hard time leaving). Here are a few of my favourite memories from this trip:
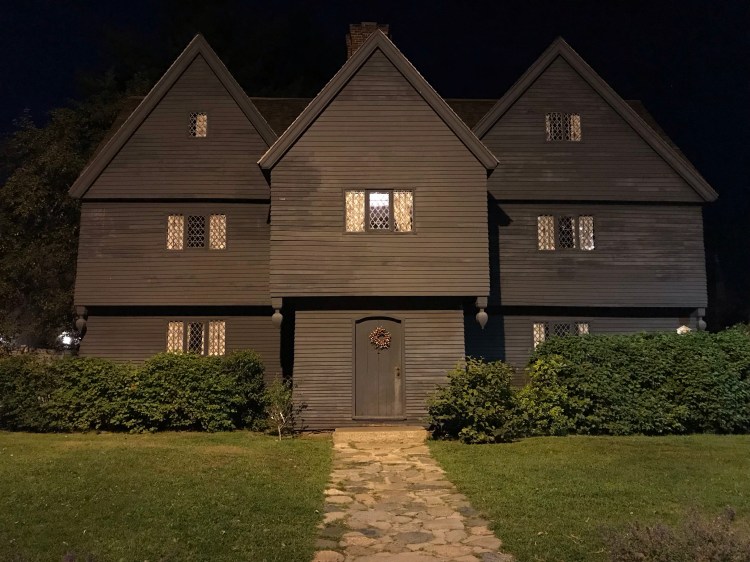
The Witch House 
Rebecca Nurse Homestead 
Ropes Mansion 
Bewitched Statue 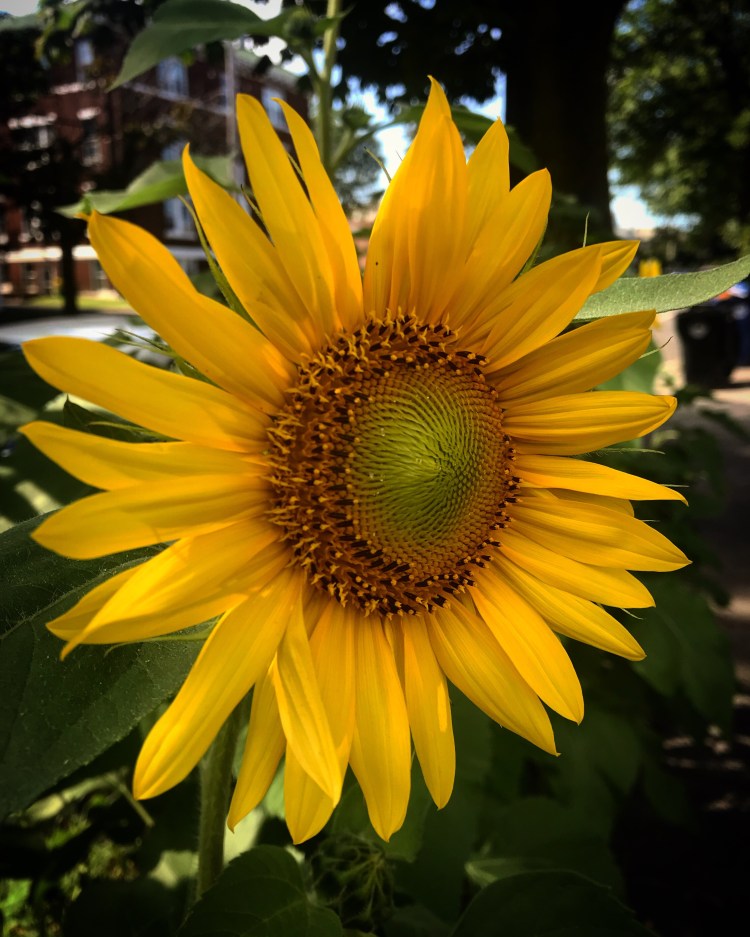
A magical crescent moon in a sunflower 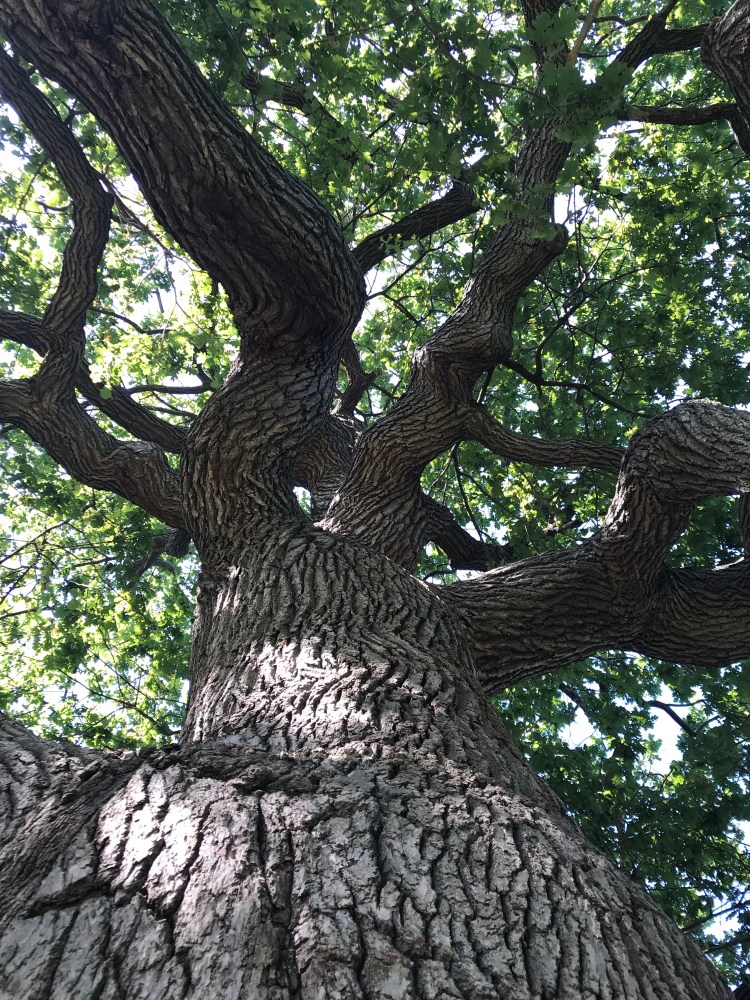
My favourite tree in Old Burying Point Cemetery 
Hocus Pocus House
It was a beautiful drive back to Canada. The border crossing was quick and painless (hoorah!).
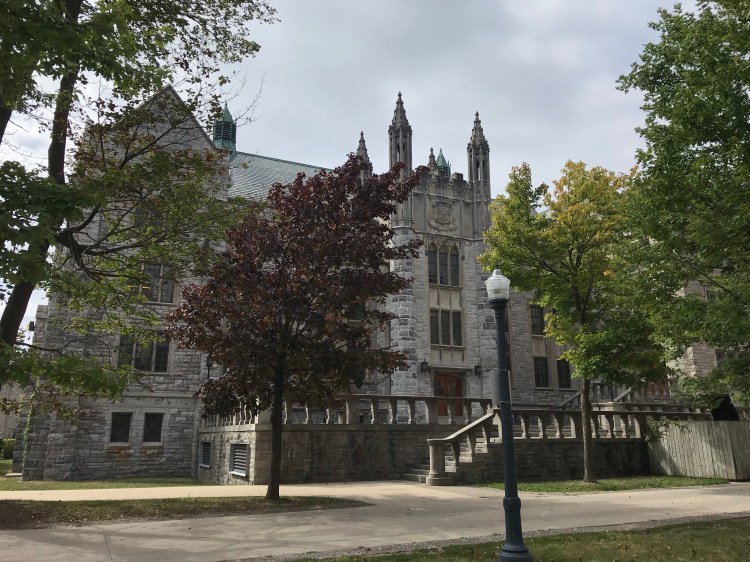
I visited Kingston, where I’d gone to University, and met up with a friend for beers.
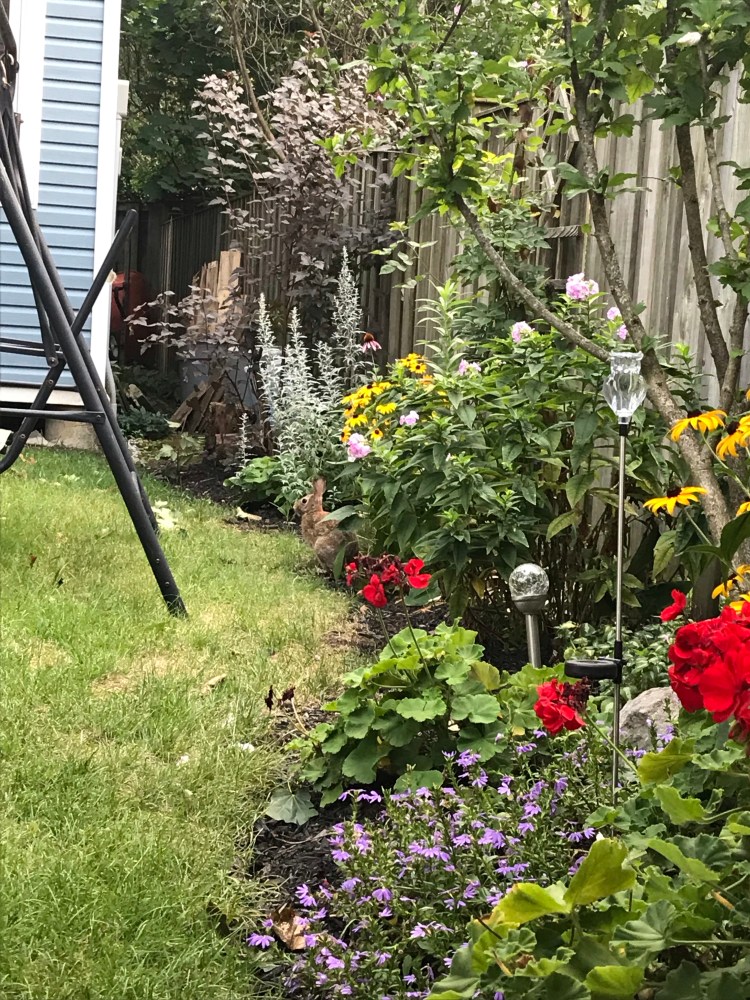
I then made a pit stop into Ajax to see some family, where we had a special scavenger visitor…
I finally returned to Burlington. Although I had access to a bed for the first time in a long time, I stubbornly spent one more night in the van – not wanting this leg of the trip to come to an end (how things change!).
Highlights
This trip was an amazing experience. I was fortunate to be able to visit some magical places. Here are some of my favourite things…
Strider in the wild:

Mornings 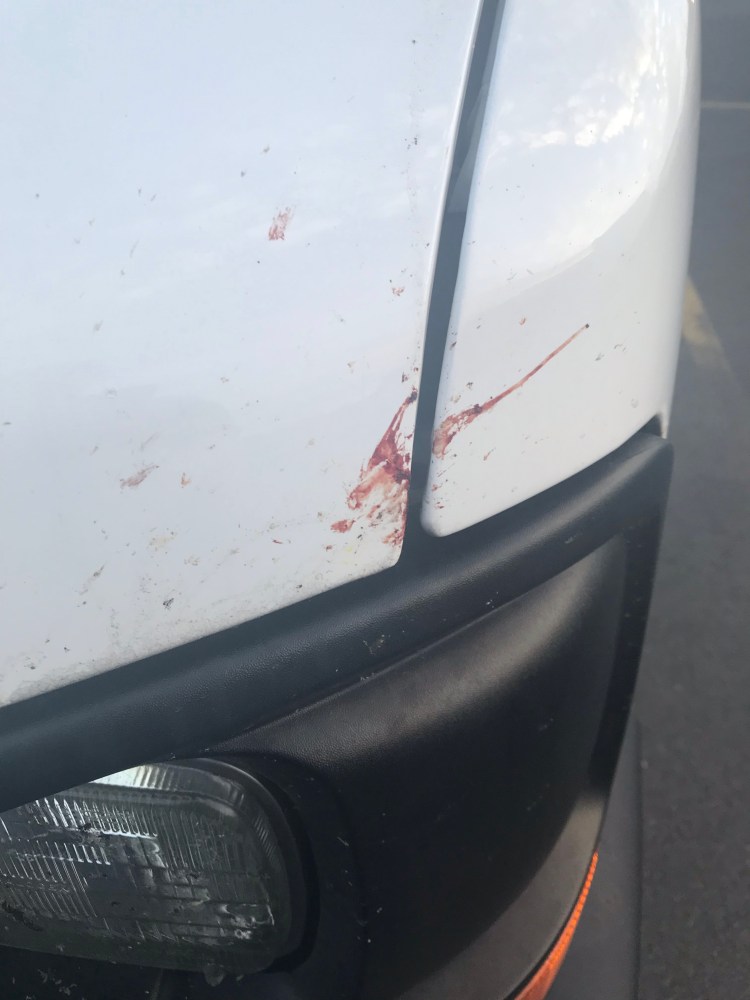
Bug guts 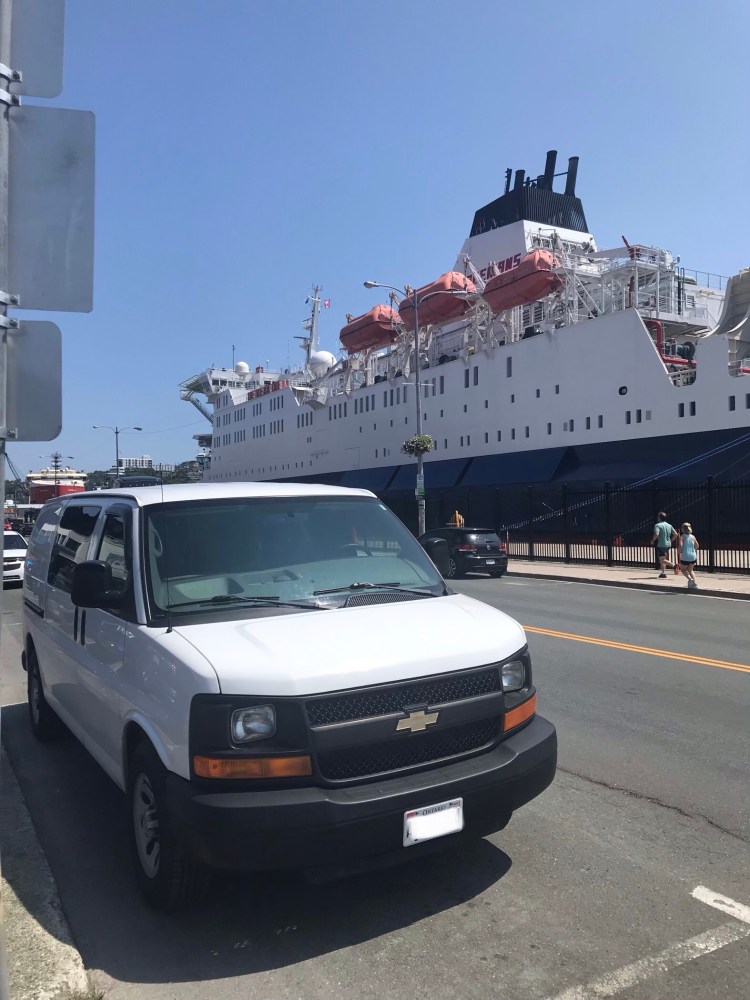
St. John’s Harbour 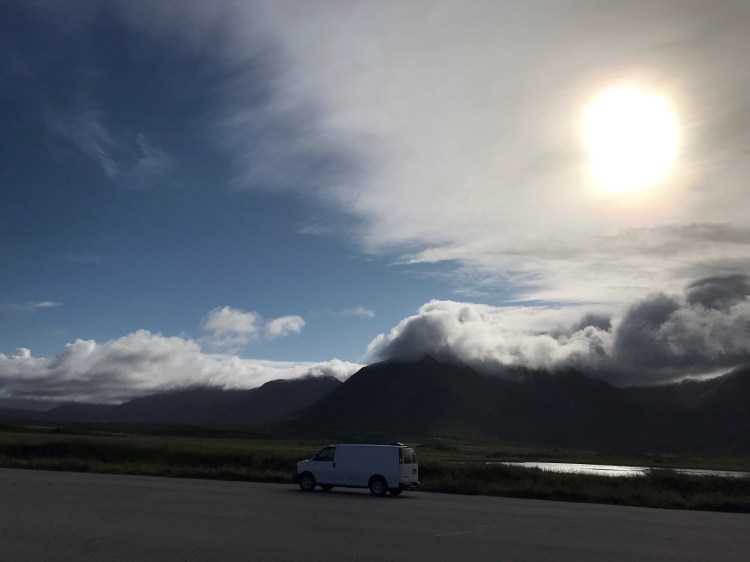
The Tablelands (on the way to Port Aux Basques) 
Walmart, Kelsey Drive, NL 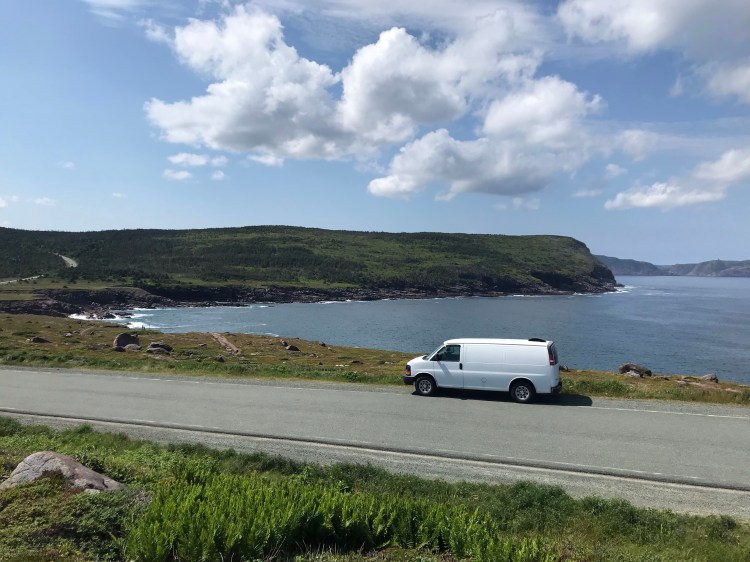
Cape Spear: the most easterly point in North America 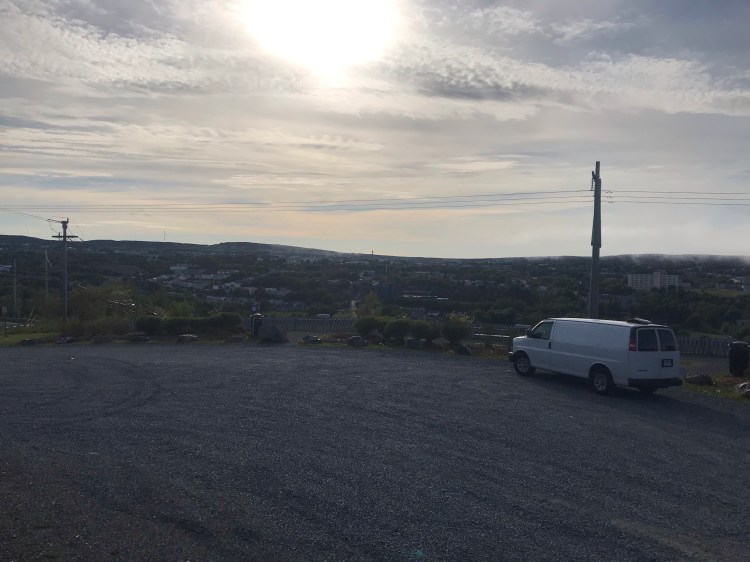
St. John’s 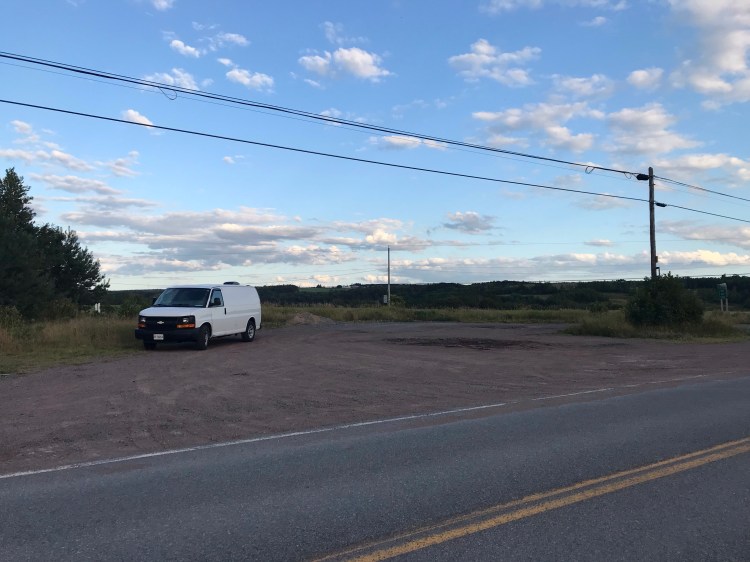
Amherst, NS 
Mactaquac Campground, NB
All of the places I’ve already mentioned above were amazing and beautiful in their own ways. It’s been such a healing journey and one I will never forget.
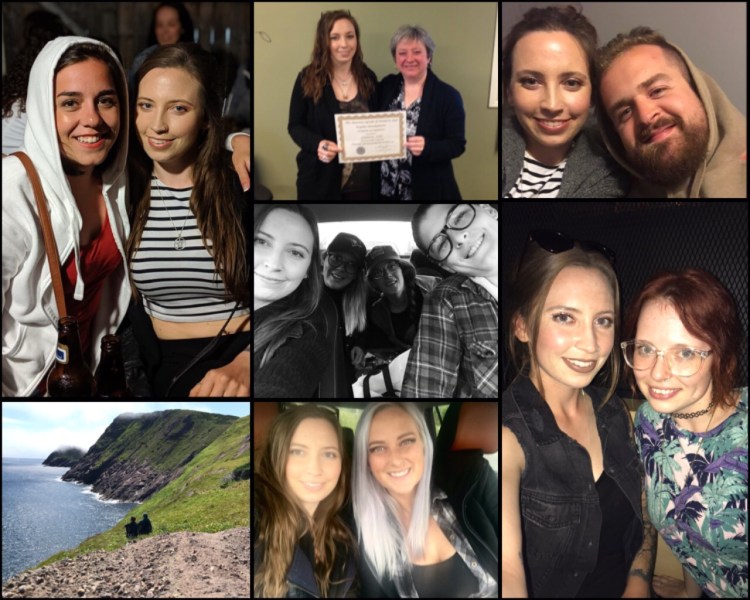
And finally, this trip would not have been the same without the presence of some amazing people in my life who I am so grateful for. I didn’t get a picture with everyone, but you know who you are!
Future Directions
For now I am on hiatus with the travelling in the van. The plan is to set out again mid-winter – beeline it south, work my way west, then make my way up the coast (California/Oregon/Washington/BC) as the weather warms up – hopefully timing it so that things are warm by the time I get back into Canada.
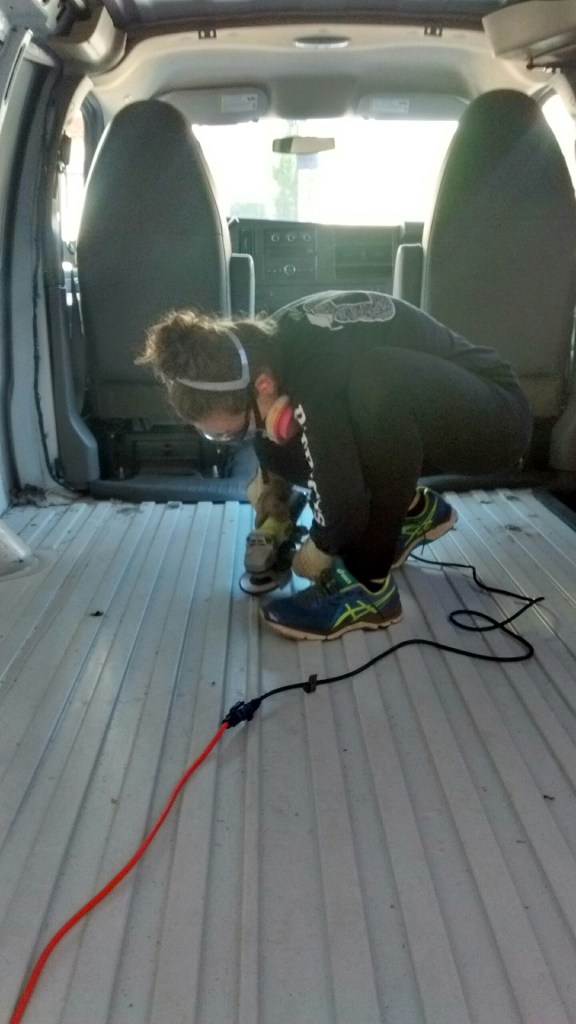
In the meantime I have some other goals that I’ll be working on, including work on the van. The bulk of this work will be fleshing out the furniture. There will also be little knick knacks and details and decor to clue up. This will all be covered in future blog posts.
There are also things to keep in mind when I hit the road next. Since I hope to be in the states for a little while I’ll want to switch my phone plan to a Canada + US plan. And I’ll want to get travel insurance. Getting a wifi hot spot is something I am considering looking into since I want to be in more remote locations (though I do like the thought of being intentionally disconnected). I also might look into insuring some of the items that will be in the van with me – which my broker said might be able to go under home insurance.
I’ve also had in the back of my mind to experiment with driving in cruise control or neutral and see if either increase fuel efficiency.
And there you have it. It’s hard to believe that I did it – I hit the open road in my own self-made campervan. And you can, too…
As always, I end my post with a song.
Later,
Kat
Copyright © Chronic X-Roads 2020