Why thru hike? Because it’s there.
The funny thing about thru hiking, is that when you’re not doing it, you are daydreaming about being on the trail. Meanwhile, when you’re on the trail, you’re cursing yourself and wondering why on earth you subjected yourself to the pain (at least I do this).
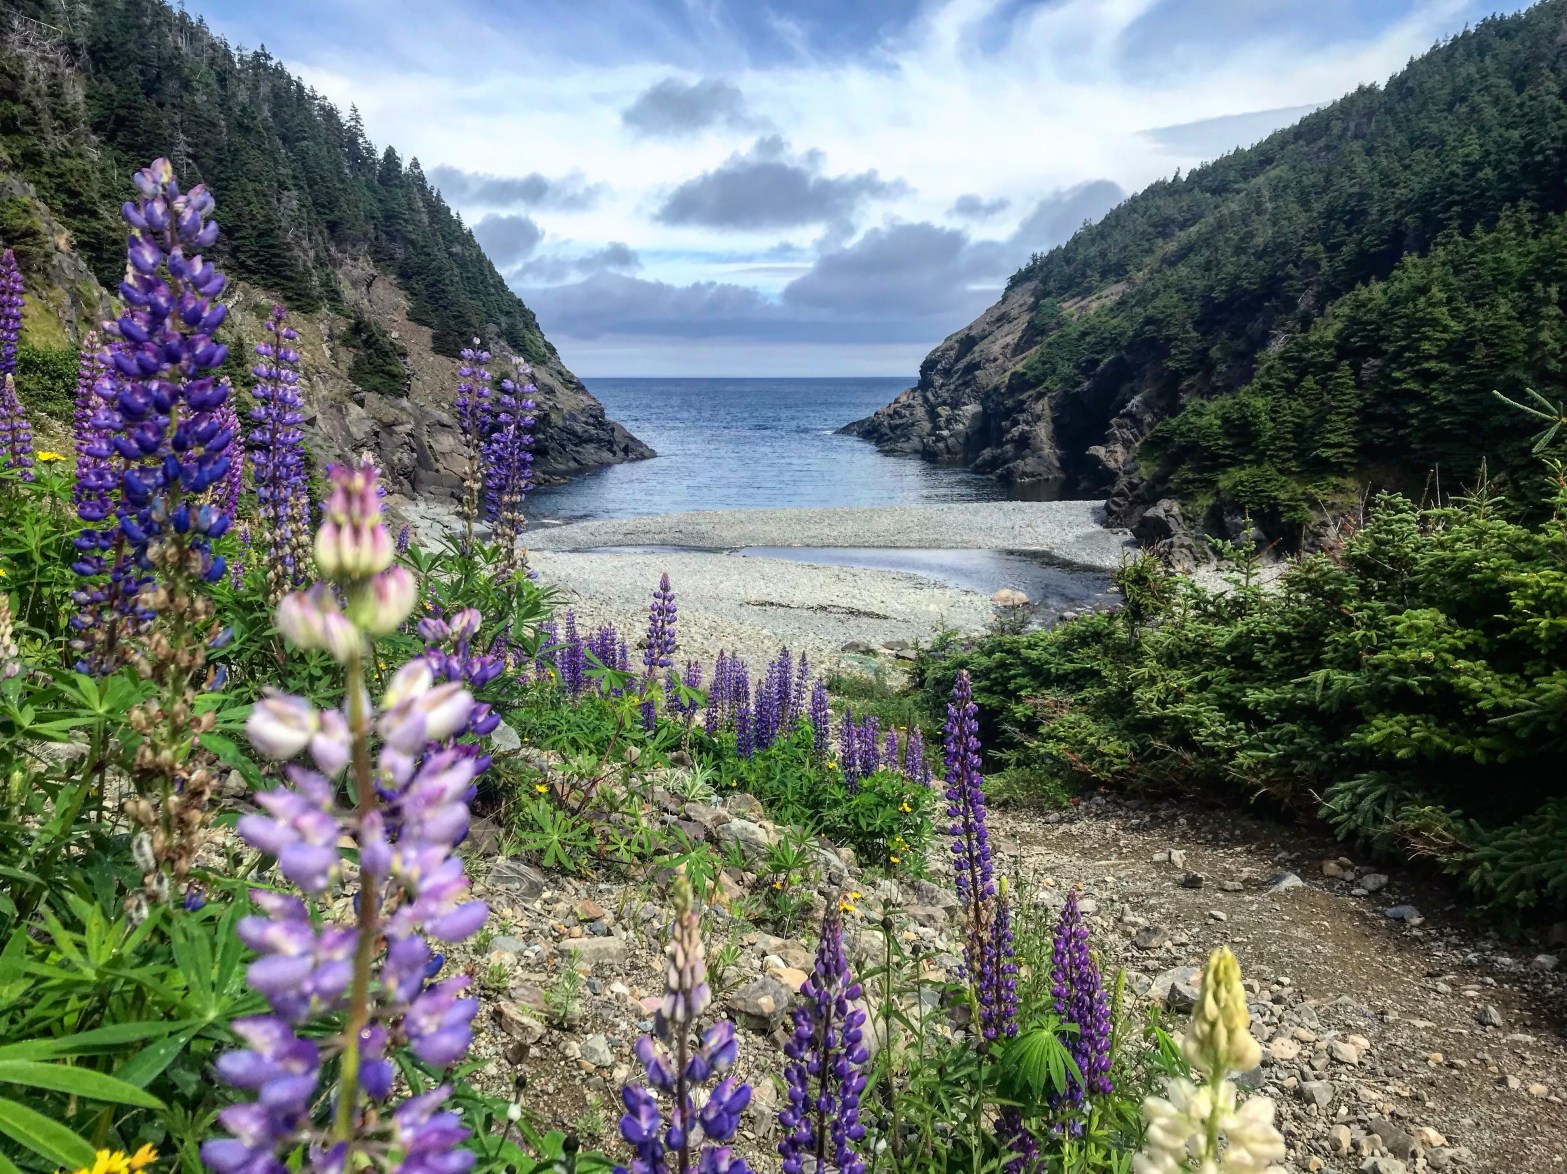
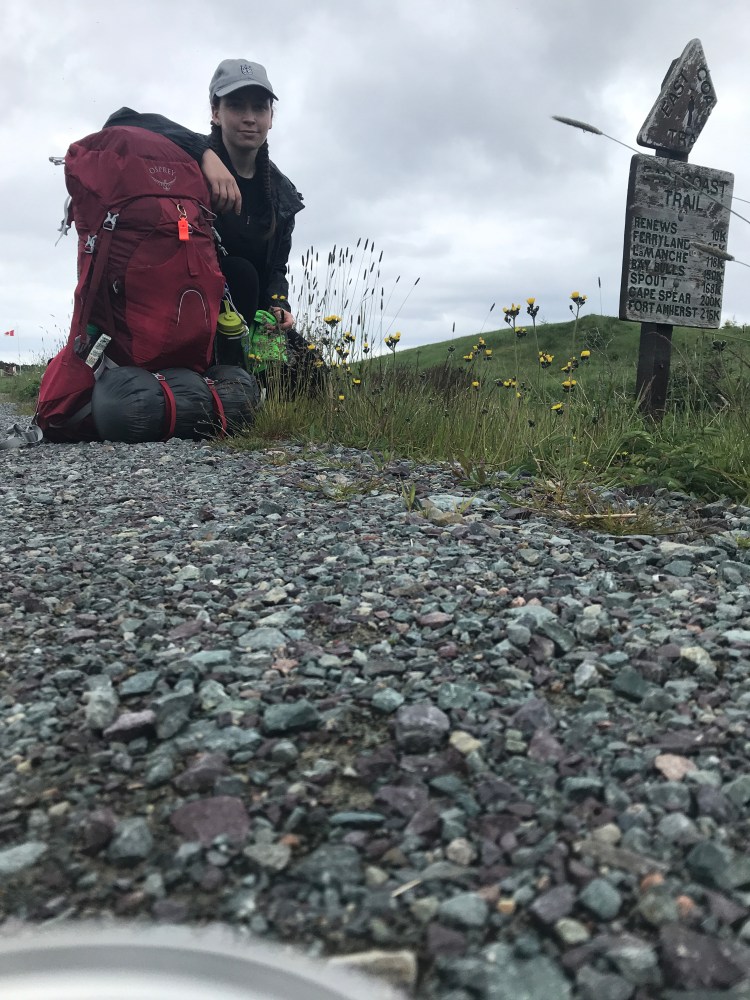
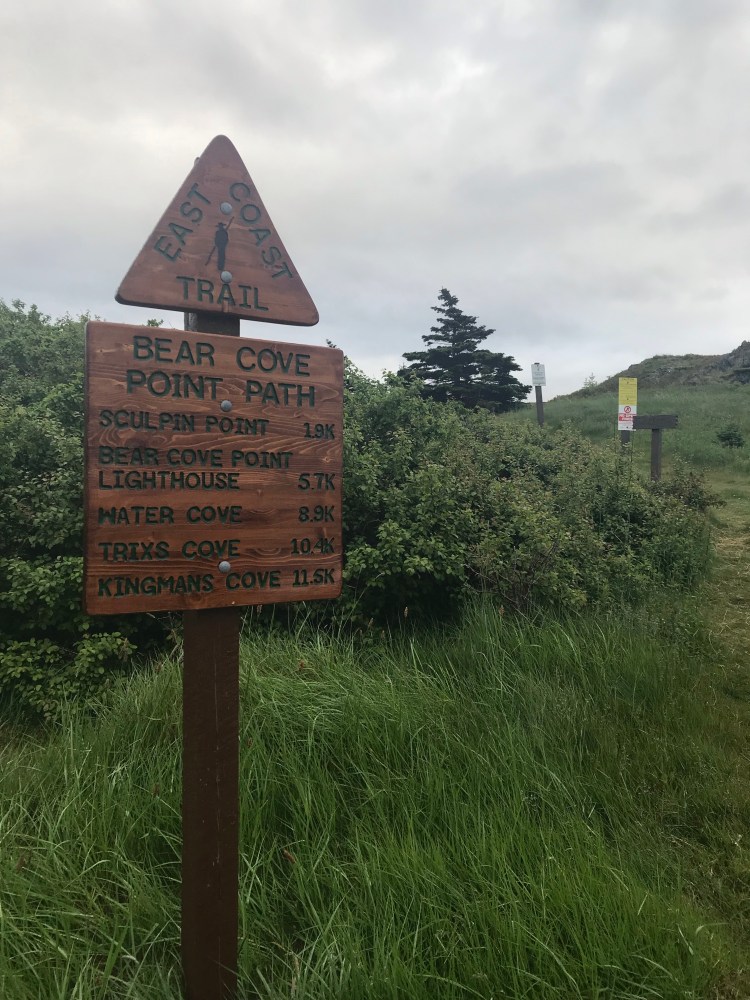
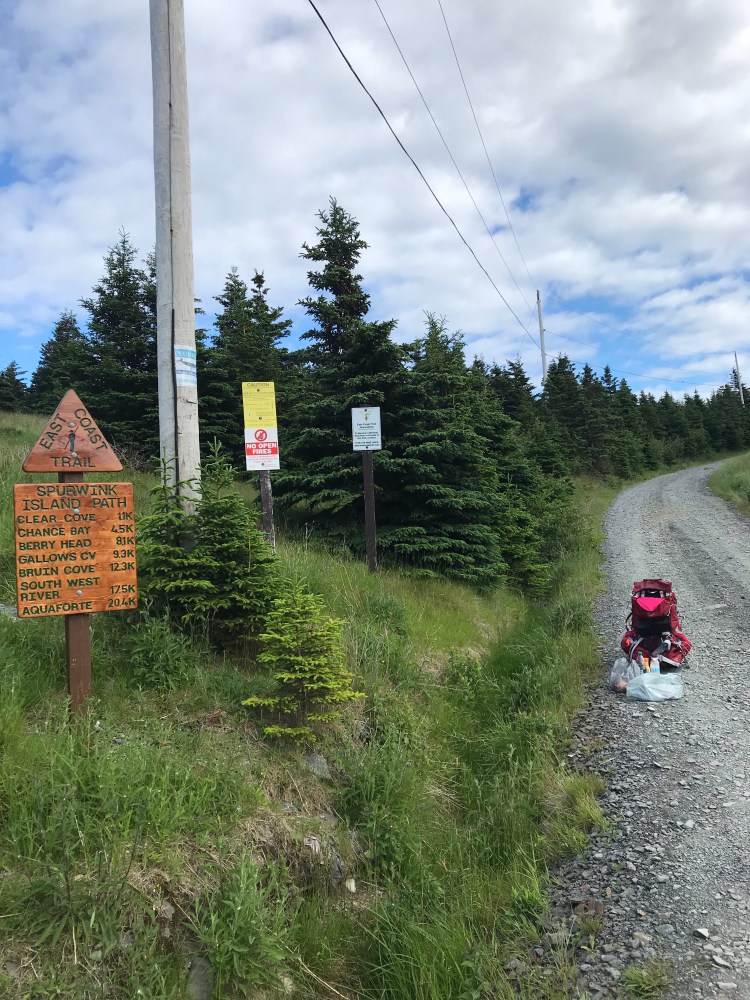
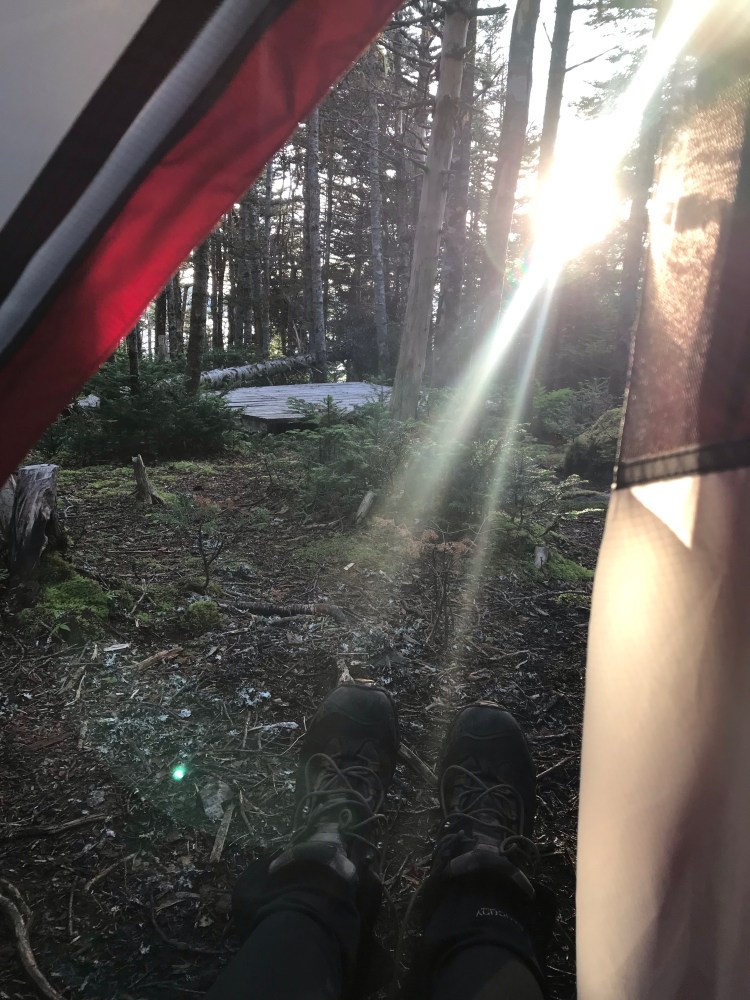
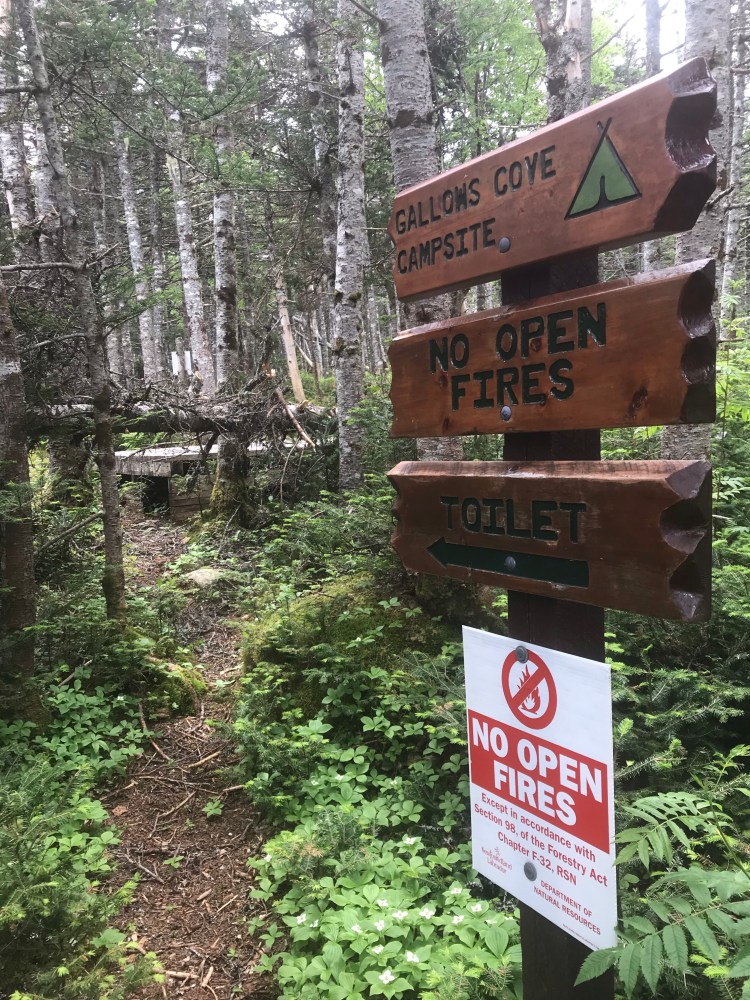
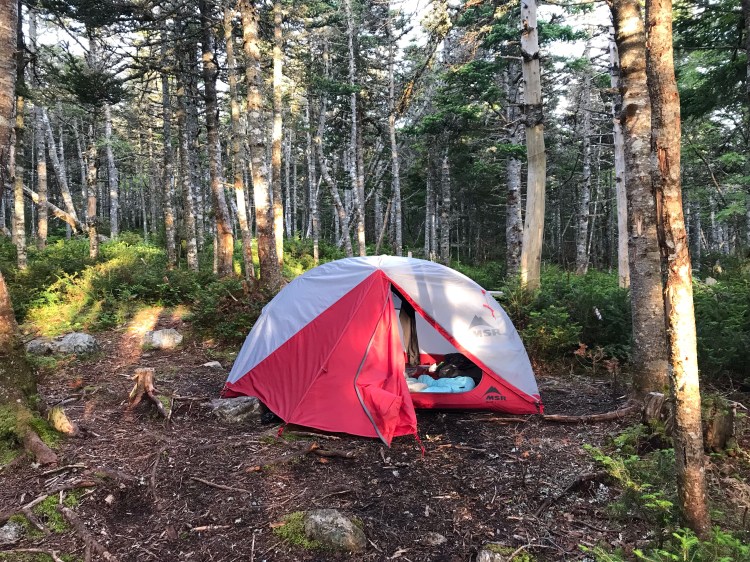
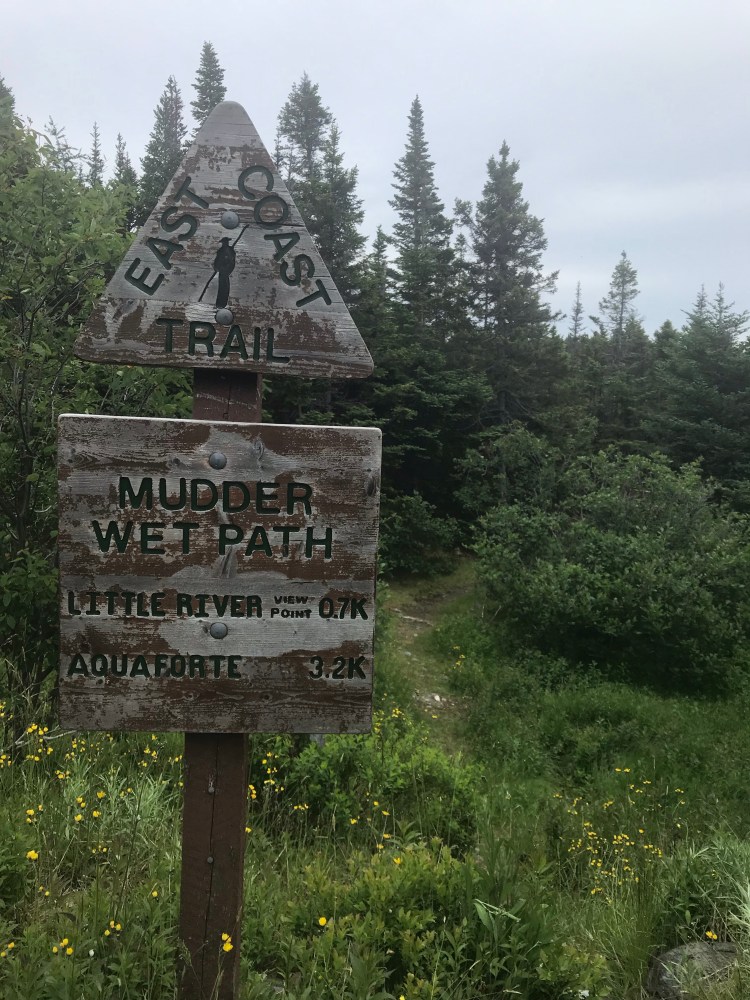
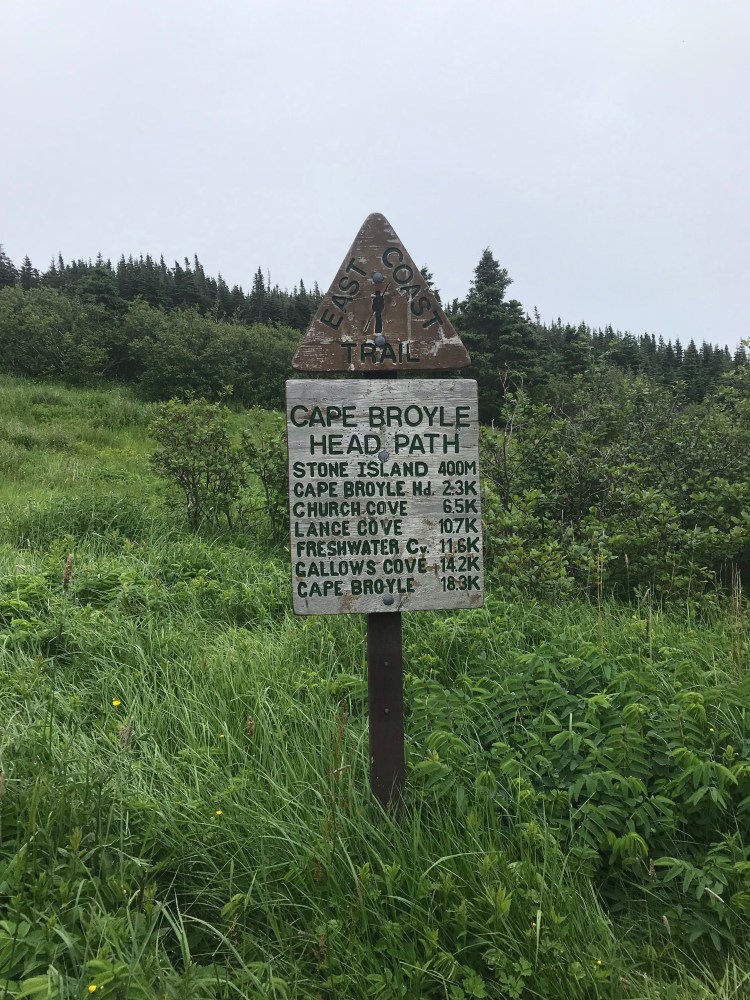
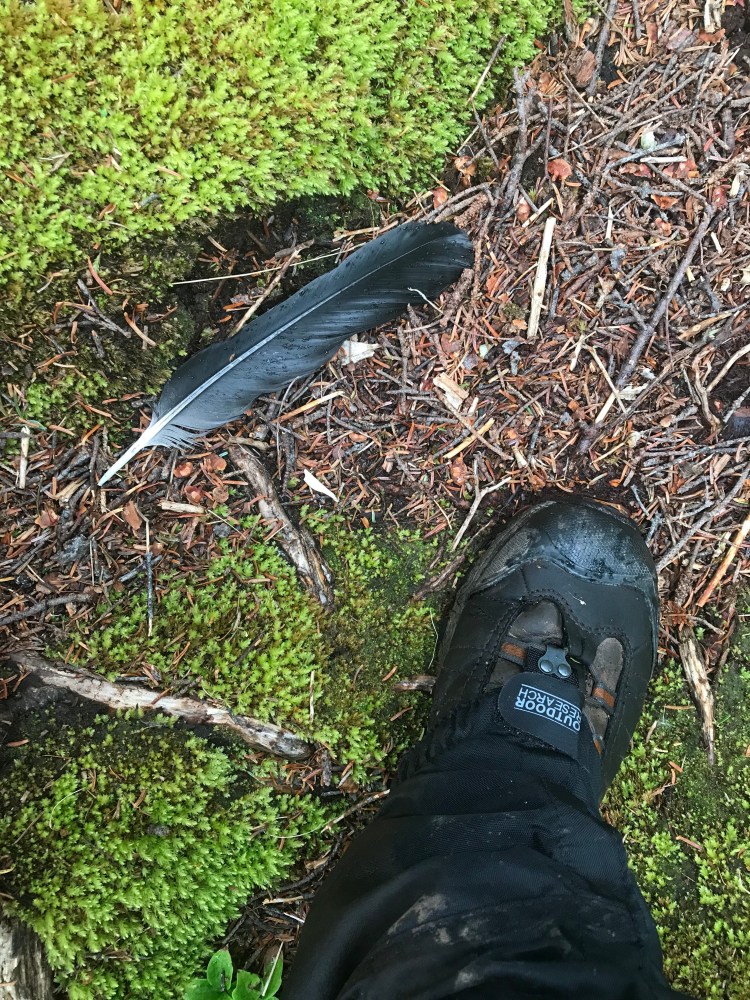
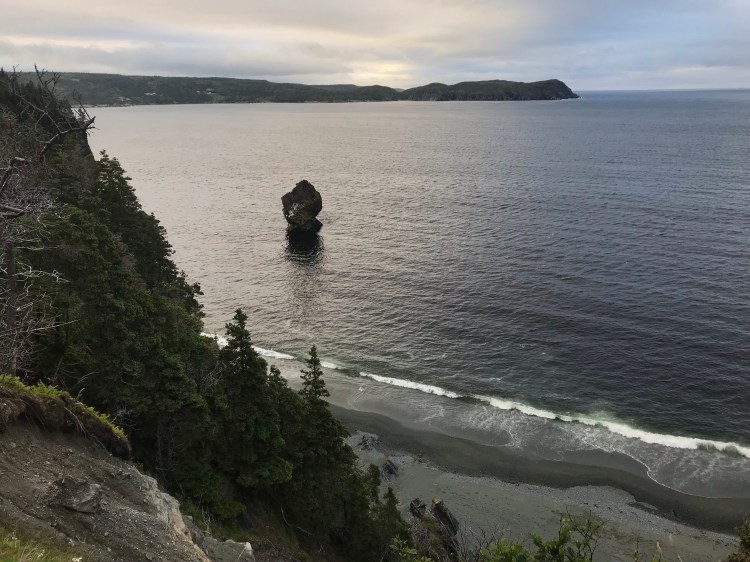
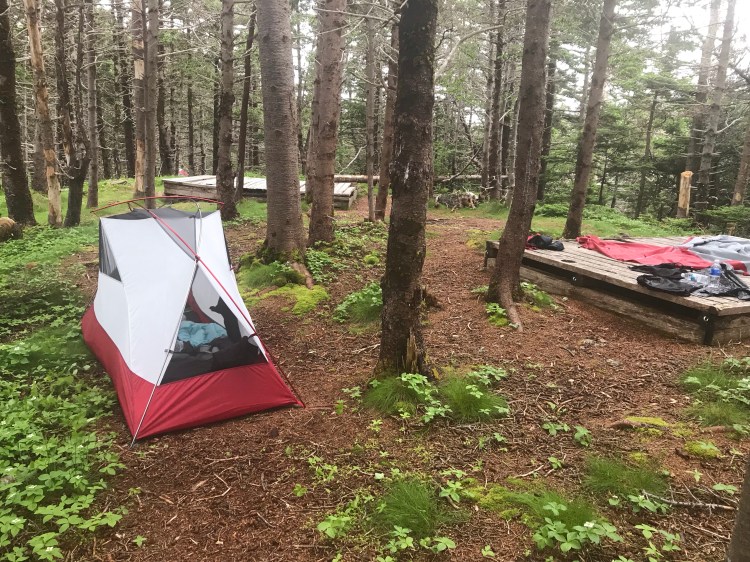
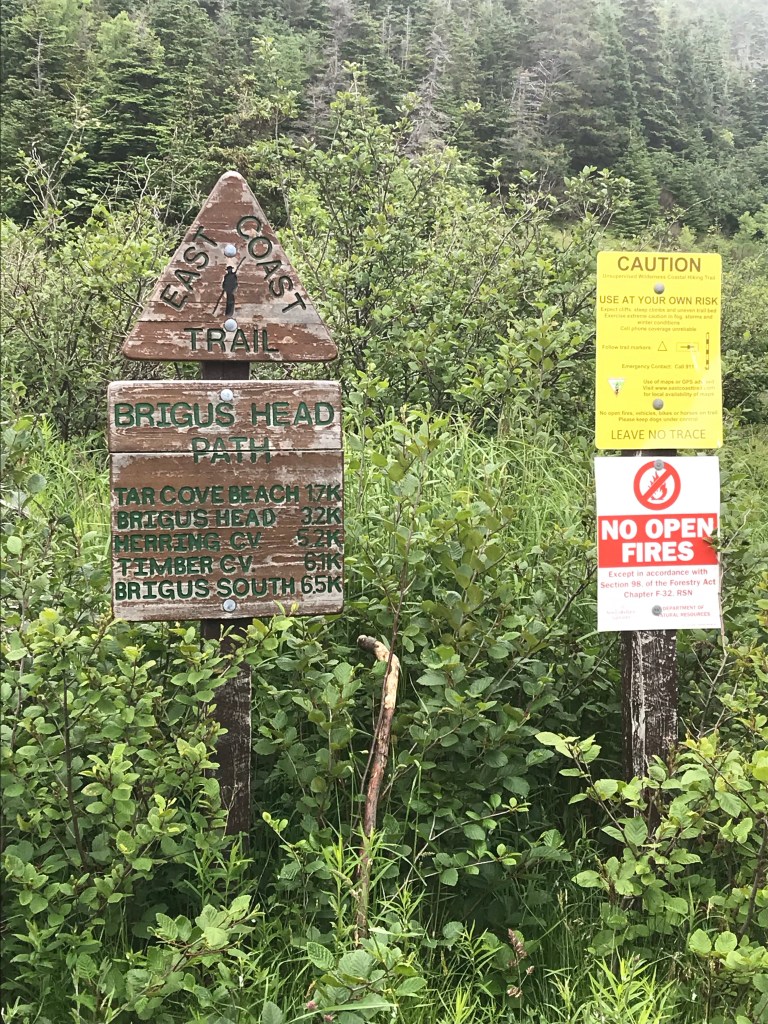
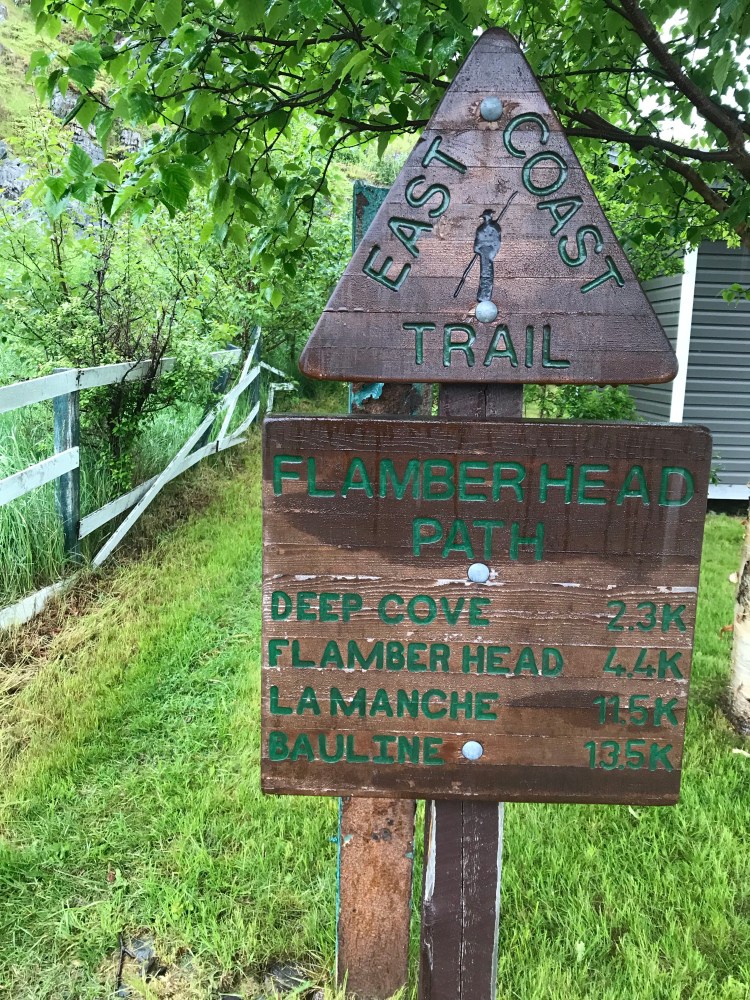
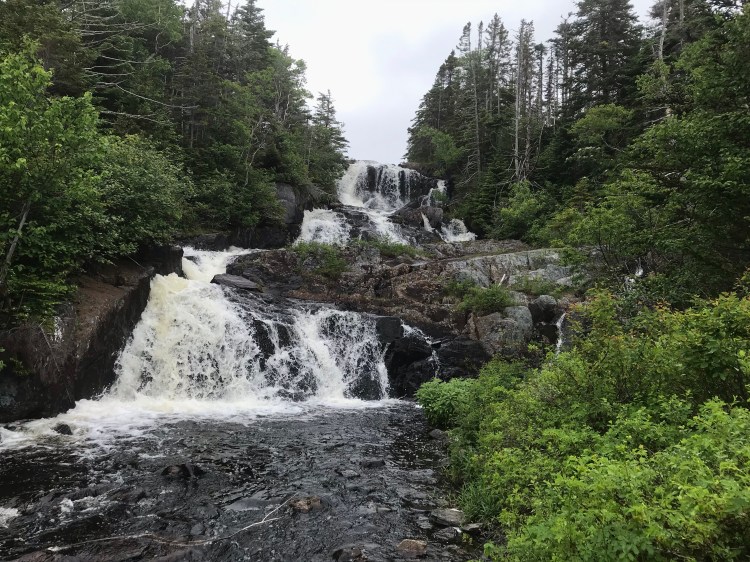
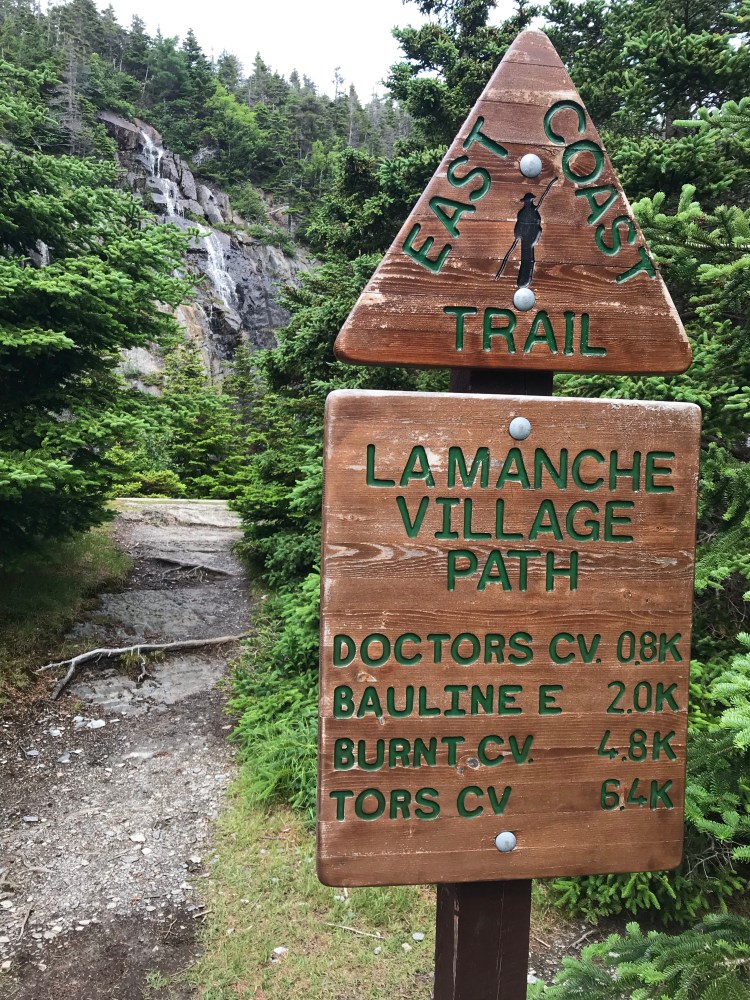
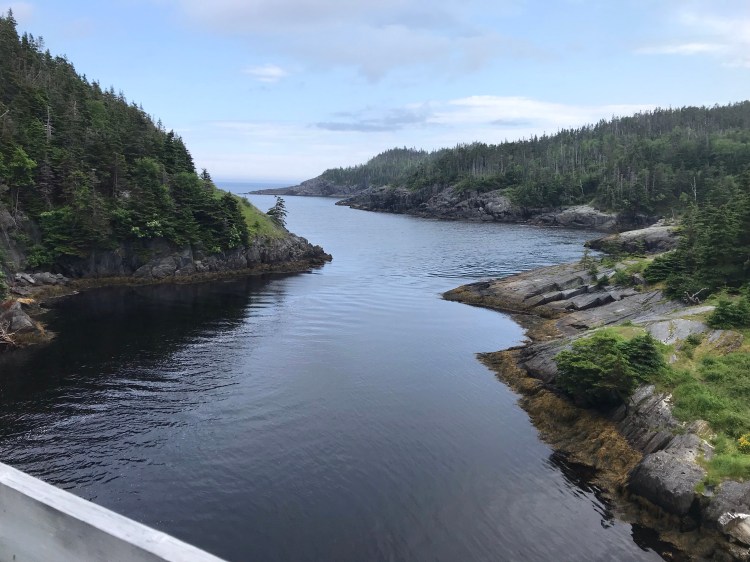
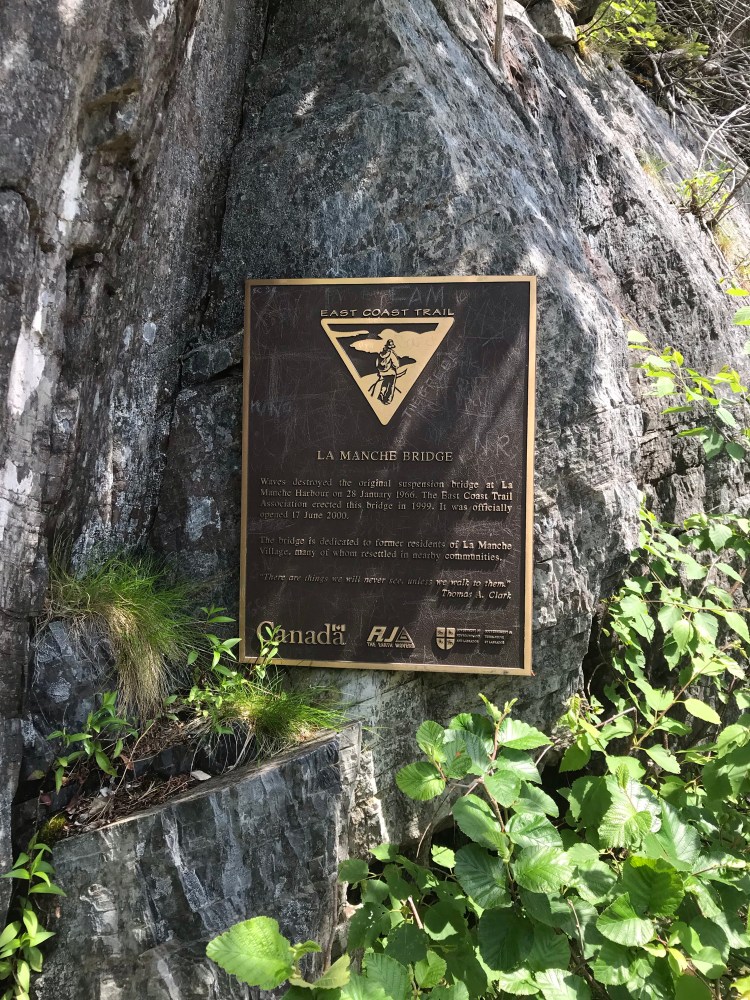
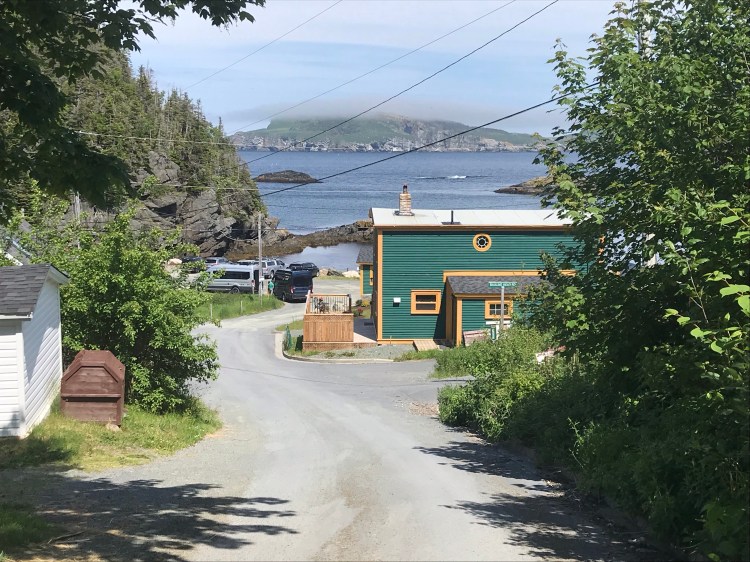
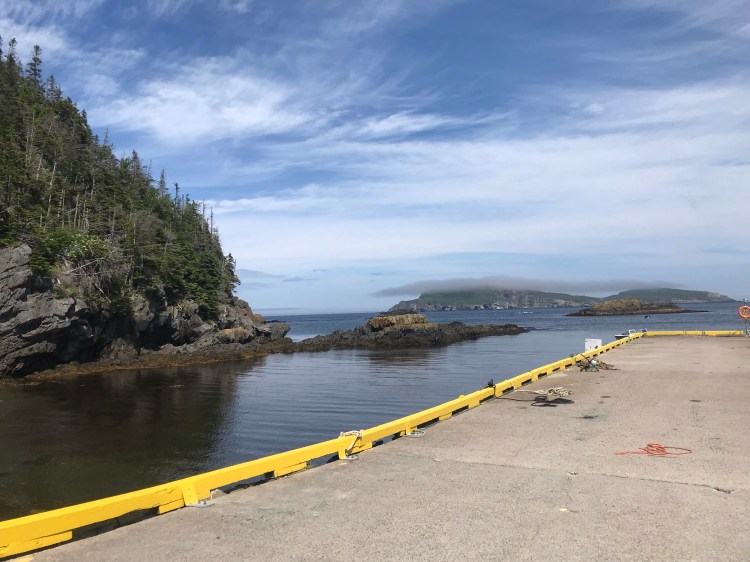
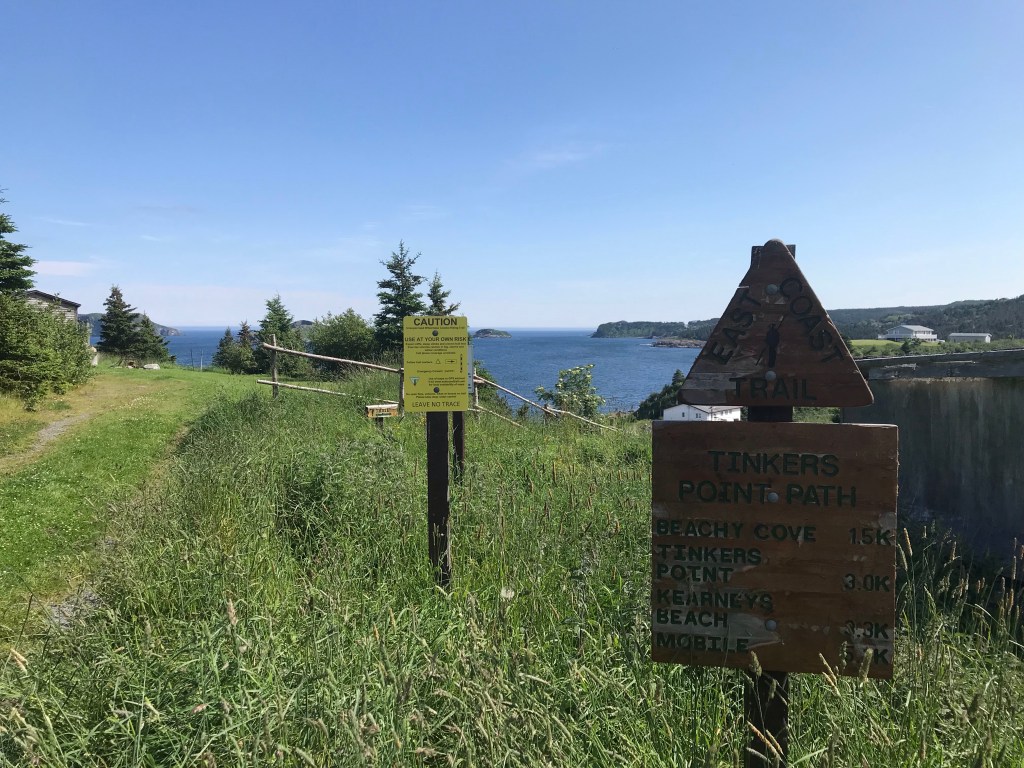
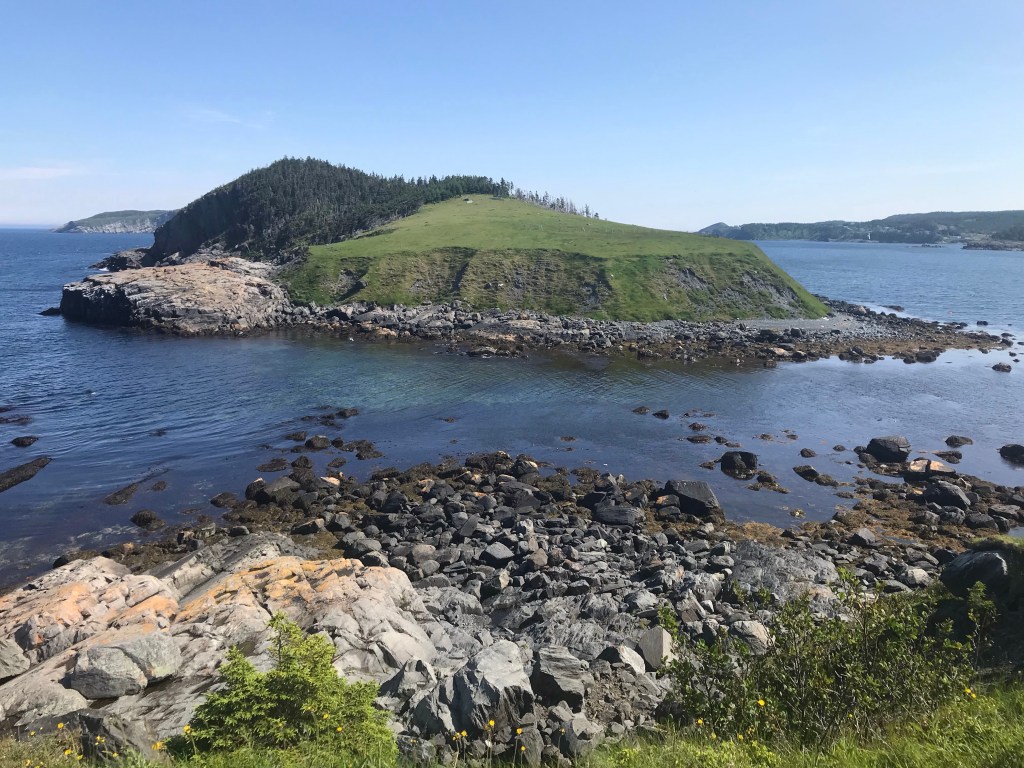
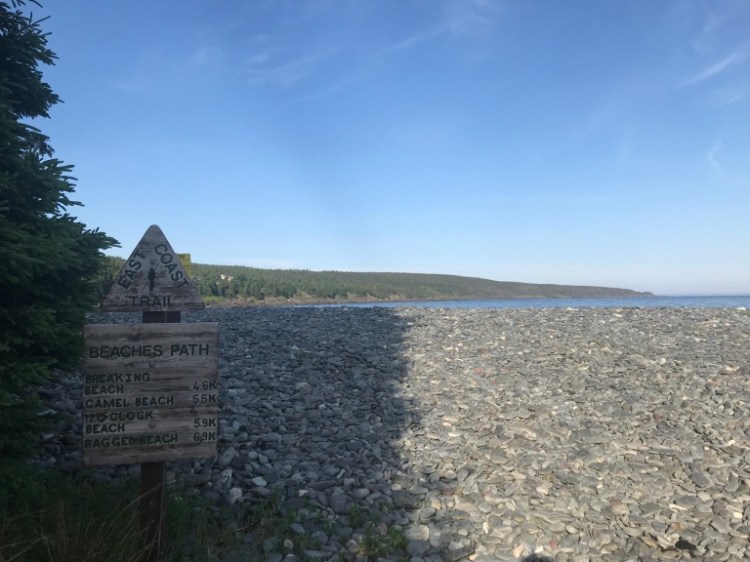
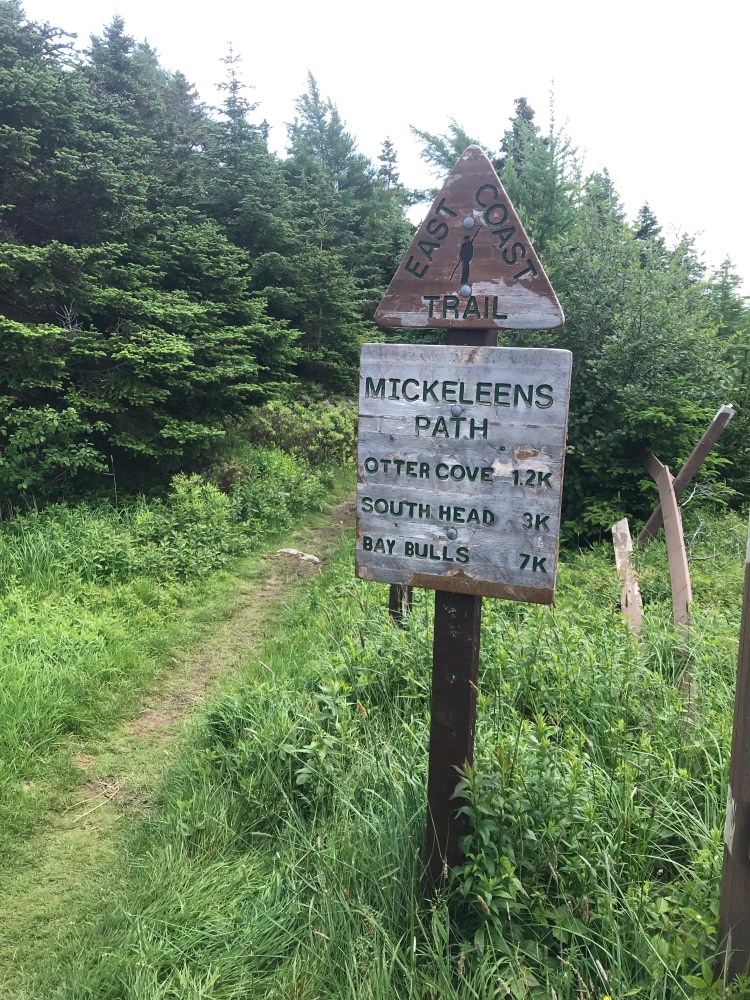
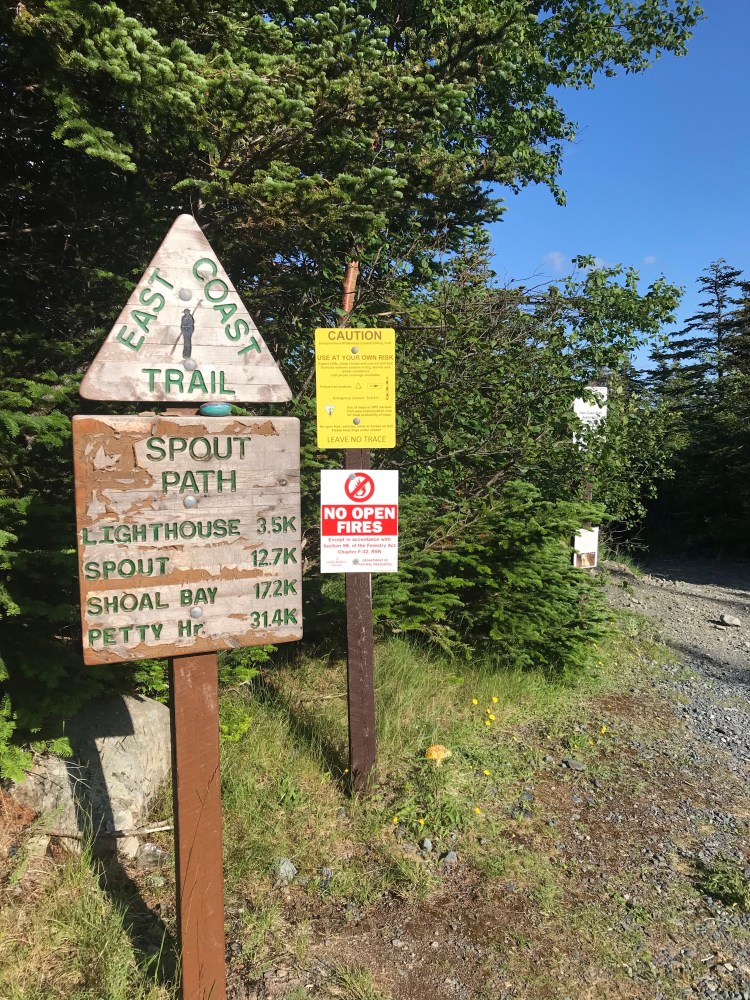
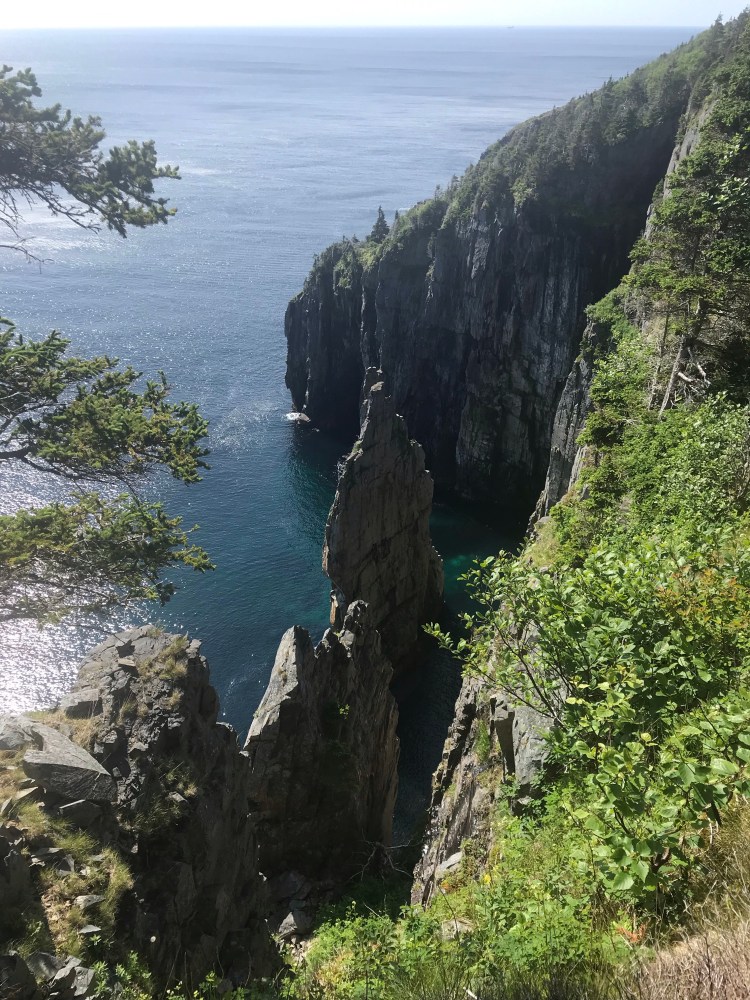
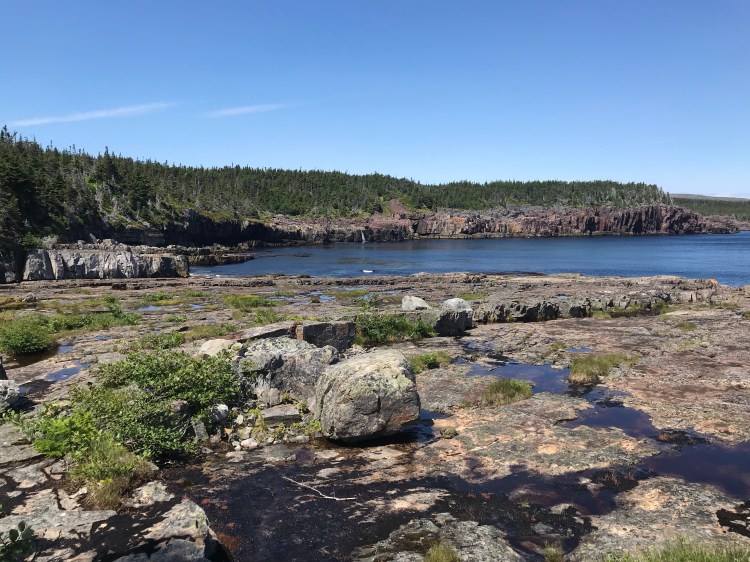
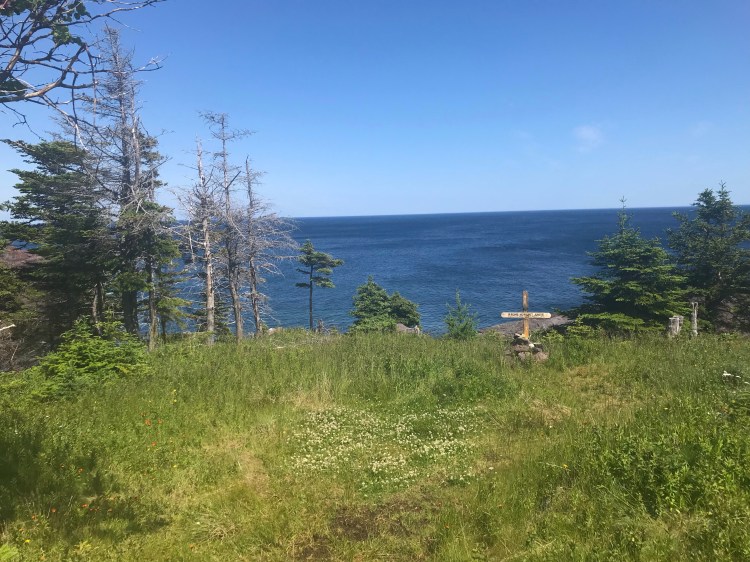
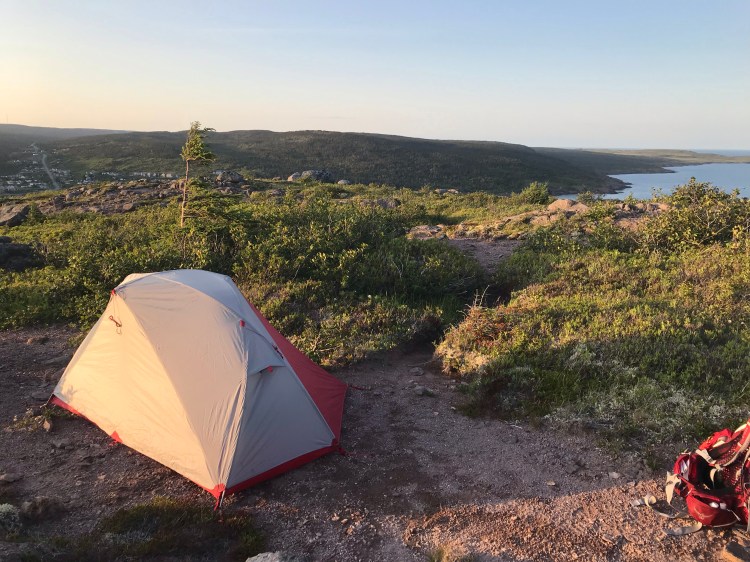
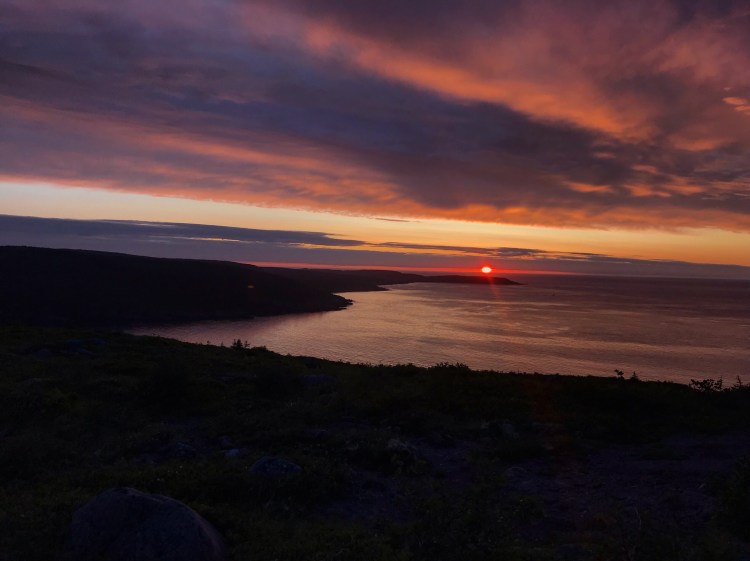
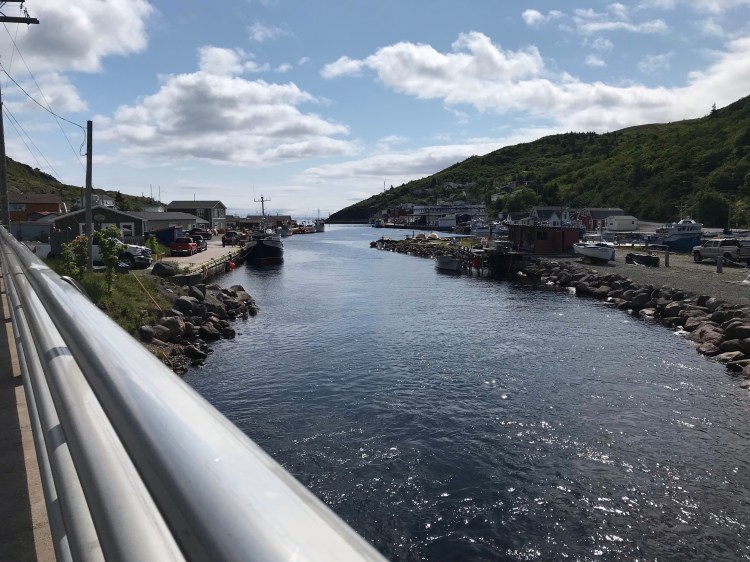
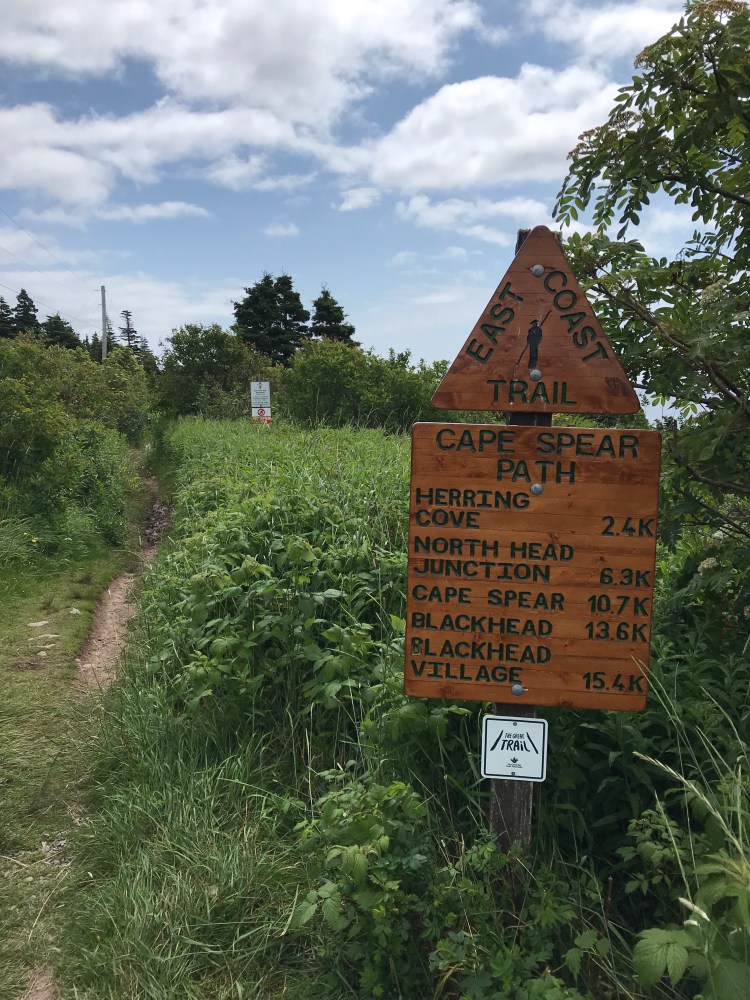
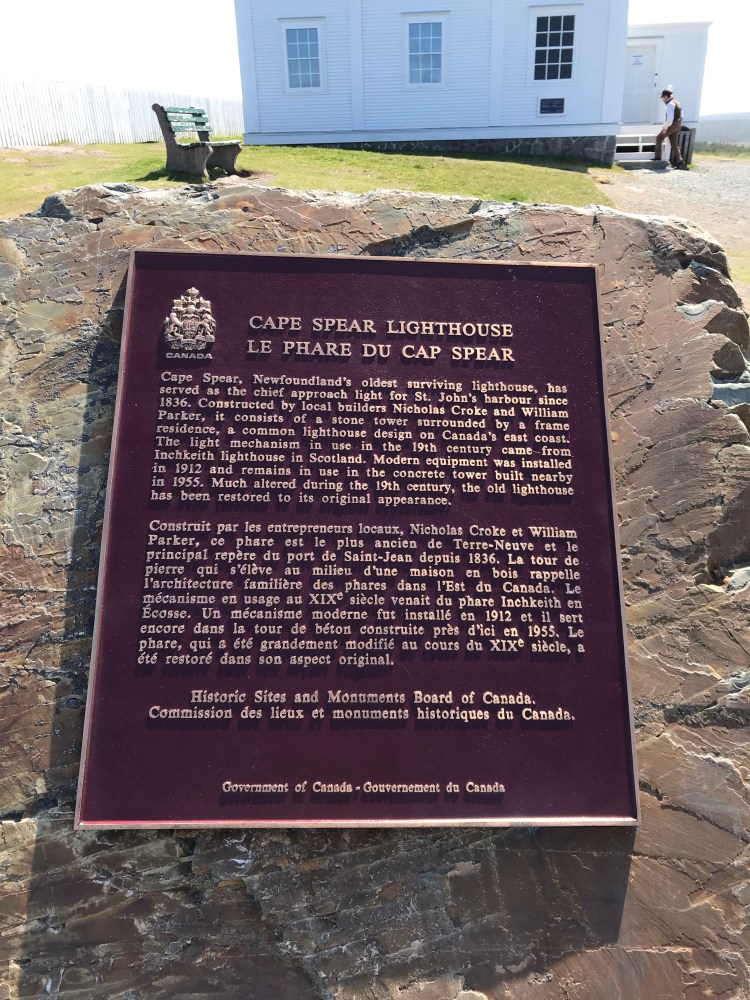
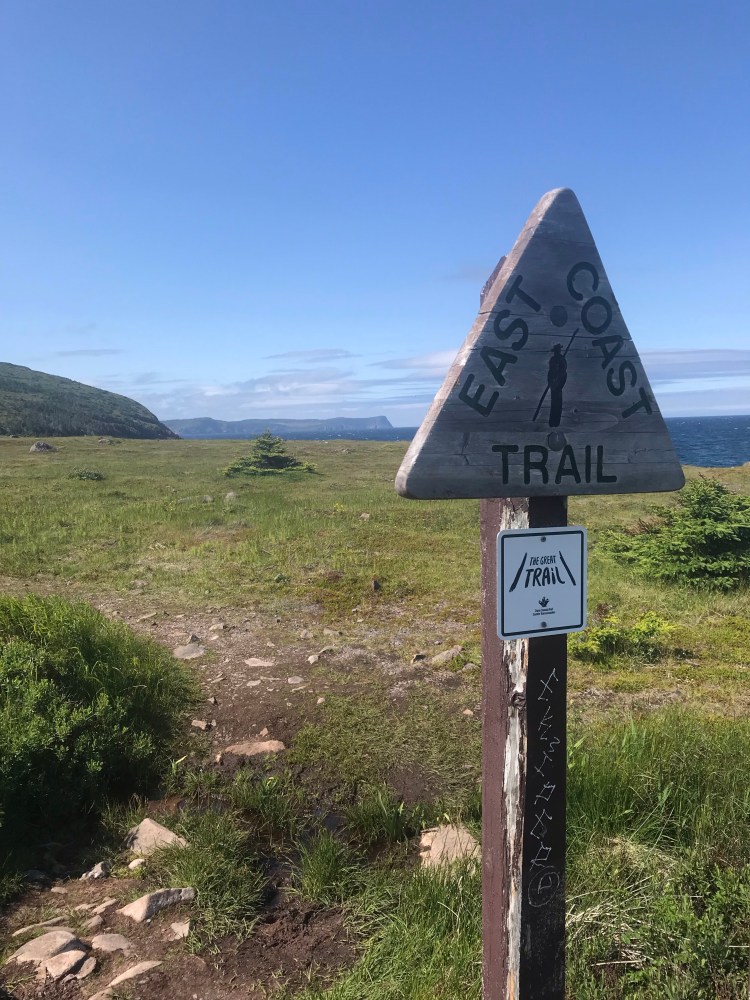
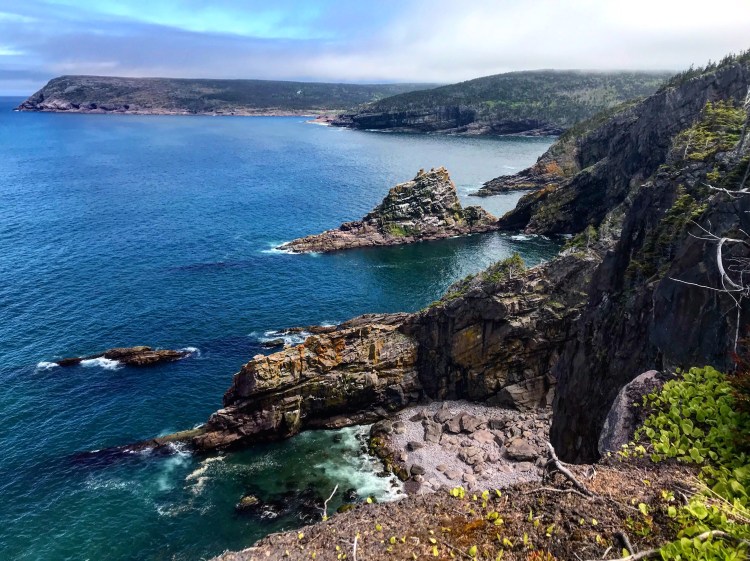
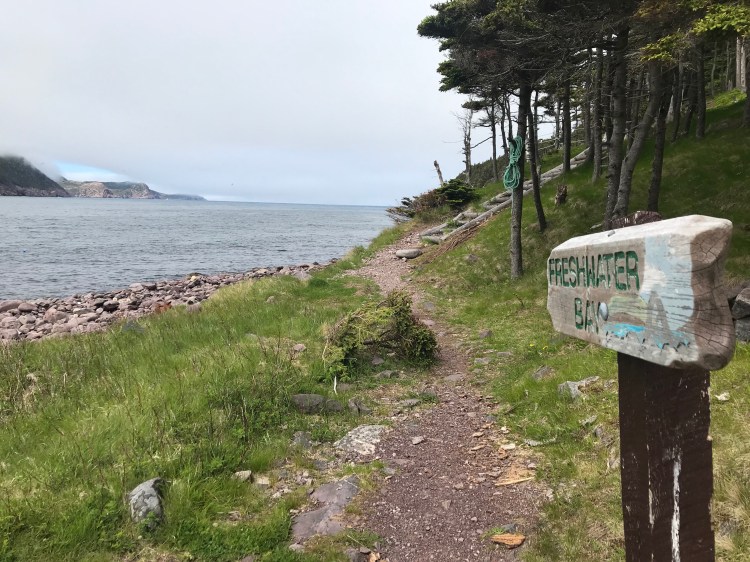
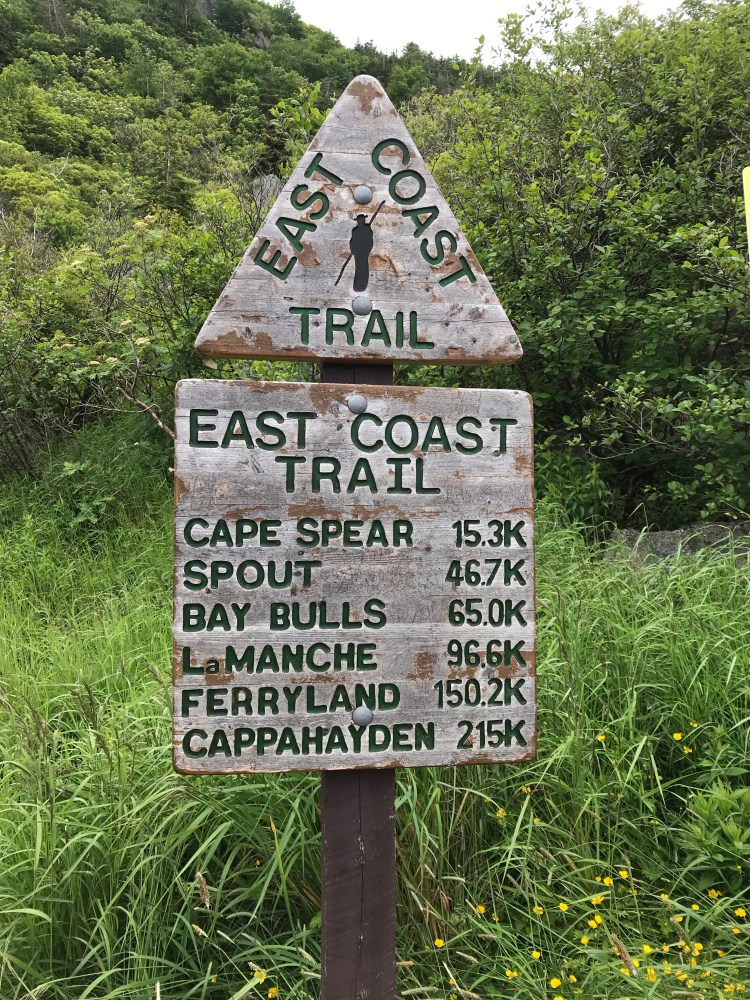
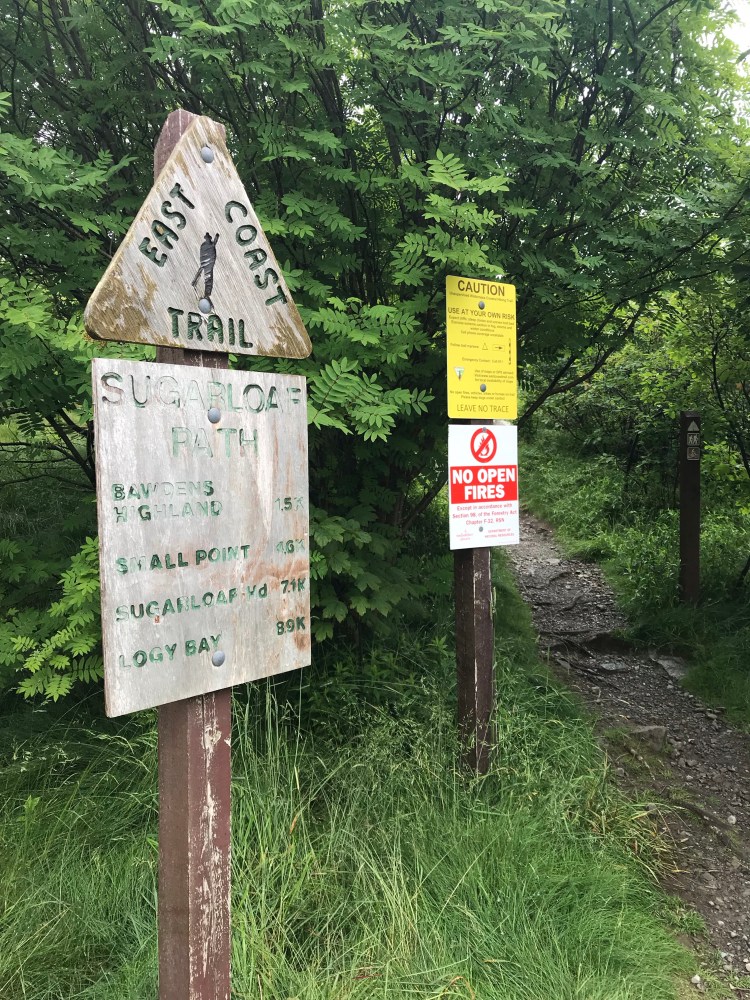
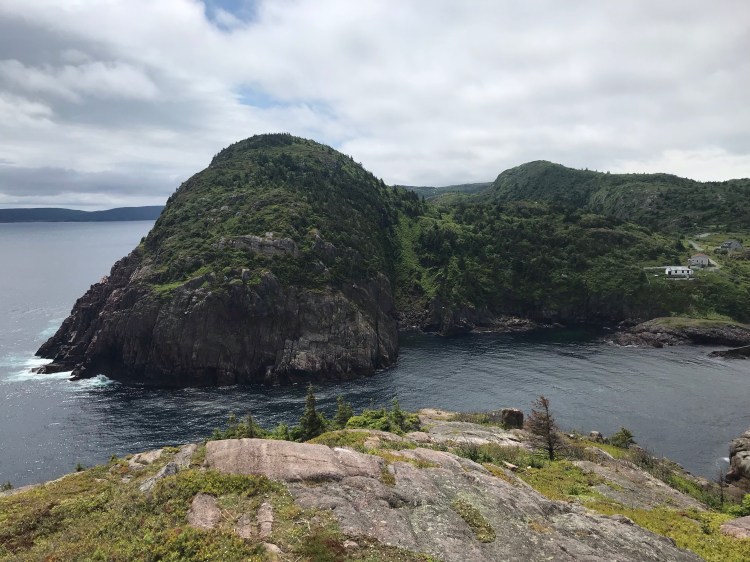
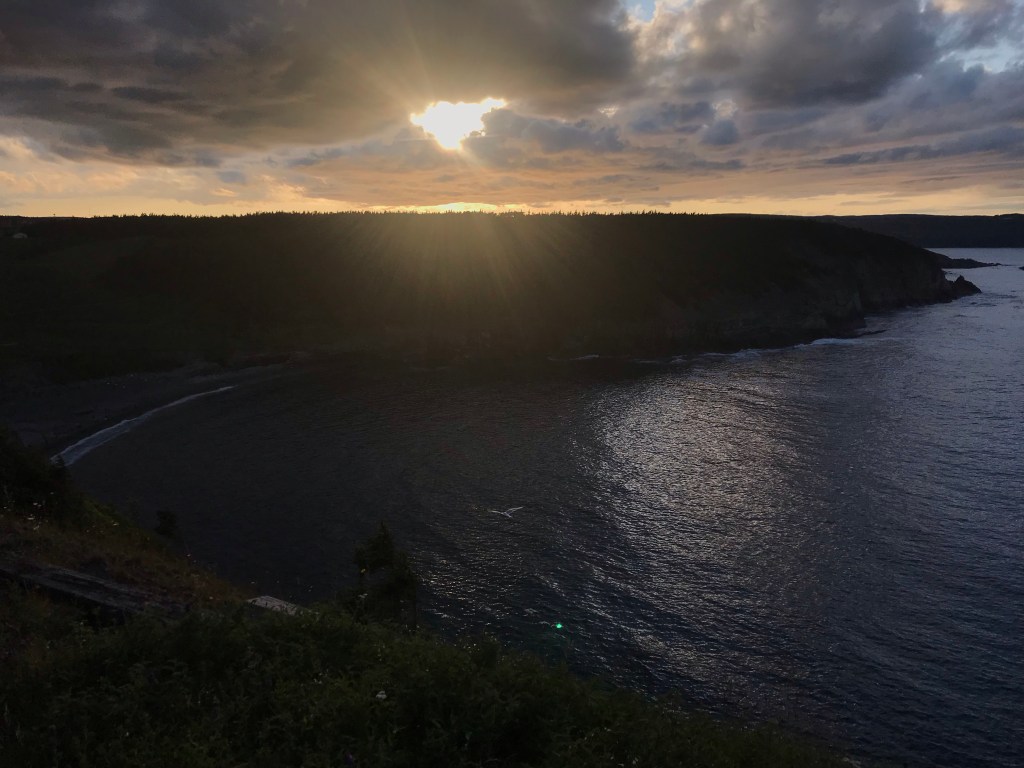
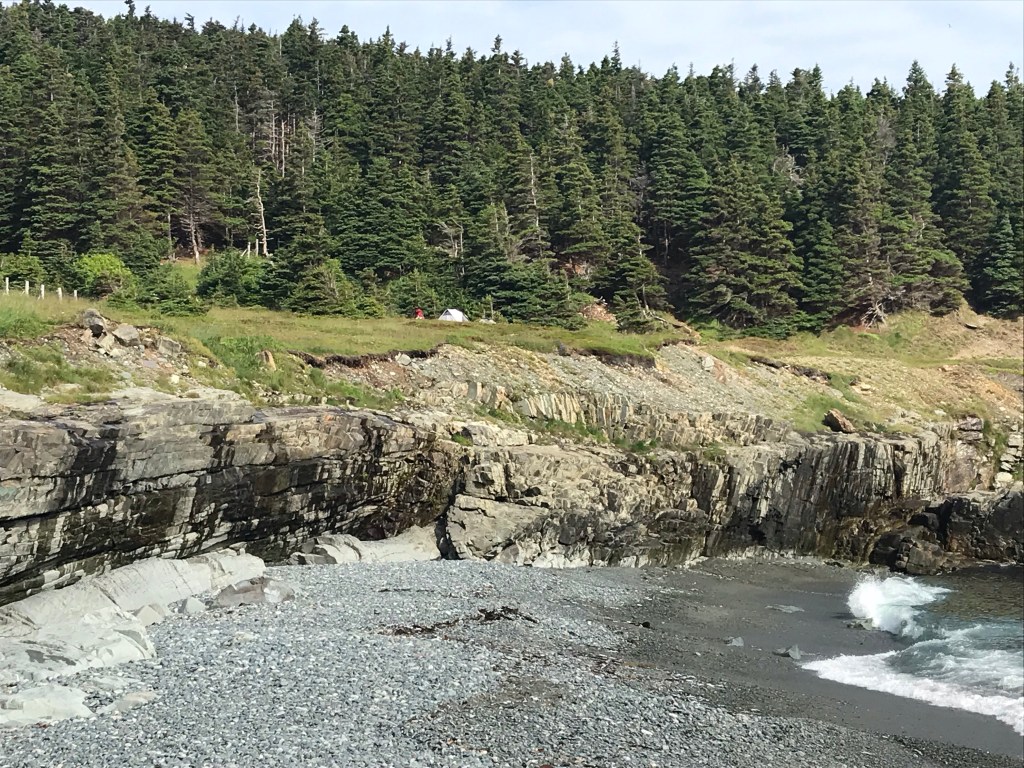
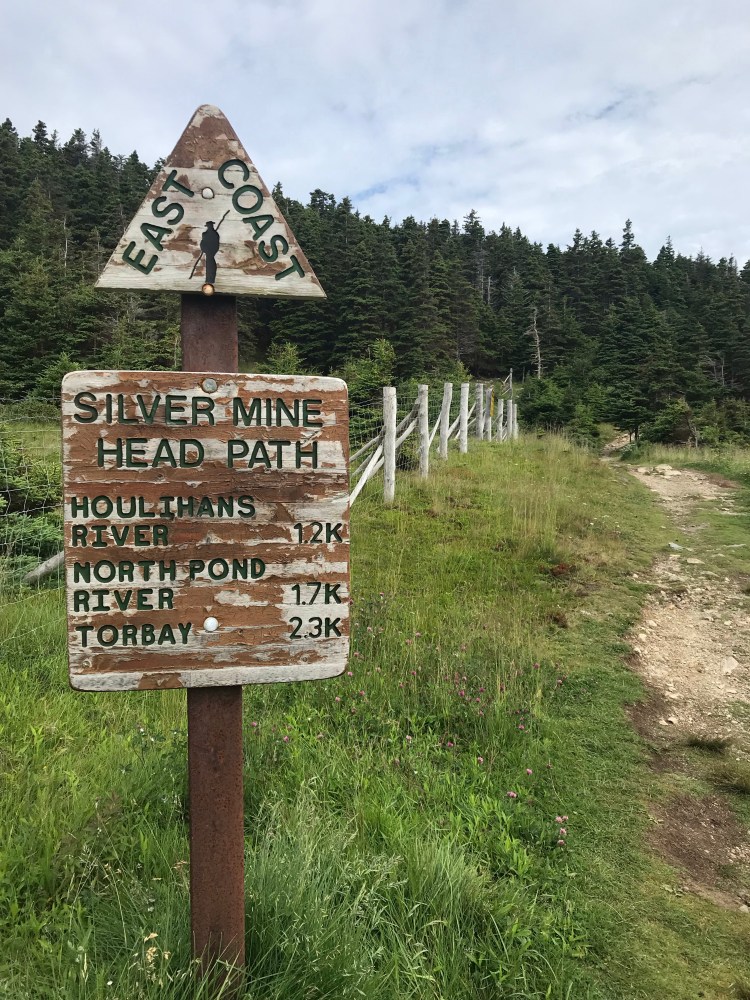
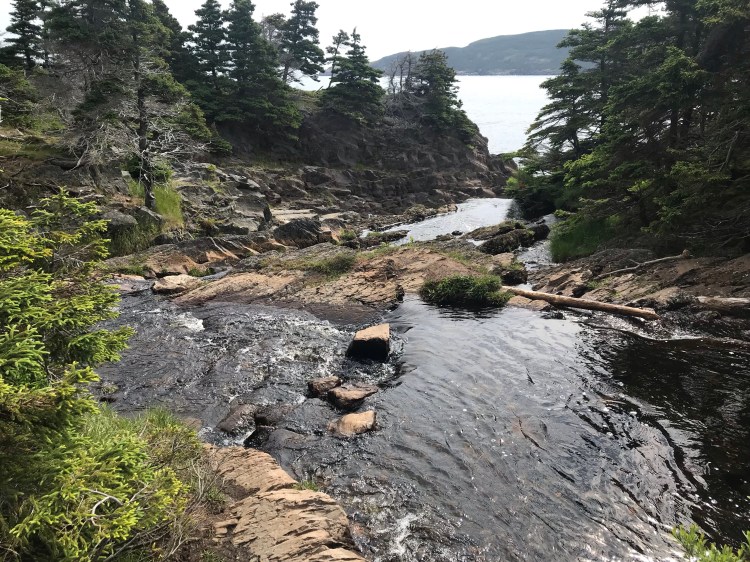
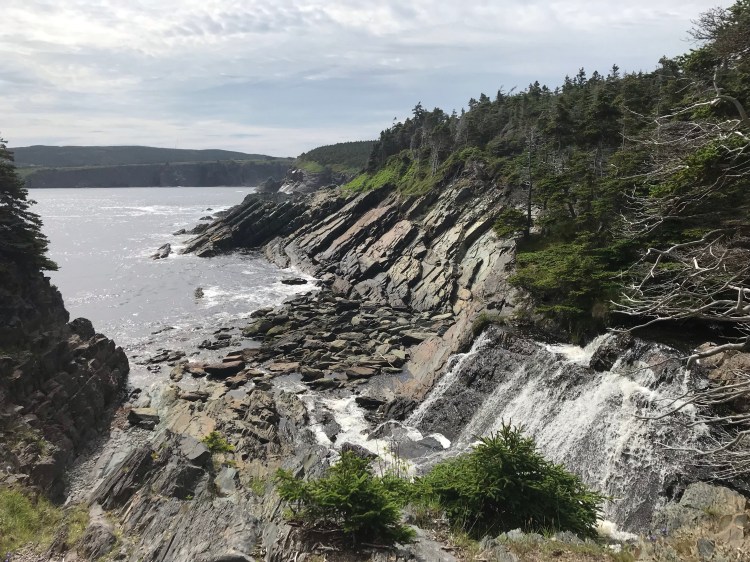
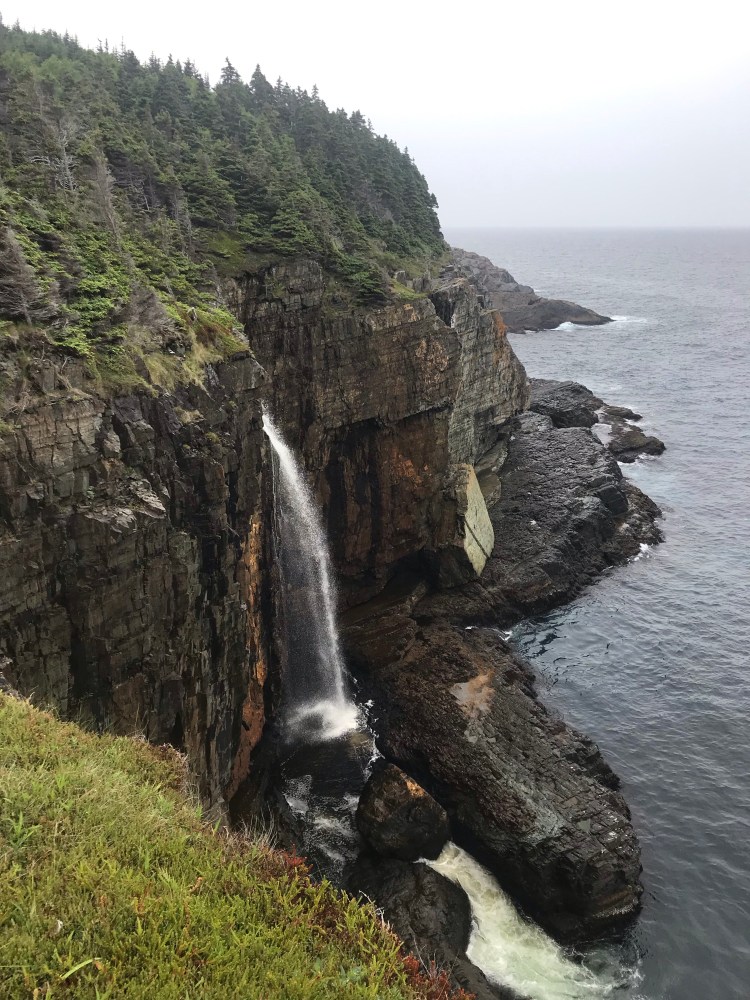
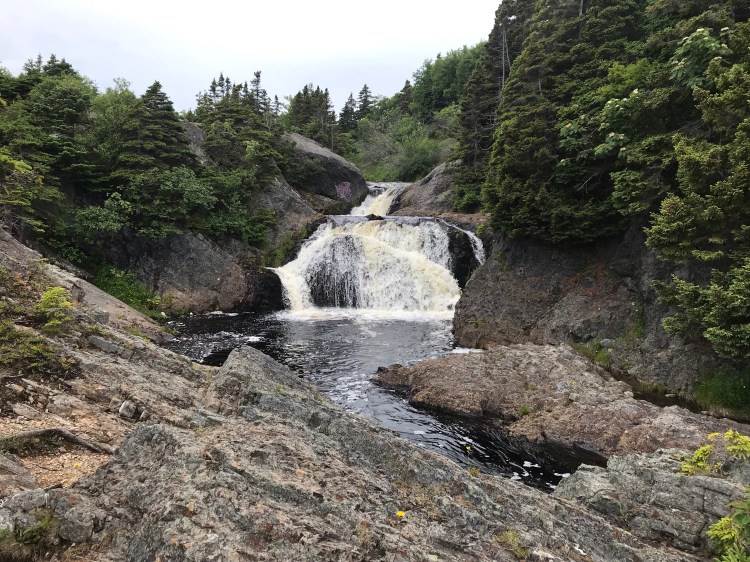
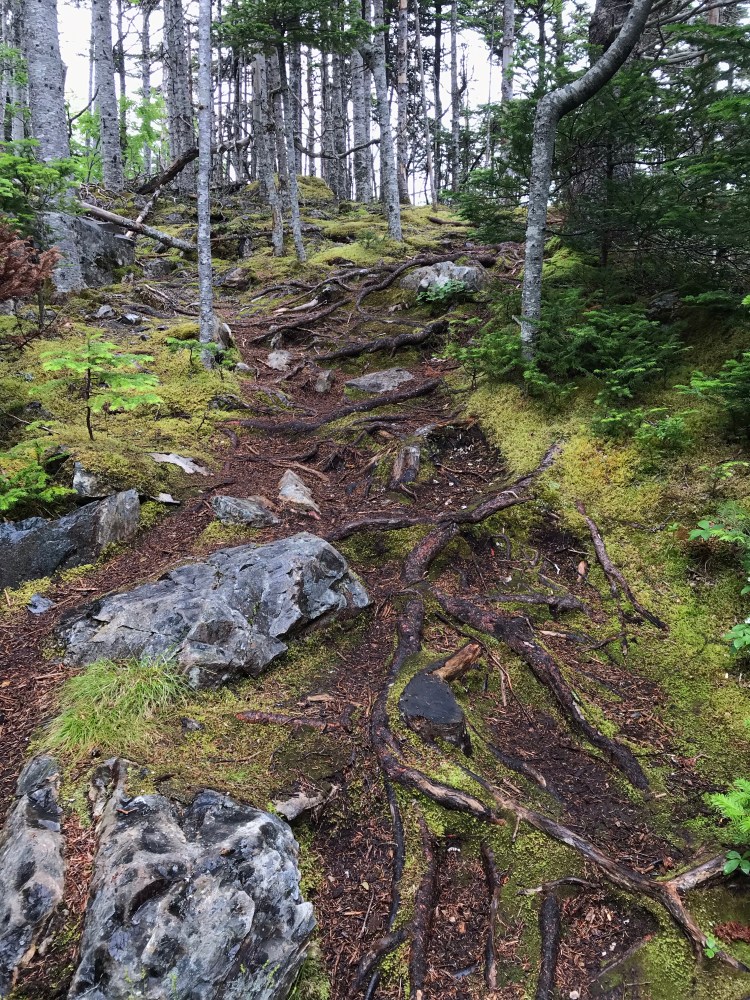
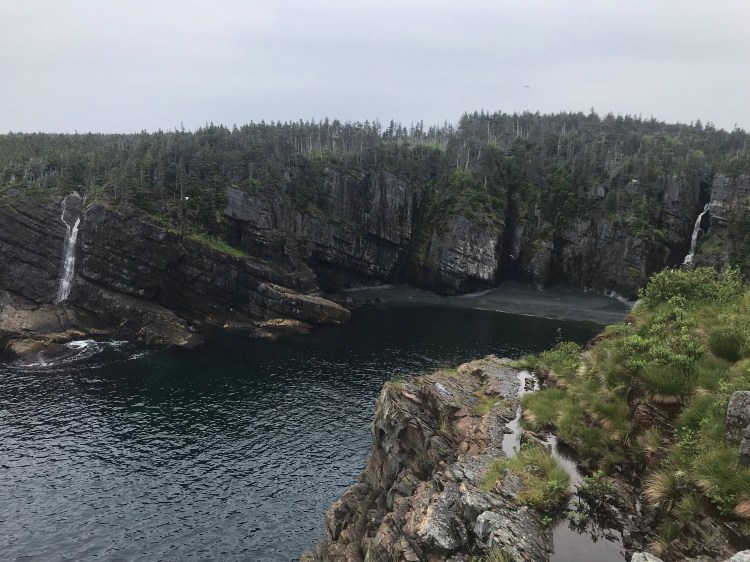
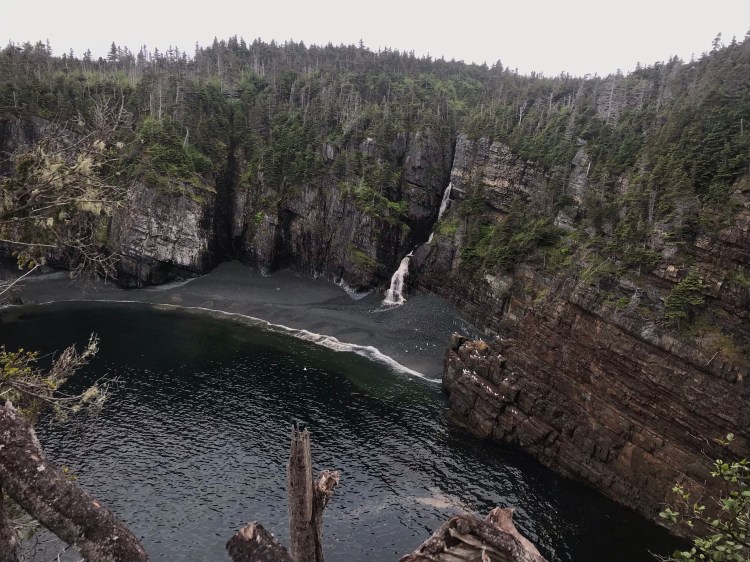
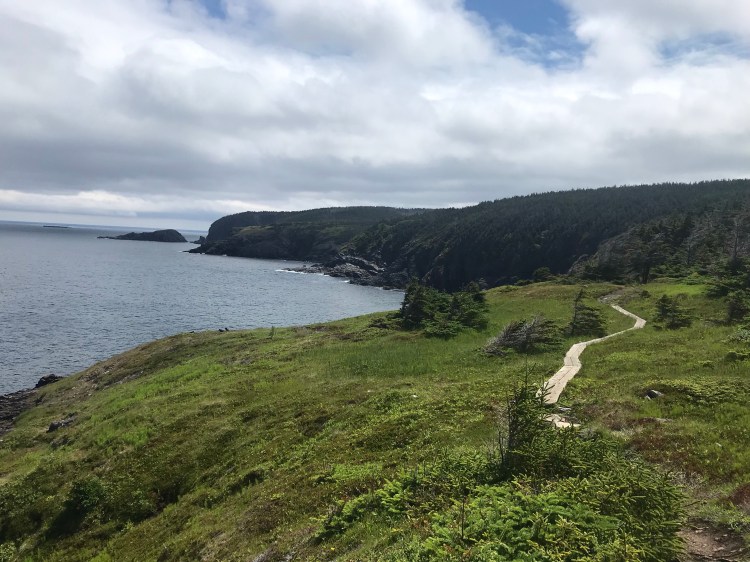
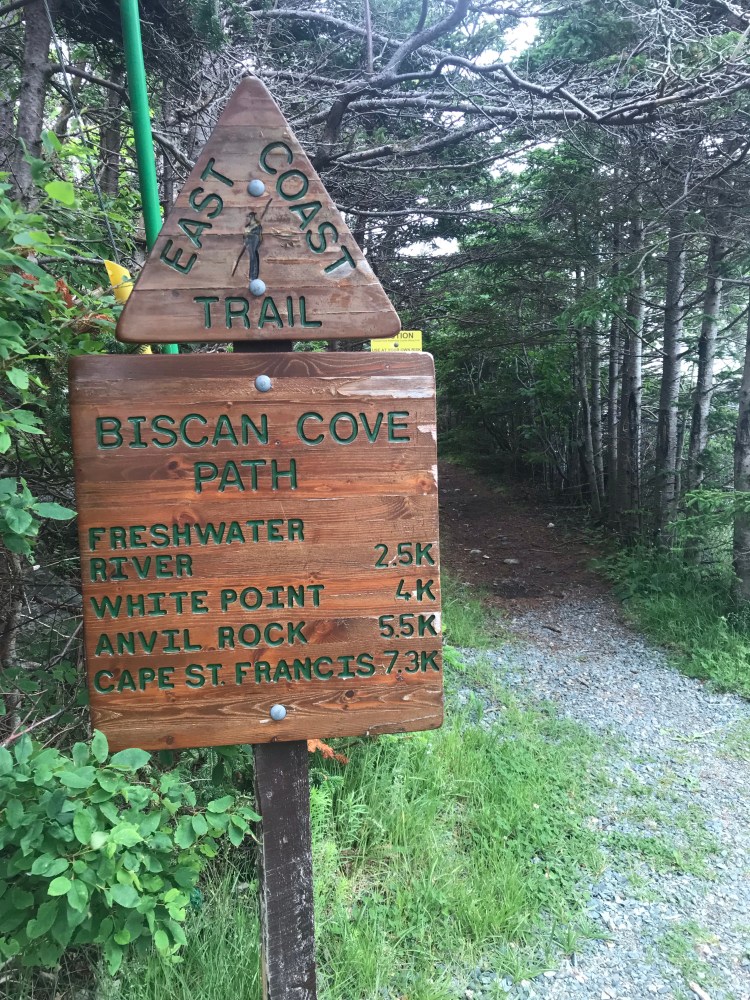
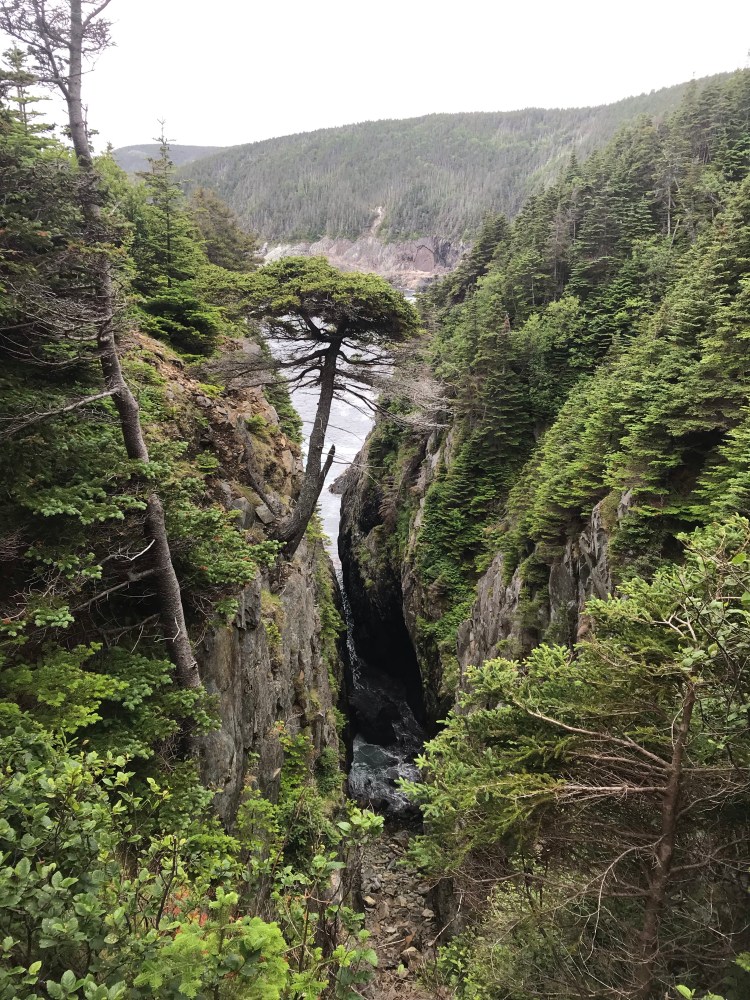
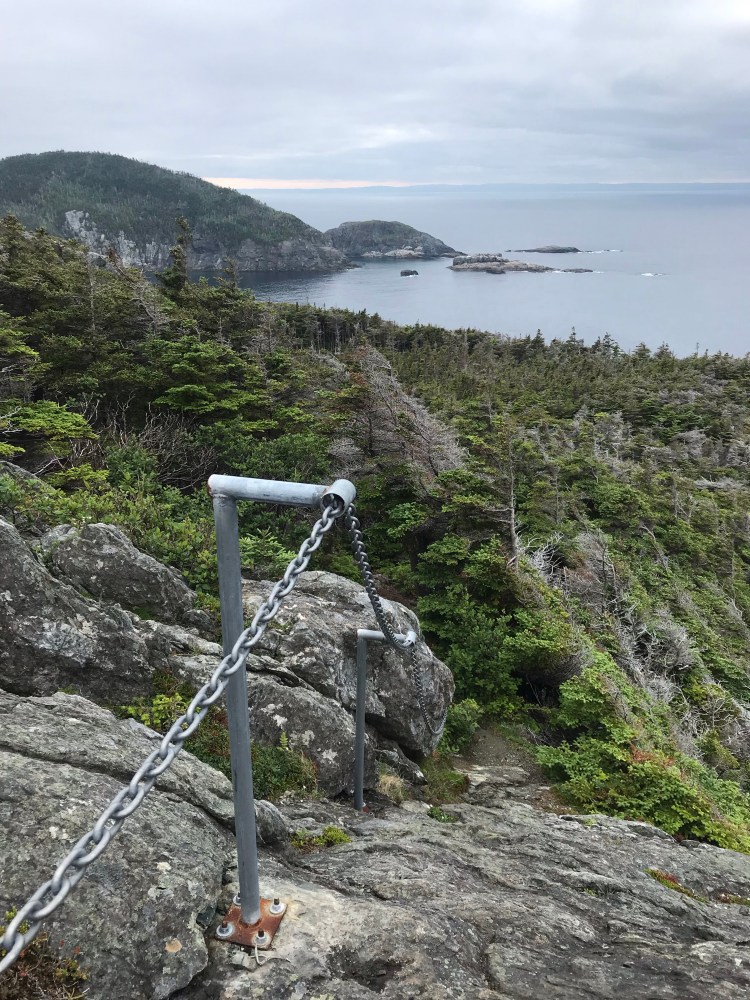
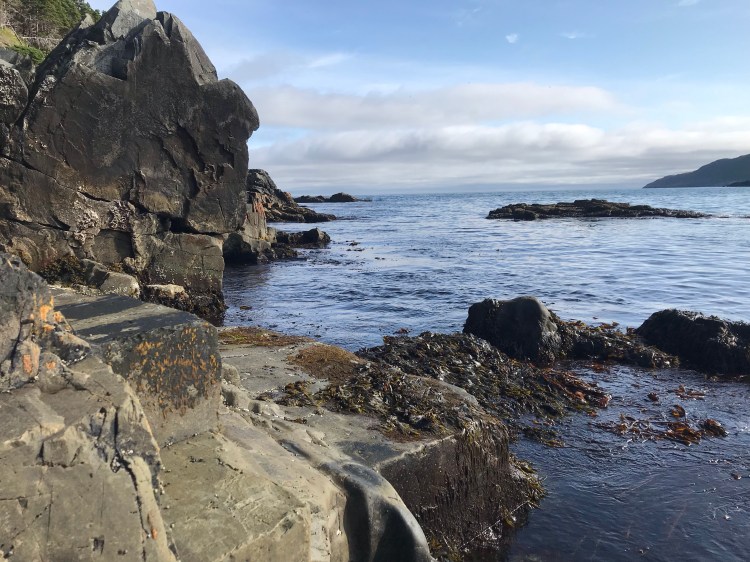
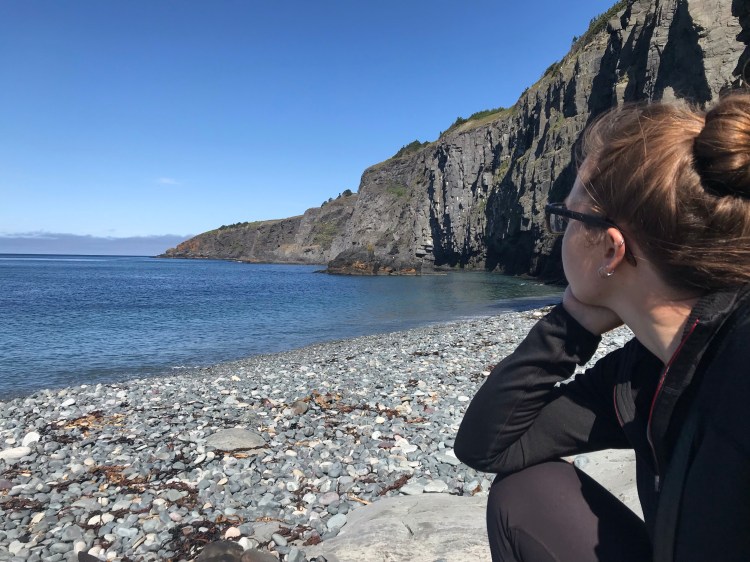
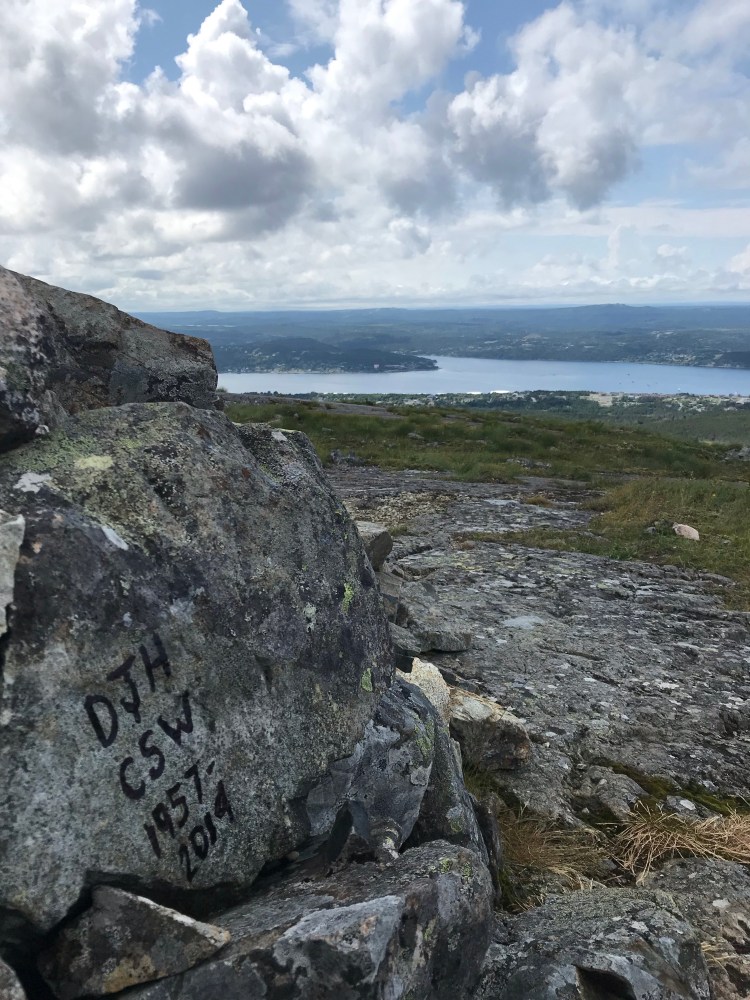
I had an excuse on my first thru hike (on Newfoundland’s East Coast Trail) – I was unaware of what awaited me. Which I think serves you well in that you are less likely to back out. But this time around there was no excuse – I knew what was to come.
So why thru hike if it’s painful?
Maybe I’m a sucker for pain. No pain no gain, as the saying goes.
I think, though, the pain passes. And in an odd way I’ve come to see pain as a marker for strength (which I don’t necessarily recommend). If you’ve properly trained your body, or you slowly work up your daily mileage – the strain will be less. There’s always risk of injury, and damn blisters, but give your body time and it gets stronger, it adapts. The body really is a beautiful thing. Though it’s not all physical, it’s mental, too – especially if you’re doing it solo.
But back to my point – why thru hike? Thru hiking gifts you with the beauty of the wilderness, it feeds my desire for exploration, and it provides the feeling of accomplishing something… these all contribute to why I came back for more, and why thru hiking will probably be a longterm pastime of mine.
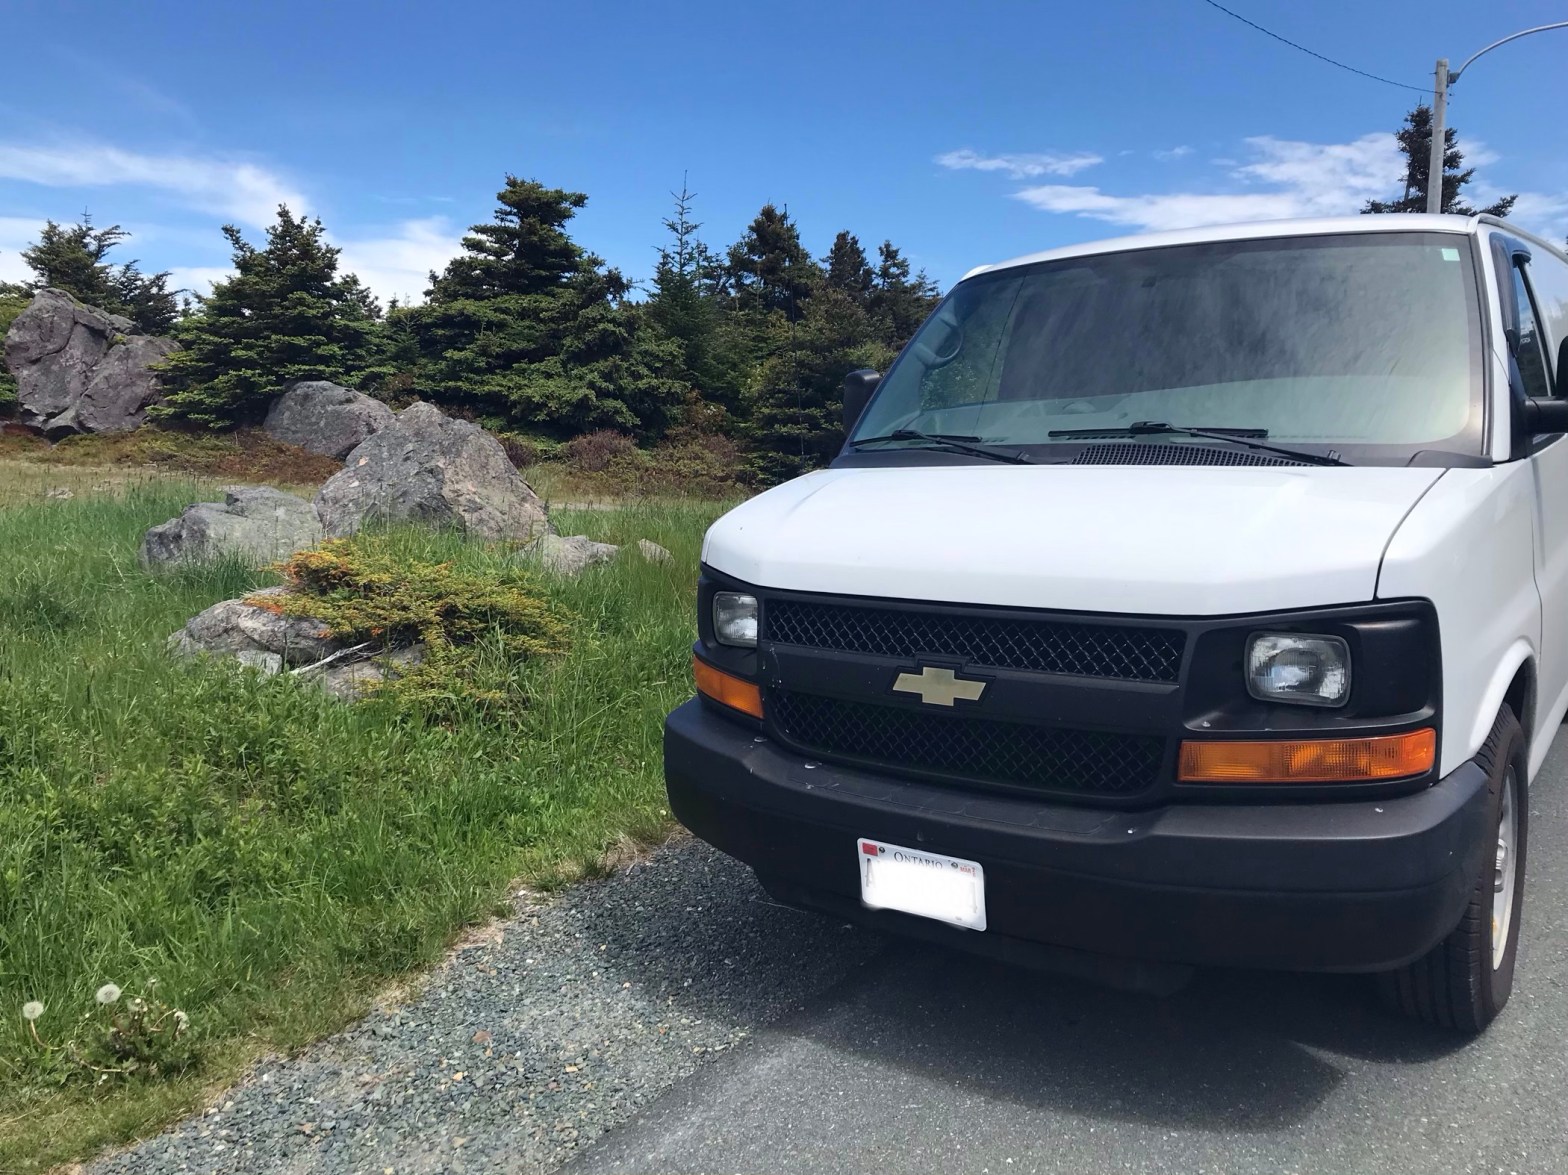
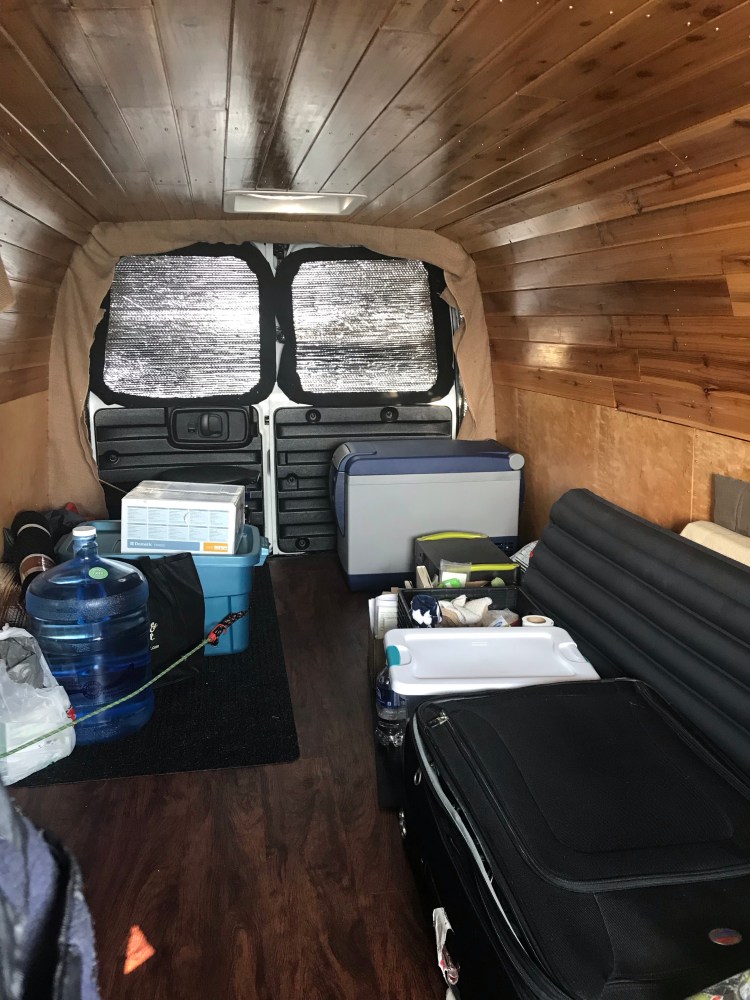
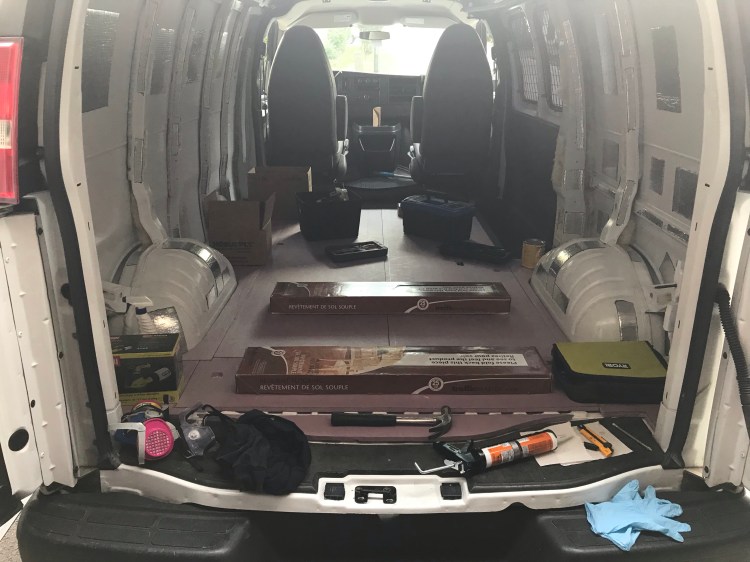
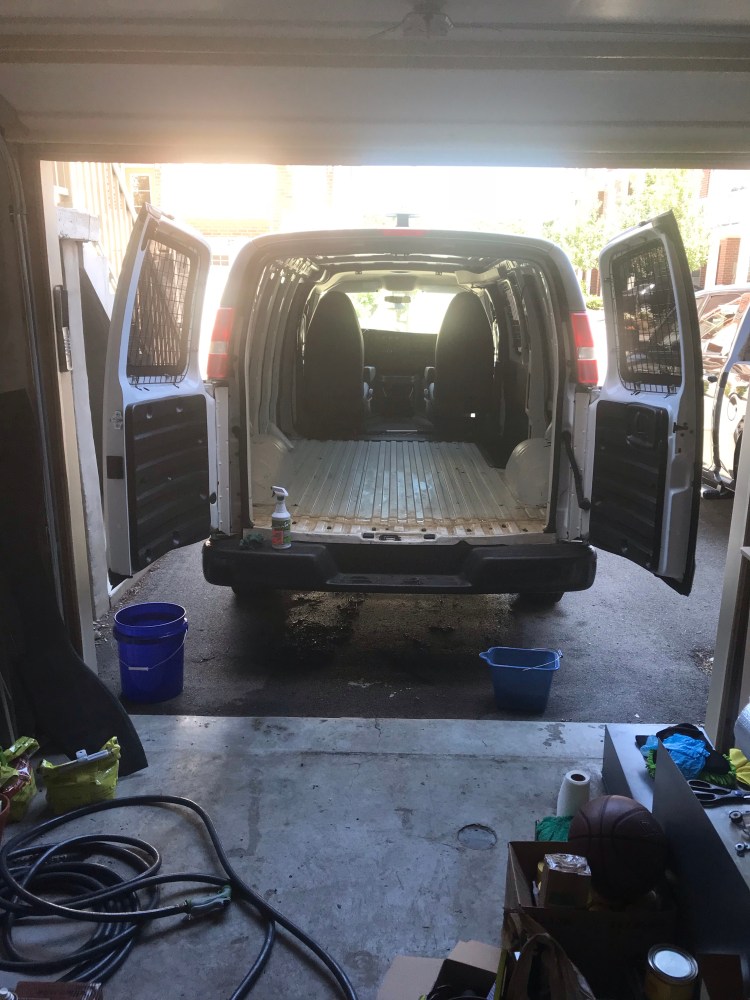
This year, I hit the Bruce Trail. It wasn’t your typical thru hike – but then, one might ask, what is the definition of a thru hike? To me, it is hiking a long portion of trail in a condensed amount of time, with near-daily hiking of long distances. The term often refers to end-to-ends. My thru-hike was unique in that in addition to daily hikes, I was also cycling, and instead of carrying all my supplies on my back and camping in the woods, I carried a day pack and slept in my campervan. Perhaps the trade off for a lighter pack (mine was about 13lbs) was the cycling… I had the liberty of stocking my van with extra provisions, including large jugs of water for drinking and cooking. And I was happy to minimize the possibility of encounters with bears, ticks, or poison ivy by not sleeping in the woods.
I came in at about 500km of hiking and 300km of cycling.
This blog post goes into detail about my experience on the hike itself, as well as components of my research and preparation for the hike. It is lengthy, so feel free to skim over any sections you are not interested in, or just peruse the pictures.

Preparation
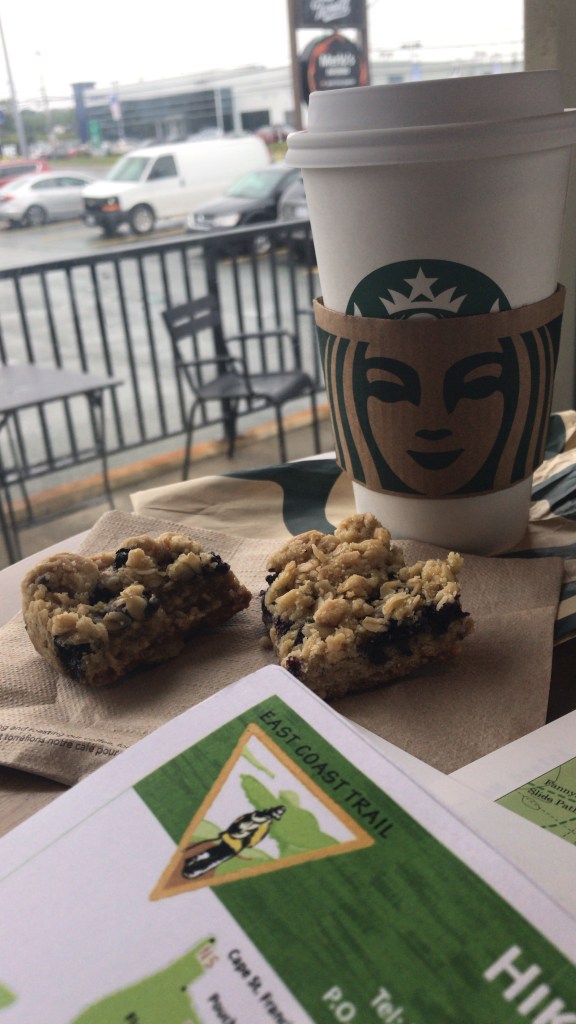
Preparation for this hike consisted mainly of research, reading through the Bruce Trail Reference Guide, planning out my days, gathering supplies, and packing up the van.
I consulted my notes from 2019’s thru hike as a refresher for things to keep in mind. I won’t go into detail on that here, but you can check out my blog on that hike here.
Route
I like to have things all planned out. In this regard, I mapped out a daily plan for my hike – daily mileage, overnight parking spots, daytime parking spots, which parks had restrictions or fees or required reservations… And while this got me accustomed to my maps and feeling a bit more prepared, ultimately it was a waste of time. Because I didn’t end up doing 30km of hiking every day. And since my energy levels or injuries fluctuated, it panned out that it was better to plan my days as they came.

Overnight Parking
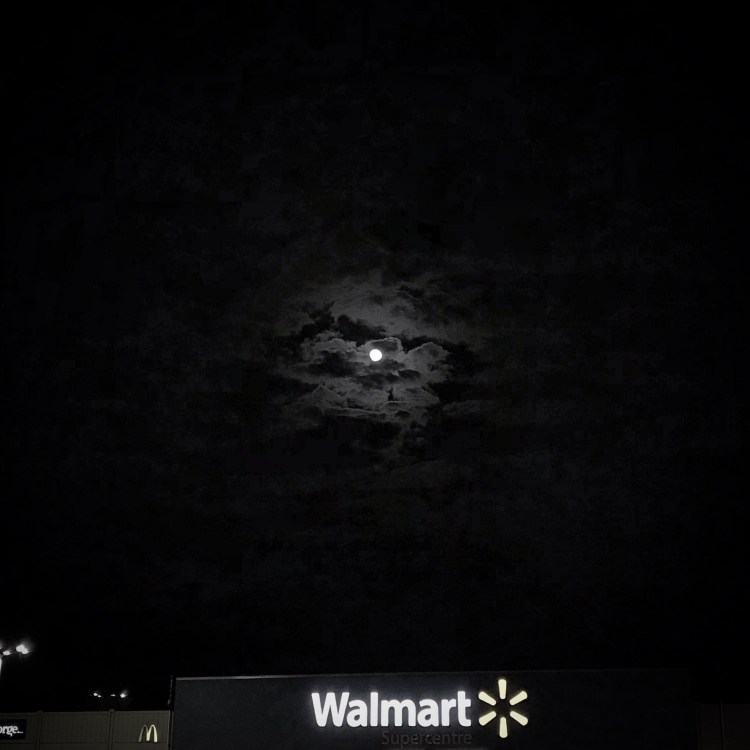
This can become a complicated topic, but I kept it pretty simple this time around. I either parked overnight at a Walmart or at my house, with the odd trailhead thrown in. I called several Walmarts ahead of time to ask permission, as not all of them allow overnight parking. I use the ALLSTAYS app “ONP Walmart” for this.
Cycling
I don’t cycle that often. So for this trip I prepared with research and a tune up.
I brought my bike in to a local bike shop to make sure it was in working order. This gave me peace of mind. My bike is fairly ancient, but it’s held up. It’s a mountain bike, so while it was pretty heavy, which contributed to more effort and slower bike rides, I was also grateful for it when I hit trails. It’s also definitely too small for me, but hey – it got the job done.
I also researched what I should have with me in case anything went wrong. This included a patch kit, tire levers, spare inner tube, wrench, and air pump.
I looked up how to change a flat. While I should have practiced this, so I could do it quickly and easily in the field, I was in a rush and did not. The linked article was very handy though …when I finally got around to fixing a flat.


I also looked into cycling etiquette, so that I was prepared for the rules of the road.
And I looked into best practices/ locks for locking up your bike and preventing theft. Locking up your bike on racks in high visibility areas is good. Unstable structures or skimpy trees should be avoided. And U-locks are great, especially if used in conjunction with a cable lock. I just used a U-lock and placed it around my bike frame and one tire, keyhole pointing down. Luckily, my bike was always waiting for me at the end of the day.
Cold Soaking Food
In the name of convenience and low maintenance, I looked into cold soaking. After a long and gruelling day, even boiling water can feel like a chore. And not carrying a stove and fuel (if you’re carrying everything on your back) saves space and weight. But is it safe?
Re-hydrating food is faster with boiling water, as the heat breaks down cell walls so that the water can permeate the food quicker. Some people pre-soak their vegetables, which decreases cooking time, in an attempt to save fuel. Others cold soak their meals while hiking so that their food is ready when they get to their destination.
It is not safe to soak perishables like meat at ambient temperatures. Warm water for soaking/ rehydration can breed bacteria, so cold water is recommended, unless you plan to cook your food, which should kill off bacteria.
Apparently, cold soaking rarely tastes as good.
With dehydrated fruits and vegetables, they must be freeze dried for cold soaking to work, as air dried requires heat in order to rehydrate properly. People say that pre-packaged backpacking meals are not intended for cold soaking, that they require heat, and will not be enjoyable otherwise.
There are definitely situations where cold soaking could be ideal, but seeing as how I wasn’t carrying all my belongings on the trail, and most of my hike was in chilly weather – having a hot meal at the end of a long day was a perk I’m glad I had.
Here are some informative articles on the topic:
- Tips For Re-hydrating Dried Foods in the Backcountry
- Test: Rehydrate Mountain House With Cold Water Only
- Cold Soaking Your Meals: Two Thru-Hikers Share Their Wisdom
- How to Prepare Freeze Dried Food
Electrolytes
Some of the best electrolyte sources include coconut water (low sugar), milk, juice, electrolyte tabs (low sugar, no caffeine), Powerade/Gatorade (high sugar and artificial colours).
Personally, I found coconut water to be gross. I love me some chocolate milk, and I sometimes grabbed a bottle from Walmart to have with breakfast. One of my favourite drinks was V8 – I had those little cans with me in the van and took one with me everyday on my hikes. A great way to get my veggies in – and a wonderful alternative to what seems to be a plethora of sugary snack options for hikers. I did bring Gatorade mix with me and some days mixed it with my water. And juice boxes were a convenient option to have in the van as well.
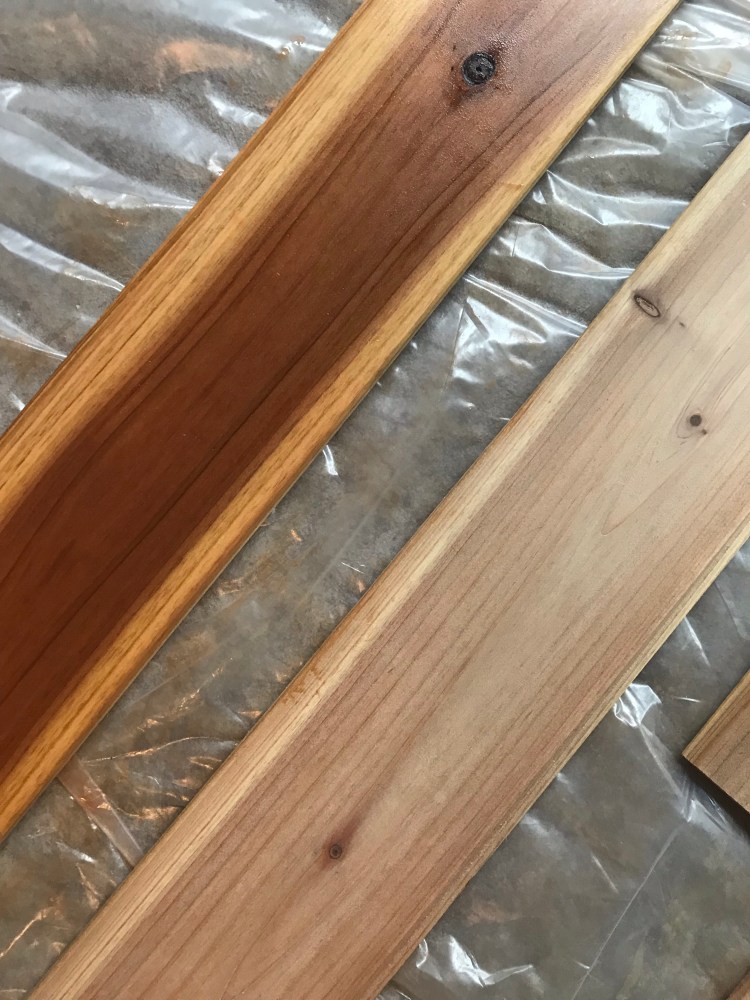
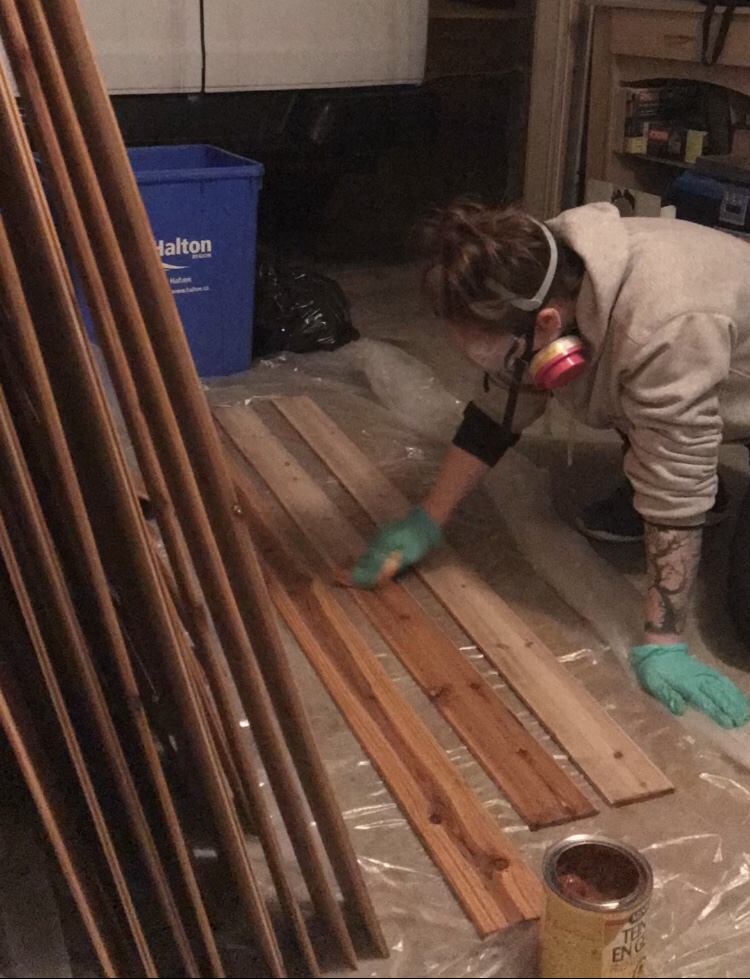
Boots
I wanted to waterproof my hiking boots, as I hadn’t done this in a while, and my boots were beginning to crack. I found a great video on how to make homemade waterproofing for your boots. All you need is beeswax, petroleum jelly (Vaseline) and essential oil (optional – I went with pine). You basically lightly heat the beeswax and Vaseline on the stove, then remove from heat and add your EO of choice. Clean and dry shoes, then apply. I applied two layers and found that it really did make a difference for me on the trails.

Poison Plants
My main concern was coming across Poison Ivy. Once again, this was something I didn’t see or experience on the ECT, but Ontario has a plethora of it. “Leaves of three, leave them be,” or as I liked to say on the trail: “leaves of goddamn three.”
It seems that there are a lot of plants that have three leaves and look strikingly similar to Poison Ivy, so I made it my mission to avoid any plants with three leaves… with the exception of strawberry leaves, which I could differentiate.
Other identifying factors of Poison Ivy are low growth and occasional climbing, deep green leaves in Summer, reddish leaves in the (Spring? and) Fall, clusters of white to greenish yellow berries, and short, erect, leafless stems which often hold onto some berries over the course of Winter. All parts of the plant are toxic.
A rash usually presents 12-72 hours after exposure, and can last 1-3 weeks. If you touch poison ivy it is best to wash right away. Washing with dish detergent can break up the plant’s oils and it is said that rubbing alcohol can bring said oils back to the surface of the skin.

I made myself aware of Poison Sumac and Poison Oak as well. Though the BT Reference Guide did not mention them. It did, however, mention Giant Hogweed and Wild Parsnip, so I familiarized myself with photos and kept an eye out.
Wildlife
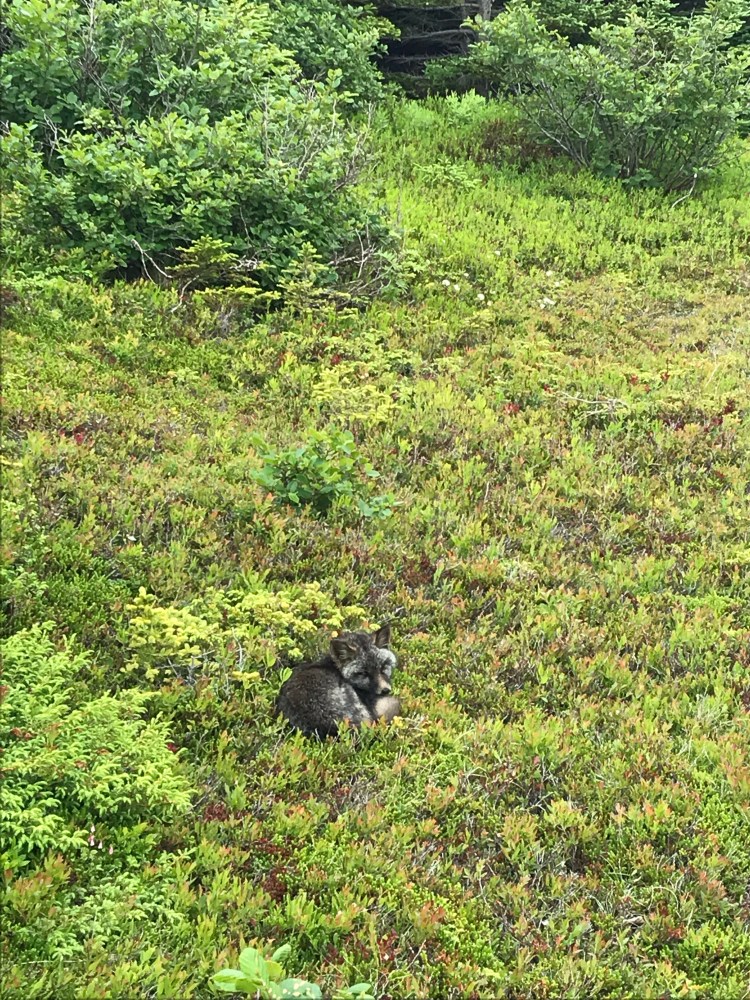
I also had different wildlife to worry about than in Newfoundland. One of the nice things about Newfoundland’s Avalon Peninsula is that you don’t have much dangerous wildlife to contend with. Instead of moose, I had the possibility of coming across bears, ticks, coyotes, wolves, rattlesnakes, and skunks this time around.
Bears
Bears were my biggest concern on this hike, especially as I got further North (it’s bear country north of Owen Sound/ on the Bruce Peninsula). I made sure to do a bunch of research to ensure that I would be prepared in the event of an encounter.
I put anything in my pack with an odour in odour-proof bags. I had pine essential oil with me, which I could put on my pack or person, as apparently bears dislike the smell. I kept a whistle accessible. And I had bear spray in my side pocket, ensuring I was well-versed in the mechanics of using it. For example, making sure to spray downwind so that it does not blow back in my face. I had a bear bell also, though I never wore it while hiking because I thought it would be quite annoying. And I avoided wearing anything with a strong fragrance. Some people warn against bug repellant in bear country (mine had essential oils smelling of lemon eucalyptus/ citronella, though I did not have to use it as the temperatures dropped). Bears have one of, if not the, best noses in the animal kingdom and are able to smell things up to 20 miles away!
While hiking I tried to be mindful of the wind’s direction and how that might affect whether a bear could smell me coming or be surprised by me (you don’t want to sneak up on a bear). I tried to make noise in dense forest, coming around bends in the trail, or near rivers where the water could drown you out – whether this be by my feet on crunching leaves, or singing. I was more comfortable on days when there were other hikers around. I kept my eyes peeled for tracks, droppings, claw marks on trees, and turned over rocks.
I researched bear behaviour and what it means. For example, the noisier the bear the less dangerous it is said to be as it is likely trying to get you to leave. I knew that if I came across a bear that had not seen me, to back away slowly. If the bear had seen me, to back away slowly while speaking to it in a low, monotone voice. If a bear comes toward you, you can yell, blow your whistle, throw rocks, or wave your arms to try and deter it. Avoid eye contact. Do not corner a bear. Usually if a bear rises onto its hind legs, it is getting a better sense of you. They might make noises, salivate, or bluff charge to warn you off. Predatory bears are rare, but may approach you silently. And bear spray is a last resort. If the bear keeps advancing – a black bear – stand your ground, and if it attacks – fight back.
Most bear attacks happen to solo hikers, and hiking in groups is safer. It is also encouraged that people avoid hiking at dawn or dusk, or when bears are most active. In summer and fall bears are busy foraging for food in preparation for winter – up to 20 hours a day! Be careful if hiking with the wind in your face, near noisy streams, and when visibility is limited.
Luckily, black bears are more shy than other species and can typically be scared off with loud noises or throwing rocks. They are also the best climbers and may be seen in trees.
One of my concerns regarding bears was whether eating in my van could attract a bear to me. But this was more of a non-issue this time around since I spent most of my nights at Walmart parking lots rather than trailheads.
These are tips I picked up with my research, but I am not an expert and encourage everyone to do their own research. Being in southern Ontario, my research focused on black bears, and best practices vary by bear species.
Here are a few resources I found to be helpful:
- Be Bear Wise and Prevent Bear Encounters (Ontario)
- Black Bear Safety (Algonquin)
- Managing Attractants
- No Cooking in Campervans in Bear Country
- Don’t Let Bears Ruin Your RV Camping Trip
Ticks
Ticks are gross.
It has long confounded me as to what their purpose in the natural world might be. I hypothesized that perhaps they serve to keep humans at bay from forest and natural lands in order for those natural areas to regenerate and give Mama Earth a break. But as a hiker, they are a risk.
When I hiked in Newfoundland I didn’t see one. From what I’ve heard there are a lot more ticks in Ontario than the west coast (BC), and the ticks here carry more disease. The Hamilton area is particularly bad. Ever since moving to Burlington from Toronto, I’ve had several run ins with ticks each year – especially with a dog in the house who can track them indoors. This has led me to do daily tick checks in general, but especially on my thru hike.
Ticks establish themselves in wooded areas, bushes and tall grasses. They wait for you to brush up against these grasses so they can hitch a ride. They seem to be most active in the Spring and Fall, and I assume this is for the same reason that they are most active during periods of high humidity and after it rains – because the sun or dry conditions dehydrate them. I think this is why many ticks can only survive about 24 hours in your house – they dry out and emaciate. But this depends on the species, as some ticks can infest homes. The deer tick, or black-legged tick, is common in Ontario and can carry Lyme Disease, among other diseases. This is why I always do a tick check. And I made sure to tuck in my clothes on my hike.
I actually made a homemade tick spray for this thru hike, as certain smells are repellant to ticks, but I must have forgotten about it as I never used it. My tick spray contained alcohol, vinegar, distilled water, wormwood, lemon eucalyptus, geranium, marjoram, thyme, cedar, and glycerine (makes the scent last longer). Luckily, I didn’t get any embedded ticks (knock on wood).
Mosquitoes
While a mosquito bite is usually just a nuisance, mosquitoes can carry diseases like West Nile Virus (WNV) or Eastern Equine Encephalitis Virus (EEEV). Neither of which have a vaccine or treatment. Mosquitoes and birds in freshwater hardwood swamps carry EEEV and most cases are reported in the Atlantic, gulf coast, and Great Lakes regions (Florida, Massachusetts, New York, North Carolina, Quebec, and Ontario). Fortunately, WNV rarely turns into a serious illness. Unfortunately, EEEV kills 1 in 3 people infected and can leave others with long term effects. These illnesses may be rare, but it’s always good to be aware, take precautions to avoid mosquito bites, and be wary near standing water, as well as around dawn, dusk, and in the early evening.
Snakes
For the most part I really enjoyed seeing snakes on the trail. They were usually harmless common garter snakes or the Dekay’s brown snake.


But once you get to the Bruce Peninsula, you are in the habitat of the Massassauga Rattlesnake (Ontario’s only venomous snake). This snake can grow up to 1m long, is brown with dark splotches, and is a species at risk. They are normally not aggressive, but may strike in self-defense. If threatened, it will emit an insect-like buzz or rattle, in which case you should remain motionless or slowly move away. Be wary in areas where they might be found, like in brush, under rocks or logs, in shady areas, or basking in the sun. If bitten, remain calm, call 911, and reduce activity/ lay down to slow the circulation of venom. The BT maps have a number on them to call / locations with anti-venom if you should get a rattlesnake bite. But these snakes are usually non-aggressive and only bite as a last resort. They also hibernate underground from about October to mid-April.
Coyotes
Coyotes usually avoid people, but can become habituated in urban areas. Best practices include keeping your distance, backing away slowly if you encounter one, do not turn your back or run, and if a coyote seems aggressive – stand tall, wave your arms, and make noise.
I came across one coyote on my hike in the Hamilton area and it immediately ran off the trail and into the trees when it saw me. I kept vigilant after passing the spot where I’d seen it, and caught glimpses of it in the bush, but it stayed scarce and never made a reappearance.
Hunting Season
With the Fall being a popular time of year for hunting (~ October to January for big game – moose, deer, bears), I looked into safety measures while hiking where there could be hunting nearby. And actually, there were several instances, especially in the Niagara region, where guns were going off close to the trail. Though the Bruce Trail Reference Guide states that the three northern-most sections of trail are more common for hunting.
One precaution to take is to wear bright or neon colours – no beige, brown, white, red or green, which can mimic green plants, brown tree trunks, the changing colours of autumn leaves, or animal fur. Having a whistle to communicate with hunters is useful, as well as making noise, like talking, on the trail. Stay on the trail and avoid hiking when visibility is limited (e.g., dawn or dusk).
Hunting season was also important to note in terms of annual trail closures, mostly by private land owners.
Supplies
Most of what I brought on this trip is outlined in my previous blog posts about my ECT thru hike and travelling in my campervan. But there are a few unique items and some other things worth mentioning:
- Bike repair supplies (see cycling section above), including a helmet
- Hand sanitizer (Covid)
- Baby wipes (for in between showers)
- Halloween mini bags of chips (this was a definite guilty pleasure, far from healthy, but calorie dense, tasty, and I was hiking in October – t’was the season!)
- V8
- Apples
- Spoons
- Hunter Orange hat for visibility in hunting season
- Flashlight
- Emergency blanket
- Day Pack
- Bear spray
- Bear bell
- Bruce Trail Reference Guide (which is not waterproof or tear-resistant, but does come with a plastic sleeve for individual maps)
- Homemade Elderberry syrup and fire cider for cold and flu prevention
- Ginger capsules for nausea and chamomile tincture for upset stomach or in the event of a stomach bug
- Cranberry supplements and juniper berries as a urinary tract antiseptic (I am prone to UTIs); Uva Ursi in the case of a full blown UTI
- Tick Removal Kit
- St. John’s Wort salve for wounds or bug bites
- St. John’s Wort and Witch Hazel spray
- Smoke and CO alarm in van
- GPS (not the navigating kind, but the tracking kind in the event of theft)
- Contacts, glasses, sunglasses
- Lip balm with spf
- Sleeping pad + inflator
- Sleeping bag
- Wool blankets (did wonders in addition to my sleeping bag – which is rated to 0 degrees, but I find I get cold when the temperature hits 5 degrees C)
- Hot water bottle (for cold nights, though I did not use it)
- Waterproof hat
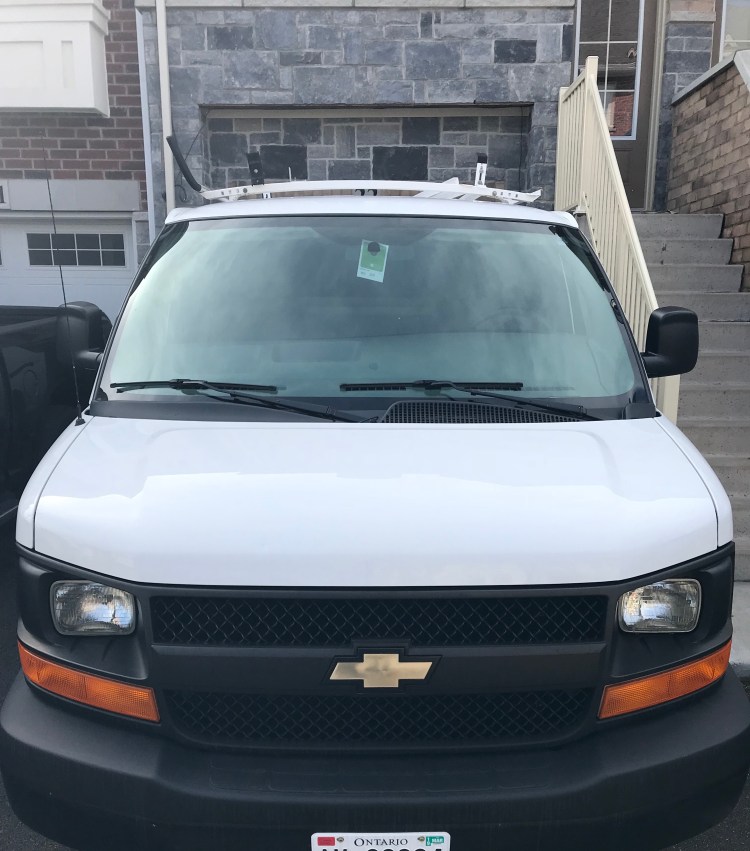
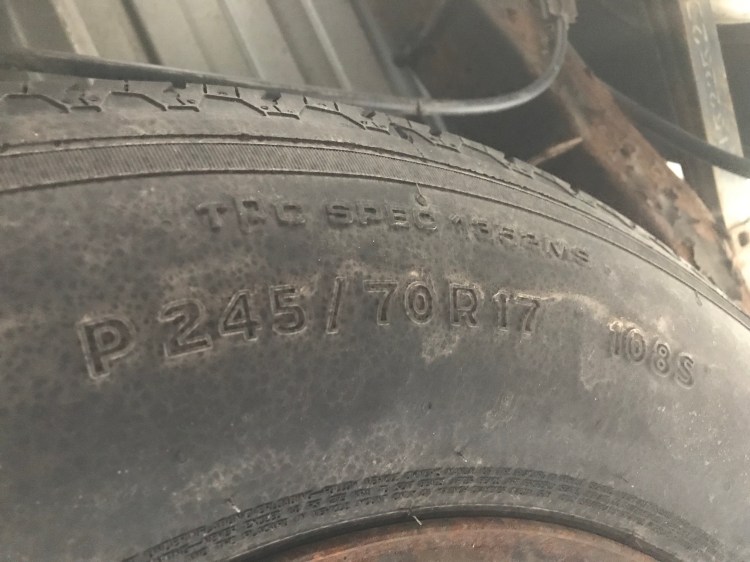
Van Checks
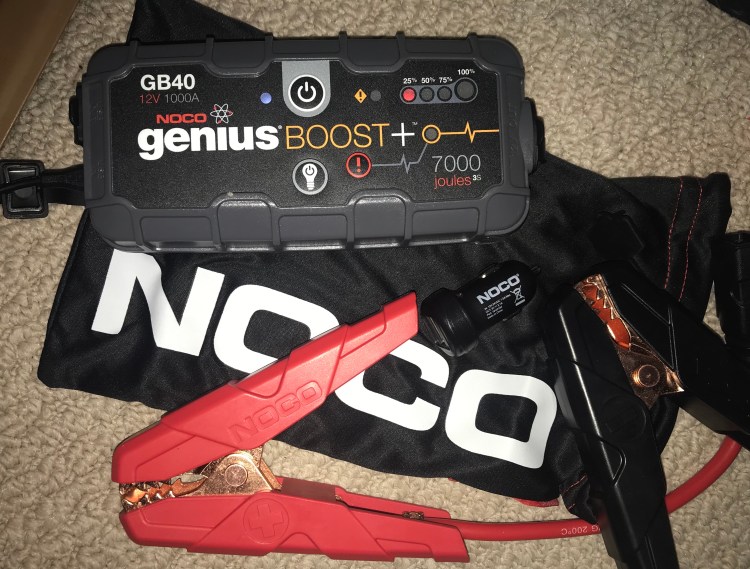
I always like to make sure that my van is road ready. While I didn’t get my van serviced prior to beginning this thru hike, I did several checks myself. This included checking the oil, coolant, windshield wash level, tire pressure, and doing a scan for faults with my OBD2 scanner.
Soon after starting my hike, though, Strider started making some odd sounds, so I ended up bringing him in to my mechanic anyways on one of my rest days.
Staying Informed
It was all well and good to be prepared before starting my hike, but with so many different trails being covered, and the fact that I was hiking during a pandemic, things could change at any time.
I was lucky with my hike in that Ontario was not in lockdown at the time. But it was important to keep up with the news in case that changed or restrictions on the trails changed.
The Bruce Trail website has a page specifically designated for notices and trail changes, such as closures or re-routes.
While planning my days, if my hike was going to take me through any provincial parks or conservation areas, I would look up their website to see if they were open, charging entrance fees, requiring reservations, or what Covid protocols they had in place (e.g., a few parks required hiking only in one direction).
I always kept an eye on the forecast, so I knew what to expect and could dress or schedule my day accordingly.
The Bruce Trail
The Bruce Trail is located in southern Ontario and follows the Niagara Escarpment from Niagara to Tobermory (tip of the Bruce Peninsula). The main trail is about 900km in length, with over 400km of side trails.
The Niagara Escarpment is the most significant land form in southern Ontario. Several geological processes, including erosion and glacial activity, are responsible for its formation. “Escarpment” is defined as “a long, steep slope, especially one at the edge of a plateau or separating areas of land at different heights”.
The Bruce Trail Conservancy (BTC) has incorporated indigenous history and ties to the land in their reference guide, and there are several markers along the trail with info about indigenous presence. The Niagara Escarpment is referred to in Anishinaabemowin (Anishinaabe language) as Gchi-Bimadinaa (The Great Cliff That Runs Along), or in Kanyen’kehá:ka (Mohawk language) as Kastenhraktátye (Along The Cliffs). Indigenous footsteps landed here about 13,000 years ago as the glaciers were melting and retreating northward. Indigenous communities interacted with this environment in a way that has sustained hundreds of generations.
A third of the land passes through private land. Also about a third of the trail is not currently protected, and is therefore vulnerable to land development. Part of the BTC’s work is in conservation, land acquisition, and preserving a continuous ribbon of nature along the trails of the escarpment.
The Bruce Trail technically does not allow random camping, and doing so is considered trespassing, which can put trail use in jeopardy for everyone. That being said – people do it. The BTC encourages thru hikers to use designated campgrounds or Overnight Rest Areas only, or else stay at B&Bs or inns. This makes it harder to thru hike (and more expensive), and is one reason why I chose to incorporate my van and bike in my own thru hike.
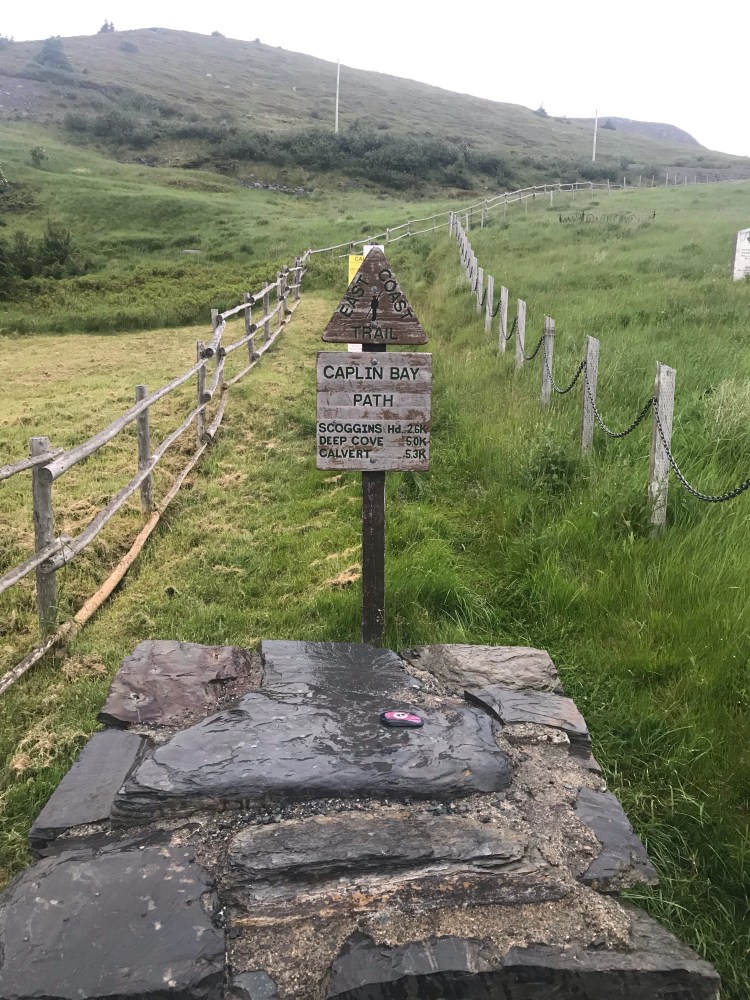
A cairn, or stone mound, marks the start and finish to the trail.
The Routine
After a few days I tend to fall into a daily routine. Because of the way I was doing this hike, and the fact that it was Fall and I had less daylight hours than I would in high summer, my days were jam packed.
A typical day looked like this: morning prep, drive to one trailhead where I could park the van for the day, cycle to another trailhead, hike back to the van, drive to pick up my bike, make dinner, drive to an overnight parking spot (if applicable), wind down for the night.
My morning prep routine began with meditation. When it got really cold overnight I would turn on the van in the mornings to heat the interior. I usually charged my phone from the van dash while driving, but also in the mornings. I checked the weather forecast. Then I would clean any blisters I had and get changed. I would stretch and use my massage/ roller ball on my feet. I usually used a Walmart bathroom in the mornings and was able to pick up any food or supplies I might need. I’d eat breakfast and pack my pack with snacks and liquids for the day. I’d also switch out my maps and plan my route, deciding on trailheads with parking and at appropriate distances from each other. Before locking up the van I’d make sure that I had my keys, bike lock, helmet, watch, pack, bike, phone, maps, and bear spray.
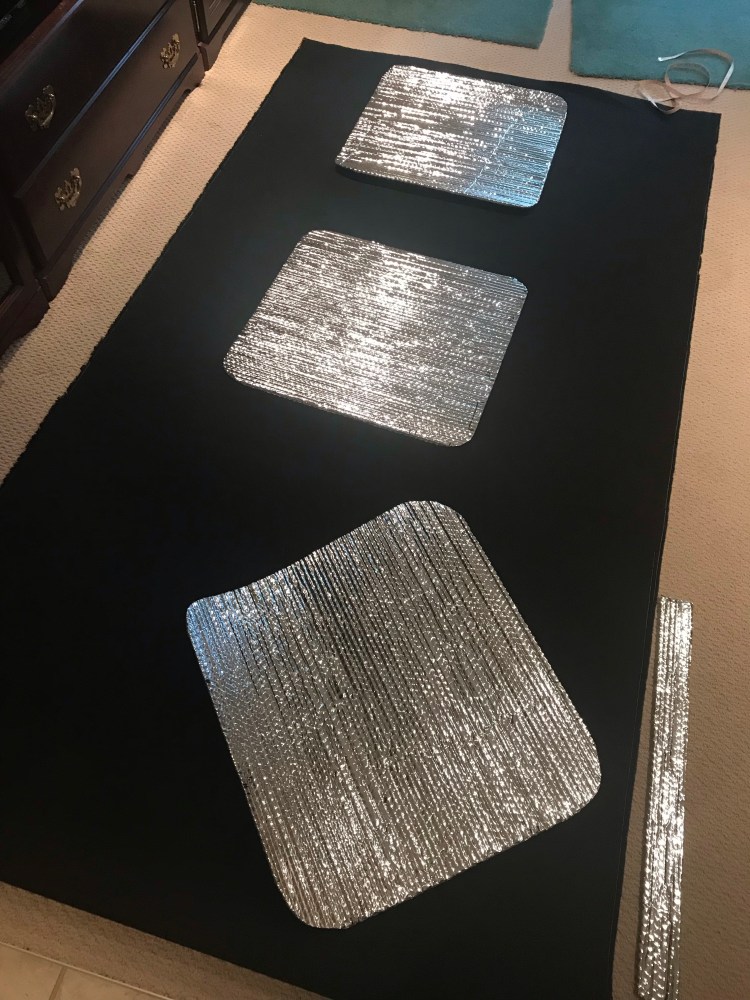
My evening routine began with making dinner (aka boiling water and pouring it into my bag of dehydrated food) when I got back to the van. Since I was often sleeping at Walmarts I preferred whipping out my camp stove at a trailhead rather than a parking lot. On the drive to my overnight parking spots I would turn the heat up so the van would be cozy for a little while before I went to bed. If I wasn’t too lazy or starved I’d change into my sleeping clothes before eating – otherwise I might get even more lazy, or cold. I would put the window covers up in the van, lock the doors (with an added seat belt trick), and turn on my lantern. I would typically do a quick tick check when I’d gotten back to the van, but also checked my clothes and body when changing. I had designated clothes to wear for bed. I “spot washed” my hiking clothes and hung them to dry overnight. They didn’t dry very well when the overnight temps were down to 1 degree C, but while warming the van in the morning I would actually hang my clothes over the air vents and that at least helped and made it so that I wasn’t putting on wet and cold clothes. While eating dinner and hydrating I would watch something I’d previously downloaded to my phone on the Netflix app, sometimes using Walmart’s wifi to do this (I was usually so tired at night that I doubt I could have focused enough to read a book, and it was also dark, and watching something gave me something to enjoy while eating). Then I would finally sleep! I always slept with my valuables, car keys, and glasses next to me in case I had to drive at a moment’s notice.


The Hike
All kilometre markers and map references are based on the Bruce Trail Reference Guide, 30th Edition. I took rest days throughout the hike. Not all kilometres hiked will match up with start and stop kilometre markers due to different sections, re-routes, side trails taken, etc. My overall average pace was likely ~ 4km/hr, but on good days/ easier trails/ when racing the sun, I averaged a 5km/hr pace.
Day 1
- 20km cycled
- 27km hiked
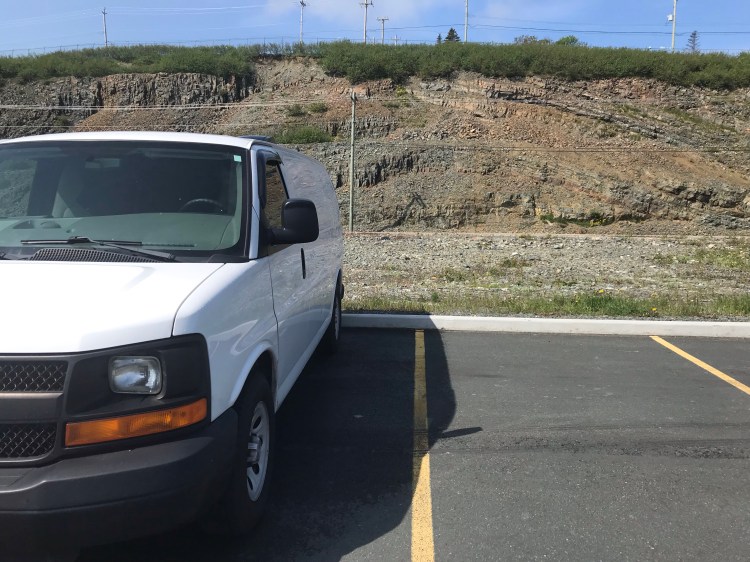
- From the southern terminus, km 0, in Queenston, Niagara Section, to Glenridge Quarry Naturalization Site (south of km 26.3, Map 3)
I think forevermore my slogan for the beginning of a thru hike will be:
“I now walk into the wild”
– Chris McCandless
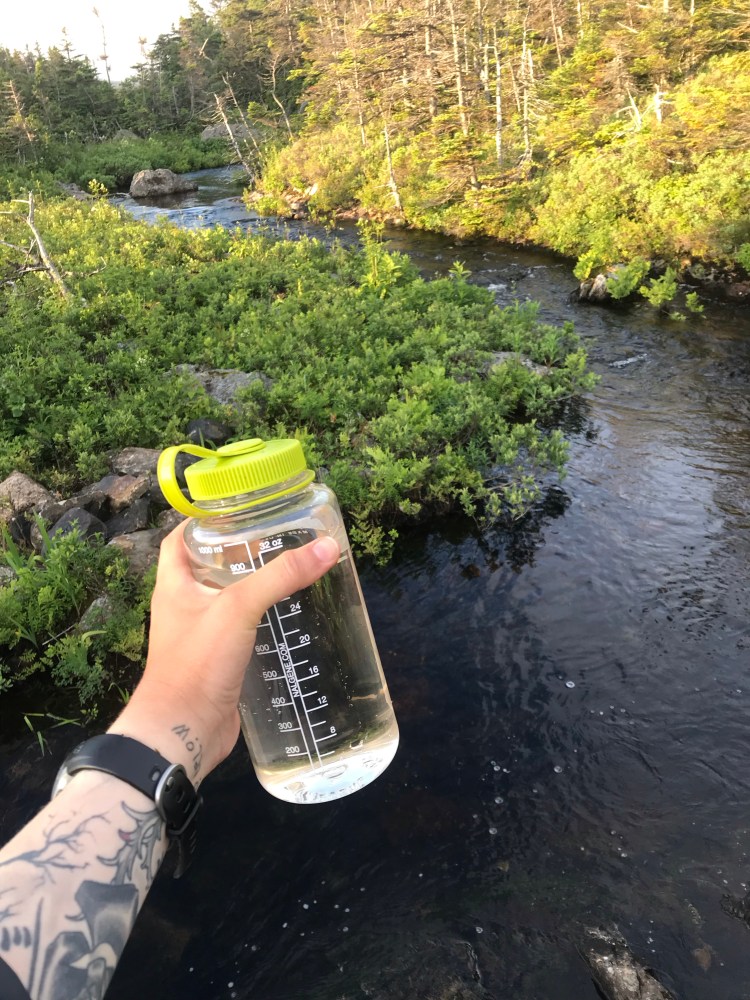
I began my hike near the end of September, when the temperatures were still in the high twenties (C). Autumn leaves were just starting to turn colour, but most of the forest foliage remained green. The trail was dry and cracked and my boots would be covered in dust by the end of the day. I remember remarking that had I needed to fill up my water bottle from rivers or streams I would have been shit out of luck – most were completely dried up, no doubt due to a long and hot summer. This also meant that I missed out on a lot of waterfalls, seeing mostly rocky backdrops.
The bike ride took me along both trails and busy roads. I passed a lift bridge and a Harley Davidson Motorcycle location.
After arriving at the southern terminus, I was able to use a public washroom and lock up my bike in the park there. I also took time to hydrate and eat a snack to replenish my energy stores following a gruelling cycle, which would become part of my routine. I had to search for the cairn, but eventually spotted it at the edge of a large parking lot. It also took a bit of searching to find where the trail started, but I eventually found my way.

I was starting my hike later in the day than I’d hoped, and in what would become an unfortunate pattern – I was racing the sun to get back to my van before dark. But with fresh feet and a well-rested body, this would be one of my fastest and longest days of the whole thru hike – clocking in at 27km in about 5.5 hours (~5km/hr pace).
I was pretty mindful of Poison Ivy during this hike, and I was careful to watch what I was brushing up against. But in the excitement of Day 1 and rushing to beat the sun back to the van, I brushed up against something that looked suspiciously like Poison Ivy. I washed the area immediately, and again when I got back to the van. It wouldn’t be the last time that I brushed up against potential Poison Ivy, but somehow I never got a rash. Or an embedded tick for that matter (knock on wood).
My hands also ballooned up. Perhaps the heat had caused water retention, though it might have also been partly my rolled up sleeves cutting off circulation.
And as the trail brought me around a golf course, I came up on a man relieving himself through a fence – right onto the trail ahead of me. I stopped and looked away, then quickly carried on, making sure to avoid the puddle he’d made.
All in all though, Day 1 was beautiful.


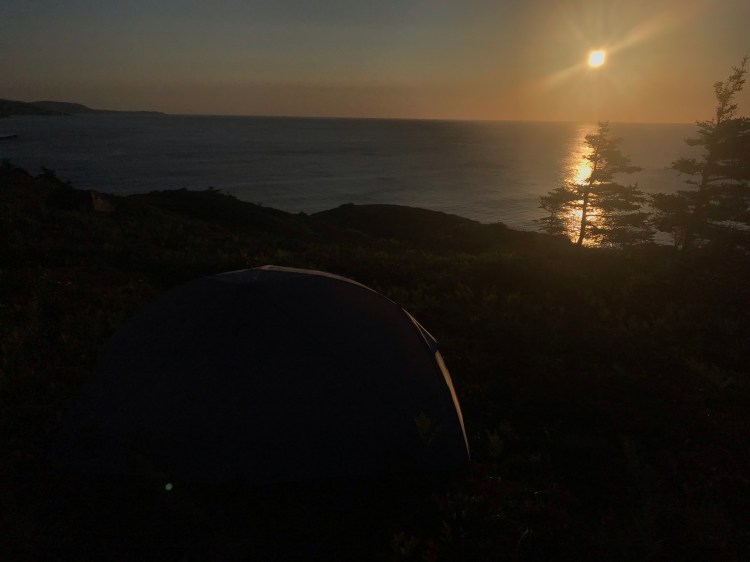
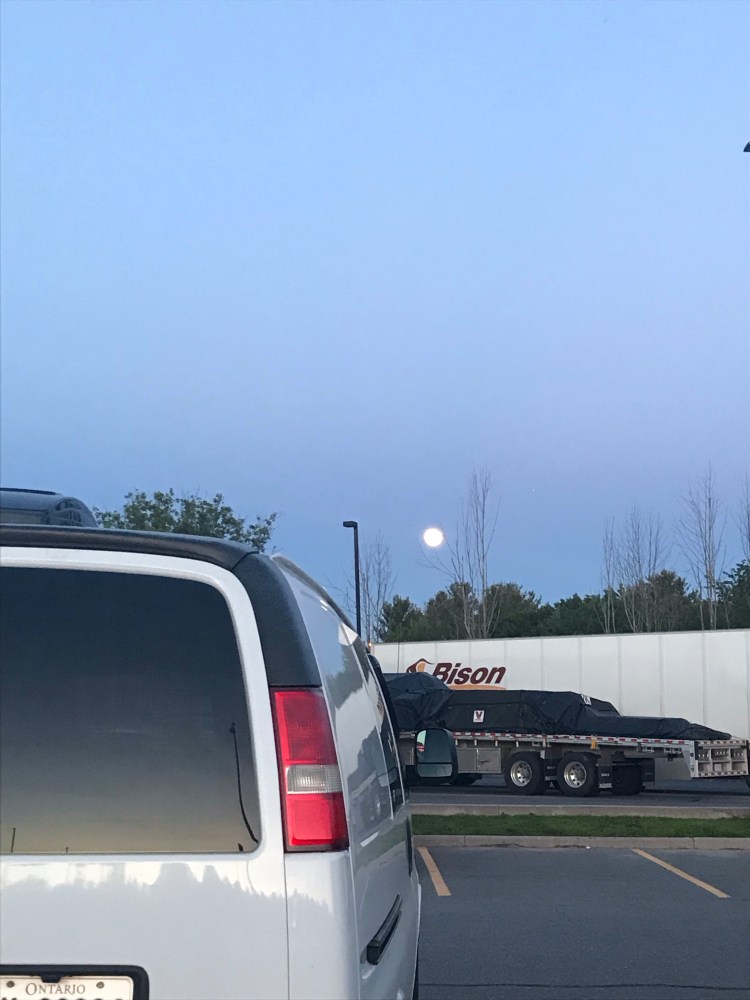
As I hiked the final kilometre of the day, the sun was setting as the moon was rising above the fields before me. I made my dinner by the van. Then drove to pick up my bike and head to the St. Catharine’s Walmart overnight.
Now I could finally take stock of the carnage that was my body.
My feet, since they weren’t used to such long days, were killing me. But what was more worrisome was that I seemed to have blisters already forming – under my big toe nails. I don’t know if blister is the right word, but there were pockets of fluid (sorry to those who dislike graphics – but I’m documenting the experience here!) underneath my nails that created the sensation of pushing up on my nails. Not a favourite. I predicted that I’d lose some nails on this thru hike. But by some miracle I didn’t. I’m fairly certain both my big toe nails died, but they held on, and I haven’t had the heart to remove them (they are slowly but surely recovering).
In addition, the exertion, which my body was not used to, along with the heat, stressed my body (I have a habit of pushing myself), leading to nausea and the inability to eat a full meal. My groin had rubbed raw from the cycling. This sensitive skin would heal and toughen up within a few days, a process I helped along with my homemade St. John’s Wort salve (which I use as a general salve for wounds as it is antimicrobial and vulnerary, helping to heal, clean, and even stop itching with bug bites).
In retrospect, I should have done some additional training prior to this thru hike. I didn’t have to worry about the weight of a huge pack on my back, since I had my van for storage, so weight didn’t put pressure on my body. But the few runs a week that I had been doing didn’t really cut it. I was in okay shape, but I was now using muscles I didn’t usually use, both with hiking and especially with cycling. And adding two new activities, going basically from zero to a hundred with them, is kind of a recipe for disaster. Which I would soon find out, as the muscles in my groin were already beginning to feel strained.
Day 2
- 15km cycled
- 27.5km hiked
- Glenridge Quarry Naturalization Site, Thorold (south of km 26.3, Map 3) to Glen Road (km 56.6, Map 4) near Ball’s Falls Conservation area
These first few days were really hard on the butt – I definitely need a seat cover on my bike, because let me tell you, it was painful.
I had initially planned to tackle 30km on this day, but the sun was setting and I was extremely tired, so I cut the day short by a few kilometres. Going into this thru hike the initial goal had been 30km/day of hiking which would allow me to complete the whole Bruce Trail – all 900km – in a month. I think this would have been doable had I not also been cycling, and running around between overnight parking, day parking, and picking up my bike. Summer and longer days would have also helped.
I remember this day as killer on the feet – just throbbing – and very sunny, dry, and hot. I guzzled a lot more water on these hot days vs the later, cooler hiking days. I also got to see a couple of deer up close at dusk in the forest near Brock University!

Day 3
- 13km cycled
- 17km hiked
- Glen Road (km 56.6, Map 4) near Ball’s Falls Conservation area to 4134 Mountainview road parking lot, Mountainview Conservation Area (km 73.5, Maps 4/5)
Day 3 provided another sunny, hot, and windy day. I decided that 30km days were not feasible and settled for a shorter, more enjoyable day – because it should be enjoyable!
I thought of my Dad, whose birthday was today, and how he’d love to be on this hike with me.
I passed by some lamas, who inadvertently made me smile.
My hike began through Ball’s Falls Conservation Area, which had an interesting heritage site, though the falls were not flowing.
The trail continued through wine country and I remarked upon how I was lucky to have avoided thunderstorm season (maybe I jinxed myself, considering the experience that was to come later in the hike).
All in all, another beautiful day, and when I got back to the van I definitely felt an upswing in morale, having given my body a bit of a break compared to my first two days. I was able to eat my first full meal of the hike – since I hadn’t stressed my body as much, I was not as nauseous. Though the fluid build up and pressure under my toenails continued to provide discomfort, and my toes were red and swollen.


Day 4
- 20km cycled
- 24km hiked
- 4134 Mountainview Road parking lot, Mountainview Conservation Area (km 73.5, Map 5) to Jones Road, Stoney Creek (km 14 of the Iroquoia Section, Map 6)
This morning the importance of recovery started to sink in. How it takes sleep, liquid, and food. I felt so much better, and my feet were in less pain after sleep, but even better after food and breakfast. A proper dinner if I could stomach it really helped with energy levels on the trail the next day. And snacks throughout the day helped with noticeable energy boosts. In terms of energy levels, heat definitely makes you sluggish, but it was nice to be out in summer weather.
The trail was once again dusty and dry. As I climbed the access trail from Jones road, I had stopped to admire the view and my progress up the steep incline. When I took my next step, I saw movement out of my peripheral and looked down to see this two-foot snake on my boot! My automatic reaction was to scream… Then as my brain kicked in, I froze because I knew I had probably been about to step on the snake or frightened it and it was slithering away in fear. It got away from me as fast as snakely possible. And I proceeded to die laughing. What a great way to start my day! I suppose I was lucky that this garter did not bite me, as apparently garters can, though it would have been at most an annoying wound rather than dangerous. The trail about 2km on either side of km 14 remains one of my favourite stretches of the BT.
I passed sheep on Ridge Road who gave me a “baaa”, which somehow was hilarious to hear in real life (maybe I was just loopy from exertion). Beamer Memorial Conservation Area had really nice views. And I continued to notice how most of the waterfalls and streams were all dried up (I thought it was really funny when TLC’s song popped in to my head – “don’t go chasing waterfalls” …because they’re all dried up). I also noticed that the squirrels are extra “squirrelly” on the Bruce Trail, presumably because they’re not habituated to humans like those in city, so they drop everything and get out of dodge fast – nearly giving me a heart attack when they did.
Rather than sleep in the van at a Walmart, I was close enough after Day 4 to stay overnight with a regular roof over my head in Burlington. This meant that I could have that coveted shower (running water!), do normal laundry, sleep in a bed, and cook food in an oven/ on a stove. I used my time in the area to also take a few rest days – which ended up doing wonders for delaying the onset of blisters. I also had access to ice, so that I could ice an emerging overuse injury.
It seemed that cycling had caused a strain in my inner thigh/ groin area. I did my stretches every day, careful not to over-stretch, and iced when I could. But this injury would stick with me for the majority of the hike, only subsiding somewhat toward the end of the hike. It could flare up at any time, but the first two weeks of the hike saw me limping quite a bit, with a few days where the pain was so bad that I was unsure if I’d be able to continue. But I pushed through, and was lucky that it didn’t get any worse. I assume that my body did its best to heal and get stronger as I kept pushing it. And this is one major reason why training for a thru hike is important!


Day 5
- 12km cycled
- 16km hiked
- Jones Road, Stoney Creek (km 14, Map 6) to Kimberly Drive, Hamilton (~km 29.4, Map 7)
I woke up with my groin hurting more than usual, so I decided to see how a shorter day would go. I made it through, but I do remember this being a lower morale day. Despite this, I was graced with the presence of a coyote, as well as a cat on the trail. Squirrels made noises at me, as if trying to cheer me up. And the waterfall at Felker’s Falls Conservation Area was a sight to behold. This was around the time the temperatures dipped to normal Autumn ranges – from high twenties to mid teens.


{Rest days}
Day 6
- 18km cycled
- 24.5km hiked
- Kimberly Drive, Hamilton (km 29.4, map 7) to 781 Governor’s Road, near Dundas Valley Conservation Area (km 53.1, Map 8)
The day started off with triumphantly parallel parking my van – a task I try to avoid. But then I absent-mindedly locked my keys in the van… though it was nice to finally use my CAA roadside assistance, who was there in about 15 minutes (one perk to hiking through the city).
Cycling through Hamilton took me through some busy, albeit pretty, streets, but stayed mainly on trails, and I appreciated the google maps app on my phone suggesting trails and knowing typical bike routes. As it was a weekend there were a lot of people out. Dundas Valley and the surrounding areas were particularly crowded, highlighting the need for care in social distancing, and trying to diffuse my annoyance when walking behind slow people… until I could strategically pass them.
Sherman Falls was stunning. And the Chedoke Radial Trail was really nice, with several waterfalls. My groin was a real bitch on this day, and as I’d begun favouring one leg I also started to notice pain in one calf.


{Rest Day}
Day 7
- 19km cycled
- 24.5km hiked
- 781 Governor’s Road, near Dundas Valley Conservation Area (km 53.1, Map 8) to Kerncliff Park (~km 76.3, Map 9)
Having picked up my bike after sunset the previous night, I couldn’t find my bike lock anywhere the next morning and realized that I must have left it at Governor’s Road by accident, in the dark and in my tired state. I’m unsure who would take a locked bike lock without the key, especially during a pandemic (I for one am not touching random items on the ground). So I had to buy a new one (and they don’t make them like they used to).
My bike ride was eventful in that I nearly ran over a squirrel on a downhill coast… once again, those critters almost giving me a heart attack. Luckily, squirrels move damn fast and my front tire just missed it.
I began my hike overlooking a serene pond with goldfish and a turtle resting on a log. It was a sunny day – and it is amazing what sunshine can do for your morale. I meandered through a few lovely neighbourhoods, some houses with Halloween decorations making me happy (for those who don’t know, Halloween is my favourite day of the year).
My annoyance with people was once again peaked when I passed a large family on the trail. A little girl saw me coming and began hollering at everyone to move to the side. I was pleased with this, until actually passing the family – the father didn’t so much as look at me, let alone say hello, and didn’t bother to move over so we could pass with some distance between us, or encourage the rest of the group to do so. Such a simple thing to do in the face of Covid – move over when passing people on the trails. But this wasn’t the first and wouldn’t be the last group who paid no mind to these safety protocols. I tell you – you can really get a feel for who is taking the pandemic seriously and being courteous to their fellow hikers and nature lovers. As such, I usually took it upon myself to move over as much as possible when passing others.
My groin continued to act up.
I also came by a horde of birds in some trees. I had two thoughts: please don’t shit on me, and who’s dying (groups of birds have been depicted as psychopomps)? There were a bunch of caterpillars – orange and black, white, black, yellow – out and about, too.
The autumn colours were really starting to come out and I passed through another favourite section of the Bruce Trail – along Grindstone Creek – which seems to be a hot spot for “influencers” modelling in front of the waterfalls there.


Day 8
- 13 km cycled
- 22km hiked
- Kerncliff Park (~km 76.3, Map 9) to Twiss Road at No. 8 Side Road (~km 97.9, Map 10)
While the Bruce Trail Reference Guide maps say there is roadside parking on Twiss Road, I did not feel it was a good spot to park, instead locking my bike up to a fence at the trailhead.
I started to intentionally cycle on lower gears in order to minimize strain on my groin, which was continuing to give me problems.
I was now entering the vicinity of the Halton Conservation Parks, which meant that most of the parking in these area were paid parking lots limited to two hours (no way for me to park my van all day), and you could only hike through with a reservation. I strategically chose my start and end spots so that I could avoid time restrictions and paid parking, but did have to make online reservations to enter each park, with attendants at the entrances. As my days varied, along with my pace, I tended to make my reservations when I arrived at an attendant stand. Today I paid $6.50 for Mount Nemo, which is very pretty, the kind of forest I like, and showcases old growth cedars growing atop rocks and lookouts above farm country.
There was more walking along roadsides than I would have liked (~7.5km), having to walk on banked surfaces and watch for cars whizzing by. I found the roads to be harder on my body than the trail. And I saw lots of snake roadkill.
South of Guelph Line (km 82.6), for about 2km, took me through private property, which was beautiful, but also gave me the creeps – I wonder if something bad happened in those woods.


{Rest Day}
Day 9
- 15km cycled
- 25km hiked
- Twiss Road (km 102.6, Map 10/11) to 10050 Sixth Line, parking area at km 7.3 of a side trail through Hilton Falls Conservation Area (Map 11)
I chose my start and end points strategically, as mentioned before, in order to avail of free parking while crossing off the rest of the Halton area parks (I hit Hilton Falls, Kelso, Crawford Lake, and Rattlesnake Point Conservation Areas today).
The drive to Twiss Road provided me with a lovely soundtrack. I sang along emphatically to Bohemian Rhapsody and a song about signs reminded me of my Dad. The song spoke of the restrictions that signs enforce, and rebelling against them. In the family history that my dad wrote there is a passage that mirrors this sentiment. Near where his parents’ cottage used to be, my Dad would hike and ski through a network of trails. One day he came across a newly erected sign where the trail passed by a gentleman’s club, which attempted to restrict people from using the trails there. In a flash of fury my dad ripped the sign off the tree and continued his excursion through the forest. This always contributed to my view of him as a “sly rebel”. And I’d be lying if I didn’t take after him in that regard, as this song served as somewhat of a foreshadowing for my day to come…
While it was a beautiful sunny morning, midway through my bike ride it began to downpour on me. I had a raincover for my pack, but I was drenched. Luckily the sun returned later in the day and I was able to dry out.
I hiked south along Sixth line until I met up with the main trail.
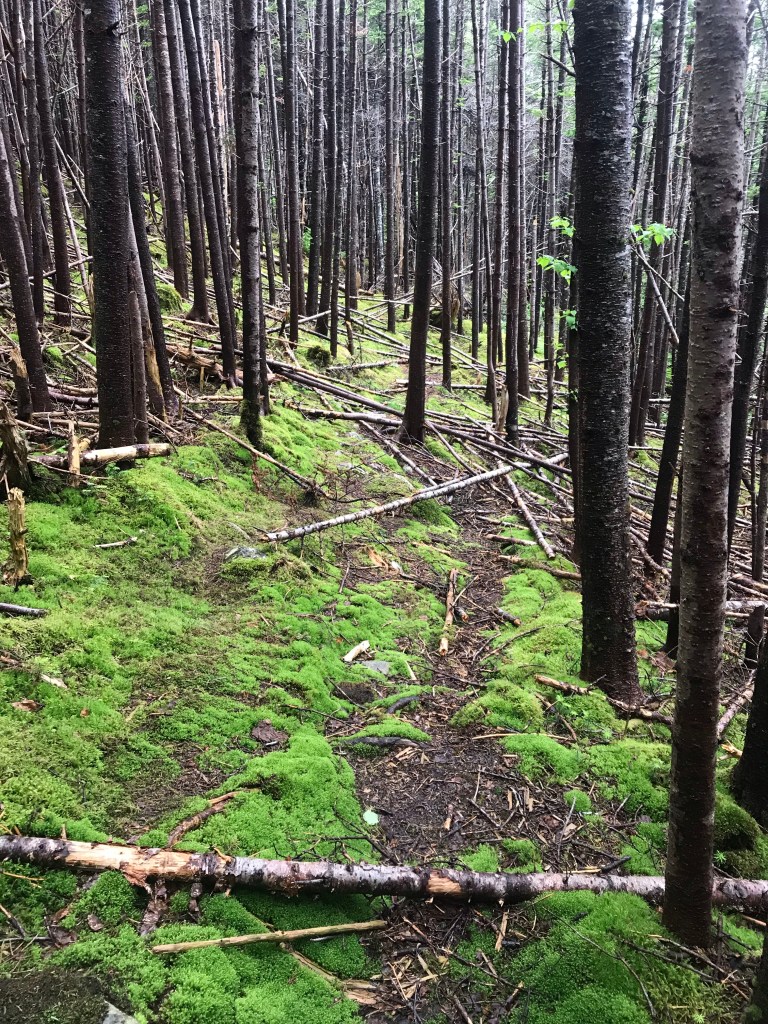
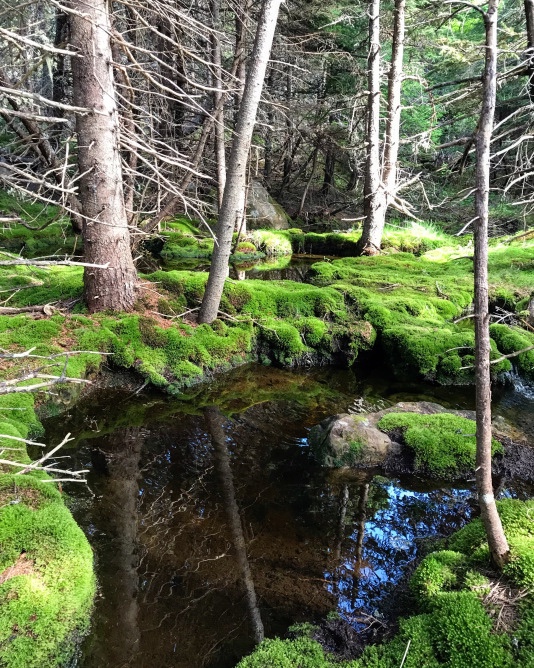
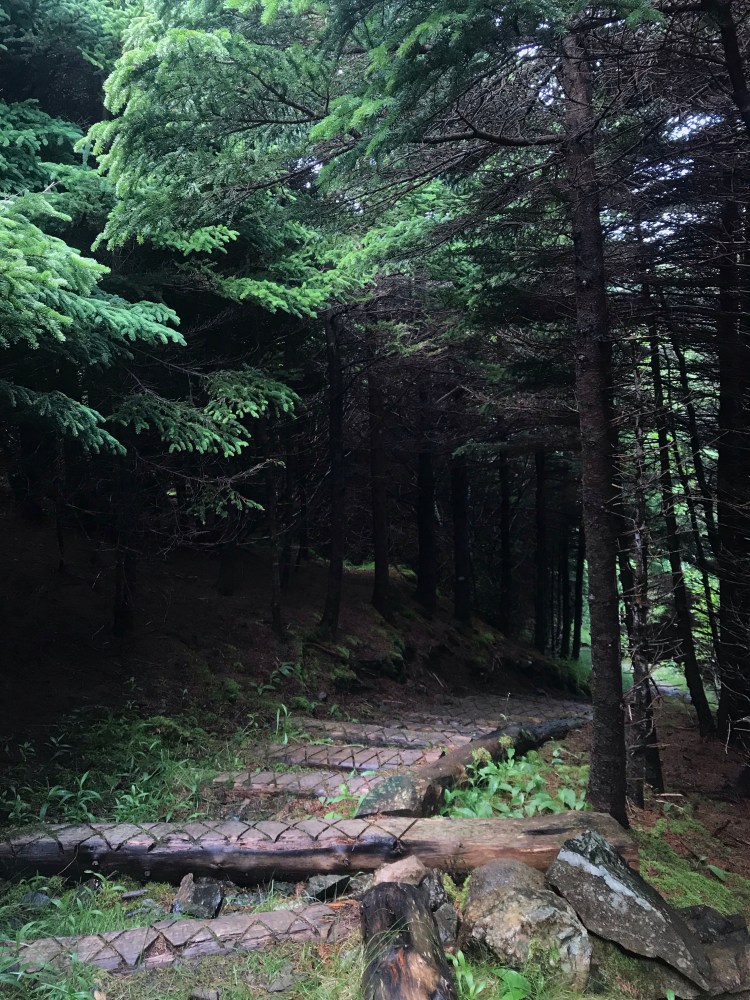
Just south of Hilton Falls I was treated to some unique, dark, coniferous forests.

Kelso Conservation Area was complete with beach, camping, and skiing – lifts and all.

As was the norm for me at some point during my hiking days, I would relieve myself in the woods. As I made my way through the more remote section of trail through Kelso, I popped a squat. I had not seen anyone in at least an hour, so I figured I was safe. But of course, a man walked up on me… I pulled my pants up so fast, and hoped that he had not been able to see me through the long grasses lining the bend in the trail. But when he said hi I could tell he knew, as we both smiled sheepishly at each other. Not even a kilometre later I passed an outhouse… oh the irony, as if the Universe was having a laugh at me.

This was also one of the worst pain days for my groin/thigh injury. There were moments when I would step a certain way and get a jolt of pain. I seriously wondered if I would get to a point where I would not be able to walk. I figured that with patience, being smart, and tending to my injury – it didn’t have to get worse… ice, rest days, etc.
Unfortunate timing also for my thigh to be problematic, as I was racing the sun to get back to the van again. I finished the hike in the dark – discovering that the flashlight in my pack was next to useless – clocking in at 25km in 5hrs20mins. I must have been quite the sight for anyone who saw me limping.
The drive to pick up my bike was equally as frustrating. My route took me along backroads – with no streetlights. I was both unfamiliar with the roads and had to find the turn off into a gravel parking lot that had no signs or landmarks. To make matters worse, there was fog and I had a dumbass tailgating me. Needless to say, I thanked the powers that be that I did not hit a deer, get run off the road, or get followed.
When I finally got home for the night, I iced my thigh and relaxed with a hearty meal and a warm “golden mylk” beverage (contains turmeric, good for inflammation).


Day 10
- 15km cycled
- 21.5km hiked
- 10050 Sixth Line, parking area at km 7.3 of a side trail through Hilton Falls Conservation Area (Map 11) to the parking lot across from Limehouse Public School near km 21.5 of the Toronto Section (Map 12)
I began the day with the song Hard Sun by Eddie Vedder coming on the radio on my drive up to Limehouse (a song with special meaning to me), followed by a little visitor who landed on my shoe and did not want to be coaxed off:


I once again encountered someone tailgating me, and people not social distancing on the trails. My mind aligned with Red Forman from That ’70s Show… (if you know, you know).
I passed many a tree remains, but one stump in particular that had flourishing fungi all around it, and I thought to myself, death provides life…

As I hiked I could feel how much stronger my body was getting (and how wonderful it feels to feel strong!). The day began with lots of meandering over the escarpment, meaning lots of walking on and around rocks and uneven ground, which slows you down and can be hard on the feet (conducive to rubbing blisters). I passed through marshes (more mosquitos, long grasses which could have ticks, and possible poison ivy seemed to enjoy hanging over the trail). And finished my day through farmland and corn fields, glowing gold with the setting sun, as well as one of my favourite spots – Limehouse Conservation Area, which had old growth cedar and caves!


Day 11
- 16km cycled
- 21.5km hiked
- Parking lot across from Limehouse Public School near km 21.5 of the Toronto Section (Map 12) to Terra Cotta Conservation Area (km 42.8, Map 14)
The previous night I popped my first blister. I had learned on my last thru hike that if you let a blister on the side of your big toe go for too long, it will threaten to take over your whole toe. So, I decided to pop this one straight away. Lo and behold, I had next to no pain when hiking after popping it. Perhaps popping will be my new philosophy… Of course, if popping, you want to be diligent in continually keeping the area clean to make sure you don’t get an infection. I cleaned my blisters daily with hydrogen peroxide (not rubbing alcohol like last time, which hurts like you wouldn’t believe…), my homemade St. John’s Wort salve (which is antimicrobial and speeds the healing), and bandages.
I’ve also come to the conclusion that walking on flat, even ground or roads for a long time hurts my feet and body more than uneven terrain. I think because harder surfaces/ repetitive motion really grinds down the same muscles and body parts. While hiking trails where you go up and down and that have uneven footing can cause rubbing in your boots, the variation in movements exercises multiple parts of the body – e.g., knees downhill vs thighs uphill, and this probably allows you to hike longer while comfortable, by alternating the parts of the body used, thus giving them breaks. So, a 20km hike feels better than a 20km walk on cement or asphalt.
Another weekend meant another crowded day on the trails. People were out despite the forecast calling for rain. I had one couple in particular where the guy looked back at me a couple of times – I’d caught up to them and thought it was obvious that I’d like to pass – and he just kept walking and looking at me rather than move to the side. Me being me, I had hoped he’d move over and save me the awkwardness of having to ask – I dislike greatly having to assert myself …but that’s not exactly worth complaining about, is it?
The rain felt oddly comforting, like a blanket. It must have something to do with growing up in Newfoundland, where rain can feel like home to me. It was a calm, light rain, and the multicoloured landscape became laced with fog. Also – forest smells especially wonderful when wet, along with the colours and contrast being elevated.


The rain did not last long, and the day proved to take me through many beautiful trails. The last stretch of the day, a couple of kilometres before Limehouse, was beautiful. I was greeted by the most magnificent tree, and while I was racing the sun, I decided to take five minutes to meditate with the tree. That’s the thing about being in a rush – you forego the ability to really take in your surroundings and appreciate them – you miss things.


I think there is a lot we can learn from nature. And meditation doesn’t have to be woo woo, it can be as simple as sitting with something or observing. I’ve learned that these lessons we can learn stem from a concept called biomimicry – where the wisdom in nature’s workings lend themselves to mirrored concepts in how we humans live. For example, trees and growth, the way that leaves serve a purpose each season and then fall – we can liken this to our experiences in life and how we need to let go of the old (relationships or habits that no longer serve us) in order to make room for new growth. Letting go not as failure, but once things serve their purpose they may have nothing left to offer and so we evolve. Also, tree roots connect to each other below the earth’s surface, which is like an analogy to human connection – we find connection when we get to know people beneath the surface.
And of course after that peaceful few minutes with a tree, a hawk screeched in the forest nearby, as the woods grew darker, and I just about had another heart attack.
{Rest Days}
Day 12
- 17km cycled
- 23.8km hiked
- Terra Cotta Conservation Area (km 42.8, Map 14) to Willoughby and Escarpment Side Road (km 16.1 of the Caledon Section, Map 15)
My bike ride included one 4km continuous stretch of uphill on Route 10/ Hurontario Street that nearly killed me.
Forks of the Credit Provincial Park was very beautiful. It would have been nice to explore it further, but I stuck to the main Bruce Trail. Just south of the park was the Devil’s Pulpit, a steep ascent, complete with rope to hold onto as you climb, train track crossing, and lookout.

With the increasing number of leaves on the ground, as Autumn deepened, I found that the terrain and trail was at times obscured, but the leaves could also aid in traction on mud. Even the noise made by trudging through leaves was welcome in that it could alert nearby bears of your presence and assure that you did not sneak up on one. Also in terms of autumn leaves, I think they can teach us to appreciate the fleeting beauty in life – with such a short window of time where they turn bright, beautiful colours.
This was one of those days where I enjoyed pretty much every trail and conditions were good.
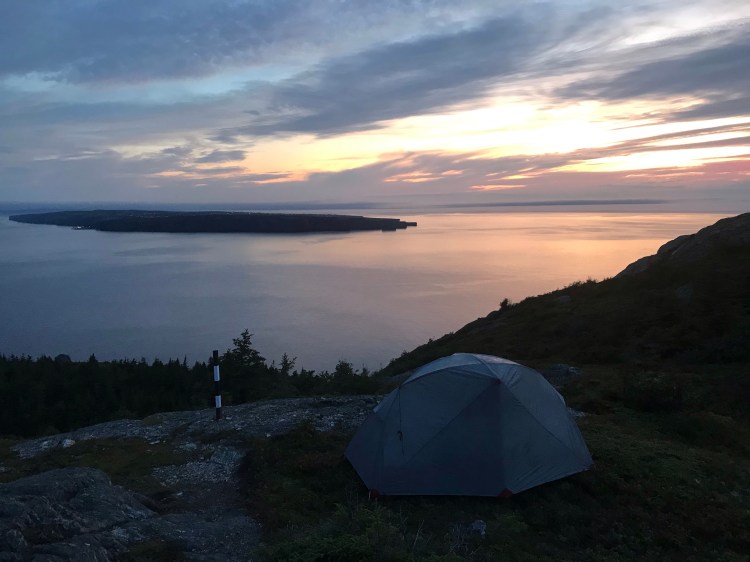
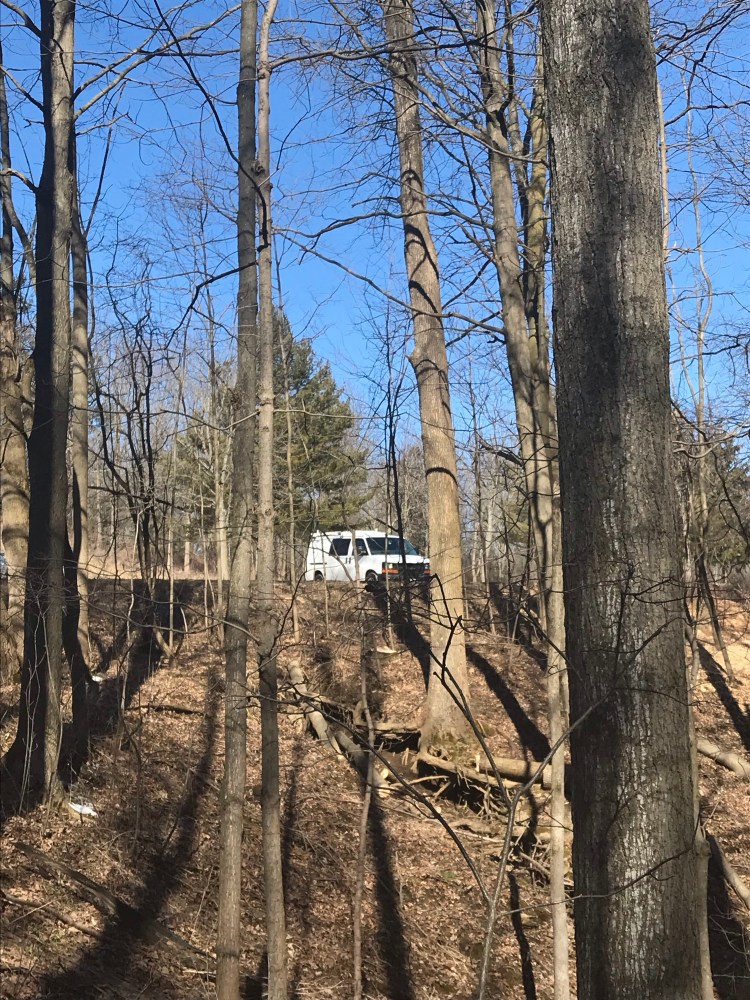
I decided to take a chance at parking overnight at the trailhead. There was a little nook that tucked you away from the roadside parking area and nestled you in amongst the trees. I had looked up whether there were overnight parking restrictions in the township, and could find none. I had no disturbances, which might have simply been luck. Whenever considering a spot for overnight parking it’s important to be smart, take into account city bylaws, if it is a safe area, if you would be too close to people’s homes (who might be uncomfortable with you there and call law enforcement), signage, etc.
This was also one of the first colder nights sleeping in my van. It went down to 3 degrees. But I had my sleeping bag, clothing layers, hat, and two wool blankets – which did the trick in keeping me comfortable!


Day 13
- 16km cycled
- 19.1km hiked
- Willoughby and Escarpment Side Road (km 16.1 of the Caledon Section, Map 15) to Glen Haffy Conservation Area, Coolihans Sideroad at Glen Haffy Road (km 35.2, Map 17)
I have to say, waking up in the van, surrounded by nature, feels extra good. Also, I woke up to the trees looking like they were on fire in the morning sun light.
Arcade Fire’s song Ready to Start came on the radio as I drove to the first trailhead and it felt like the perfect pump up song to start my day.


As I loaded my bike and pack out of the van to start my day I found a cute, fuzzy bumblebee on my van. The days were shifting into colder weather and this little guy was moving very slowly. I didn’t have to do much convincing to get him to climb onto my finger (I assume he was drawn to the heat of my body) so I could transport him to a flower in the sun.
I cycled past a murder of crows perched in a perfectly dead tree.
I began to notice a pattern in my body with regards to warming up. At the beginning of each cycle my muscles would burn, but as my body warmed up the cycling would begin to feel easier and I felt stronger. Similarly, with hiking my muscles would have lactic acid for the first while, but later on in the hike/day I’d feel better – I could even speed-hike at the end of the day. And I think this is also why it was important for me to have the 15min buffer time that I took between cycling and hiking, to give my body a break and refuel with food and water.
I noticed that the area behind my left knee was acting up, but this passed.
There was a lot of walking on roads today. I even had one person slow down in their car and ask if I needed a ride – which seemed considerably generous considering the global pandemic. Unless he was a creep, but he seemed genuine.
I enjoyed trails that skirted farmland. Through one section of private property I was surprised by a dog that ran up to me. I had not seen the sign that told of dogs on this property, warning that they were “exuberant but not vicious”, so I was unprepared when I heard something hurtling toward me from behind. It was clearly a puppy, though big enough, and he jumped on me several times. I could not walk away as it enthusiastically ran figure-eights, ripping up baby trees and wanting me to play. Ironically, I had only been 20ft from the fence and stile that would take me off this property – at which point I saw the sign about the dogs.
On my drive to pick up my bike I saw a deer – it became increasingly evident that I needed to be extremely vigilant of deer while driving on these backcountry roads around dusk. One reason why high beams are so important here.


Day 14
- 12km cycled
- 17.7km hiked
- Glen Haffy Conservation Area, Coolihans Sideroad at Glen Haffy Road (km 35.2, Map 17) to the designated Bruce Trail Conservancy (BTC) Parking Lot, Hockley Road at 5th Line EHS (just north of km 52, Map 18)
I decided to do things a little differently this day. It was calling for rain, which would stop in the late afternoon/ early evening. I’d rather hike than bike in the rain, so I dropped my bike off at one trailhead, drove to another, and did my hike first. It was nice to switch things up, and I did avoid cycling in the rain, but I do prefer getting the cycling out of the way at the start of the day – I found it to be very taxing when I’d already hiked for hours.
On my drive to my starting trailhead (BTC parking lot off 5th Line), I ignored the suggested route on google maps and took the quicker route to get there. This taught me that when google maps suggests a route, even if it is a little longer, it may be for good reason… Prior to arriving at the parking lot, 5th Line turns into the kind of dirt road that you do not want to drive on. It narrows and is extremely rugged. It was a nightmare and I thanked my lucky stars that Strider and I got out of there unscathed. Case and point – at the end of the day when I arrived back at the parking lot by bike, there was a car that was stuck on that road. This parking lot is another spot I’d consider overnight parking at, as I did not see any signs to the contrary and it is enclosed by forest. But there was no phone service here, and I found that having some social contact helps boost morale on these hikes, so I opted not to park here for the night.
This was the first day when I became sensitized to the possibility of running into bears. I was far enough North that this was a real possibility. I made sure I had bear spray and anything in my pack that smelled in odour proof bags. I put pine essential oil on my pack, and I carried a whistle. Because it was raining, the sound of the rain washed out any noise I made, and softened the leaves so that they did not crunch under my footsteps. I was vigilant of not sneaking up on a bear, and did some singing. Which felt silly – but there was no one in their right mind hiking today, so I had the forest to myself. It would have been easier to wear the bear bell that I had – but it was so annoying.
Despite the fear of coming up on a bear around every bend, the rain, and the wet, muddy conditions (which made for slow going), I was hiking through some beautiful sections of trail.
I realized that the rain and my footsteps were helping decompose the leaves.
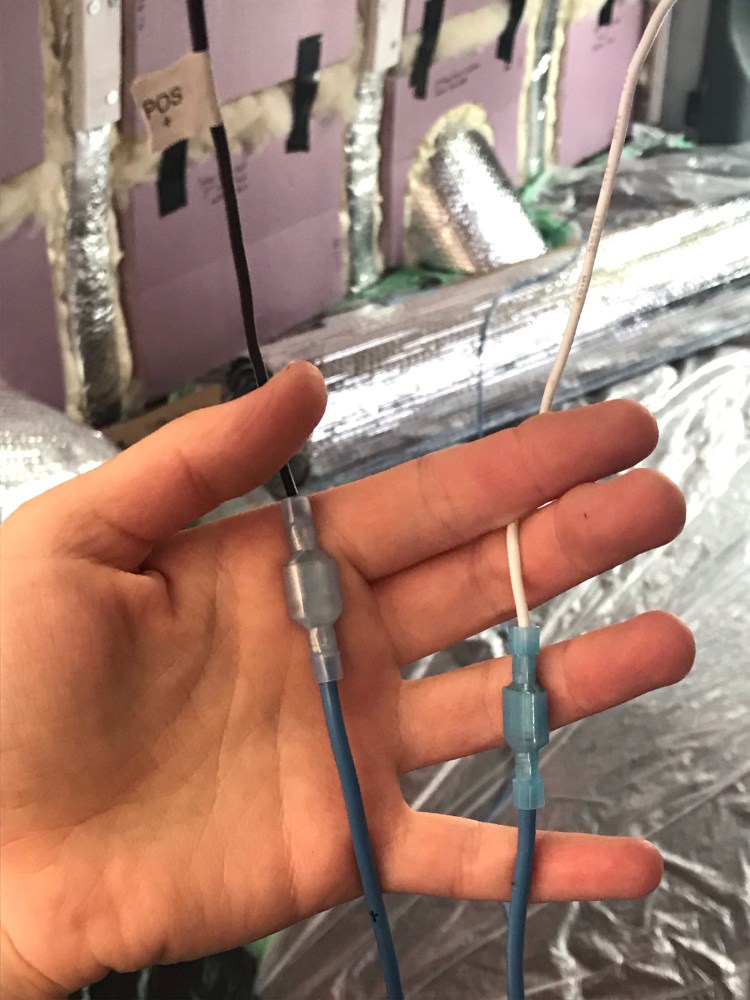
I came across a network of blue hoses tapped into the trees around me and figured this must be a site for collecting sap to make maple syrup. I was soon greeted by a side trail with my Dad’s name, who also loved real Canadian maple syrup.
It is fascinating to me how the forest can shift and change. The way the whole forest and even the air seems to glow golden under the autumn maple leaves. And how you know you’re in evergreen territory when the forest gets dark.
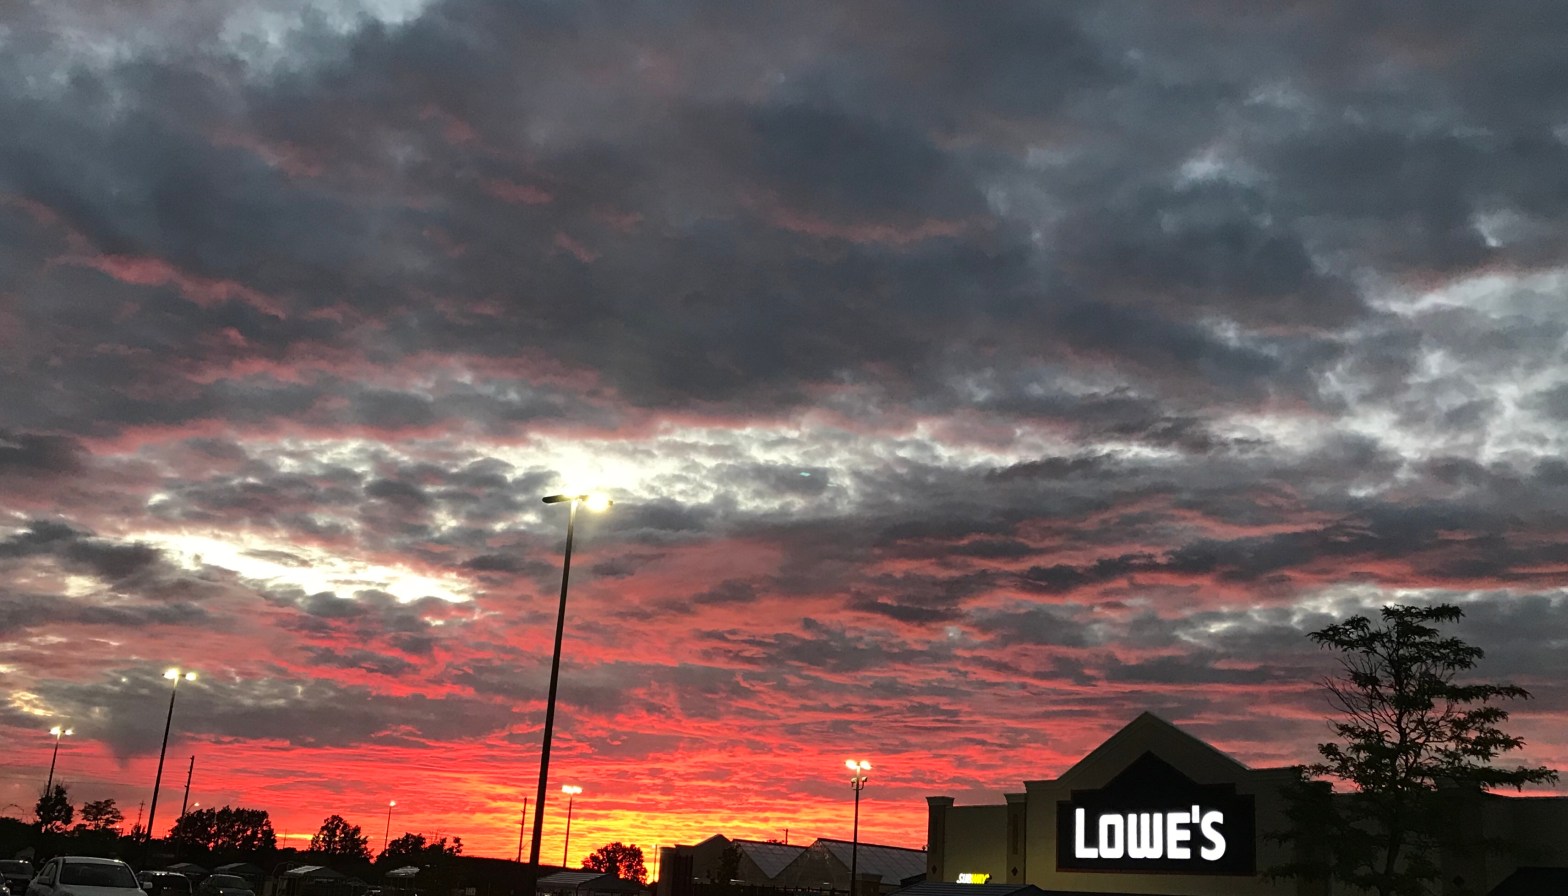
On my bike ride back to the van it became clear that I was approaching the Dufferin Hi-Lands, as the route took me along lots of hills with some lovely views. The sky glowed red as dusk descended.


Day 15
- 10km cycled
- 21.4km hiked
- BTC Parking Lot, Hockley Road at 5th Line EHS (just north of km 52, Map 18) to Mono Community Centre (southwest of km 1.2 of the Dufferin Hi-Land Section, Map 19)
This was an especially beautiful hiking day. It was sunny, and all of the trails were stunning. I would say that pretty much all of Map 18, Hockley Valley, stands out to me as a favourite on the Bruce Trail, including Hockley Valley Provincial Nature Reserve.
It’s also amazing how much “friendlier” the forest feels when it’s sunny.
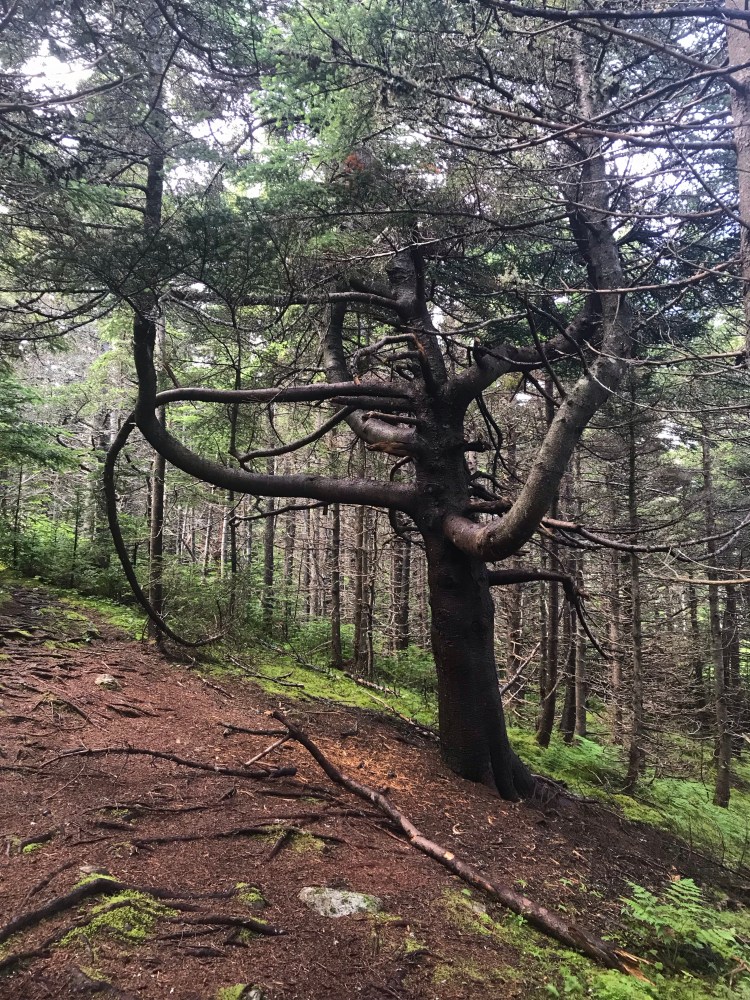
I saw a porcupine waddling. I admired certain leaves that looked like old leather. I became enamoured of the way red leaves littered the ground, while yellow maples stood in contrast to deep evergreens. There were patches of forest where I could stand still and it was so quiet that it seemed I could hear my heart beat – no cars or roads or people – how loud we humans are. And I saw what I dubbed an “elbow tree”, with perpendicular growth patterns in the trunk, which made me reminisce on how our paths can drastically change course.
The night brought on a low of 1 degree C.


Day 16
- 18km cycled
- 23.1km hiked
- Mono Community Centre (southwest of km 1.2 of the Dufferin Hi-Land Section, Map 19) to 8 Sideroad at 2nd Line East (km 23.8, Map 20)
The cycling was littered with hills and many of the roads were dirt roads with gravel, which made the cycling even harder.
This was my biggest pain day for blisters. While popping the blisters on my big toes had proved helpful, this was not the case for the two blood blisters I’d developed on my heels. following the popping of one of these blisters, the pain became raw and excruciating. And being in pain all day is exhausting.
Compounding this was the fact that I was once again racing the sun and needed to be hiking at a 5km/hr pace (basically speed walking) in order to get back to the van before dark. It also did not help that Mono Cliffs Provincial Park was absolutely packed with people. I spent the first five kilometres of my day waiting behind people. While I did end up hiking in the dark for perhaps the final kilometre of my day (which is really freaky and I don’t recommend it), I got back to the van safely. It is not a fun time when you have to pass through thick, dark evergreen woods, hardly able to make out the blazes, and thinking you’re being watched by some predator that you cannot see.
I suppose this might have been one of the worst states that my body had been in on the trail, as I was limping due to blisters and my strained groin/thigh. While my thigh was a bit better, there were days at the end of which I could not lift my left leg on its own and instead had to lift it manually with my arms. My two big toe nails were definitely dead at this point, but still hanging on and no longer hurting.
But it’s often mind over matter when it comes to pain. It would take a few days for the blister pain to subside – and it helped when I took a rest day. I decided to leave my other heel blood blister rather than pop it. While it did grow a bit, eventually it stopped and receded, healing on its own. I guess the best way to deal with blisters depends on where the blister is located!
Pain aside, it was a beautiful day of hiking and the crisp autumn air was so refreshing to fill my lungs with. And I saw four deer in the fields as I drove off from my day parking spot.


A Special Rest Day
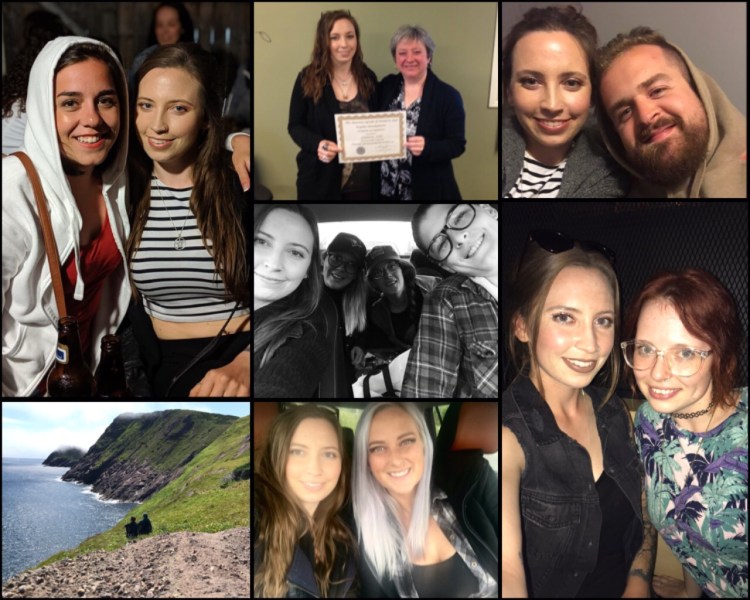
This rest day was special because I drove to Borden to see my dear friend Jess!
It had been a balmy (ha-ha) 6 degrees in the van overnight. It was also calling for rain, which was why I took this day as one of my rest days.
It was so wonderful to see one of my best friends and of course the day went by too fast. I cannot stress enough how much good some socializing does for you when you’re on a solo thru hike. Not to mention the fact that Jess and I hadn’t lived in the same place for several years.
My drive back to the Orangeville Walmart included seeing baby deer crossing the road in front of me and I wondered about haunted highways in Ontario…

Day 17
- 15km cycled
- 24.6km hiked
- 8 Sideroad at 2nd Line East (km 23.8, Map 20) to Centre Road in Black Bank (km 47.5, Map 21)
Back to the grind.
I’ve come to realize that cows freak me out. Whenever I passed a herd of grazing cows, they would stop what they were doing, look at me, and sometimes come toward me. I could tell they were unsettled and did not like me, and one day I had about ten of them come at me in line formation, staring me down and stomping their hooves. Watching…
I realized that my feet had definitely been getting stronger. The general “my feet hurt because I’ve been on them all day” throbbing feeling no longer plagued me. Instead they were a bit tight and I used my massage roller ball on them each morning.
I passed by some blazes that were dripping and they made me think of a horror movie.
I passed by a log book for hikers to sign.
And I got a nosebleed in the van. This is notable because with sleeping in a small space in the cold I am concerned about condensation, which if allowed to build up can lead to problems like mold or rust in my van. So, if the air was dry enough to cause a nosebleed, then heating the van must be counteracting any condensation coming from me. I used my St. John’s Wort for my nose to heal and prevent further nosebleeds.


Day 18
- 15km cycled
- 22.9km hiked
- Centre Road near Black Bank (km 47.5, Map 21) to 9/10 Sideroad Nottawasaga, east of Concession 10 South Nottawasaga (km 14.1 of the Blue Mountains Section, Map 22)
Last night was my last time sleeping at the Orangeville Walmart, which I’d had no issues at. Next up Wasaga Beach/ Collingwood! I ended up staying only one night at the Wasaga Beach Walmart, as the Collingwood Walmart was closer to most of the trailheads. Also, the Collingwood Walmart was nicer, and I saw other RVs parked there overnight.
I ran into only one other person doing a thru hike of the Bruce Trail, and that was around this time. It was nice to chat briefly with someone of like mind, who also happened to be doing the BT in two parts.
It dawned on me that a perfect theme song for this hike could be Stay Away by Nirvana, as every day I was constantly thinking about how I wanted Covid, ticks, poison ivy, bears, and mosquitos to stay away from me…
The day only went up to a high of 6 degrees, and chilly it was. I wondered about the cold making injury more likely, and placed emphasis on stretching and warming up. Days like this led me to wear more layers, gloves, and a hat.
There were several beautiful trails on this day, including through Noisy River Provincial Nature Reserve, which had a beach, lake, cedar, maples, and the signature rock crevices of the escarpment.
On the drive to pick up my bike there was a sign that gave me a laugh: “Grey County: choose your own colour”.
And on the drive back from getting my bike, I was already driving slow because I was on dirt road, and good thing I was because two deer crossed the road in front of my van – must have been only 10-20ft away!


Day 19
- 15km cycled
- 25.4km hiked
- 9/10 Sideroad Nottawasaga, east of Concession 10 South Nottawasaga (km 14.1 of the Blue Mountains Section, Map 22) to Nottawasaga Lookout Provincial Nature Reserve (PNR) at 26/27 Sideroad Nottawasaga, east of Osprey-Clearview Townline (km 39.3, Map 22/23)
The bike experience on this day was particularly notable. On one of the dirt roads I had a truck splash me with muddy water, and it felt like a rock hit my ear (arse hole). I passed by one of those speed metre things for cars, and it seemed to pick me up at 14km/hr! Which is somewhat slow, but I was riding a heavy mountain bike rather than a light road bike. And finally, a dog ran into the road to chase me and almost got hit by a van. Thank goodness the dog was okay – it stopped and stared at the van, which was maybe 10 feet away from it, looked at me as I’d stopped cycling so it wouldn’t have anything to chase, and then was called angrily by its worried owner.
This was also the beginning of a theme for the rest of my thru hike – it was damn muddy. Which meant traction was low and my pace slowed.
Ironically, Devil‘s Glen was one of the worst areas for mud. You could barely get your footing in some spots and others you had to slide down hills like you were skiing. Devil’s Glen is a steep gorge carved by the Mad River, and nearby is the highest location in Southern Ontario, which reaches an elevation of 546m above sea level.
It was a beautiful area though, which passed through ski slopes, and took you along switchbacks to a higher elevation.
Nottawasaga Bluffs Conservation Area is worth mentioning in terms of enjoyable hikes, especially heading south of km 21.9, which took you through a wonderful old growth cedar forest, with lush ferns lining the forest floor and unique rock formations.
By the end of the day I had a new source of pain to worry about: tension in my right calf, which hurt when I bent my leg. I figured it was a result of favouring legs and walking with a limp, but luckily with a rest day it seemed to peter out.


{Rest Day}
Day 20
- 5km cycled + 5km walking bike
- 25km hiked
- Pretty River Valley Provincial Park there-and-backs (spacious dirt parking lot northeast of km 46.8, Map 23)
I had planned on parking my van and cycling from the Blue Mountains parking lot north of km 65.2 on Swiss Meadows Boulevard. To get to this parking lot you drive up a huge hill, at least 3km long, which takes you to the top of the Blue Mountains, known for its ski slopes. So the start of my cycling was simply me coasting down this hill.
But after about 5km I got a flat tire. I had never fixed a flat before, and while I was sure I could do it, I figured learning the ropes would be time consuming, and I needed to make the most of the daylight hours. Since I was closer to my van than the designated trailhead where I’d planned to begin my hike (still 15km away), I decided to walk my bike back to the van. And what a workout that was (up the hill).

I couldn’t help but smile, though – I was getting the full thru hike experience. Plus, it was an unseasonably warm and sunny day – 22 degrees, which was a nice reprieve from the cloud and rain and cold! I also always wonder if our misfortunes sometimes save us from some unknown worse fate…
At this point I made the decision to leave my bike in the van for the rest of my thru hike (3 more days) and simply do there-and-back hikes. I wouldn’t cover as much of the Bruce Trail, but I was in the homestretch of completing my goal of 500km. I figured if I took the time to learn how to fix the flat, I’d be doing a shorter day – which would mean adding another day of hiking in order to reach 500km, which I was hellbent on avoiding.
I must say, those days where I didn’t cycle felt so much easier. The cycling made a big difference and took a lot of energy.
So I drove my van from Blue Mountains to Pretty River Valley. I hiked to Nottawasaga Lookout PNR, back to Pretty River Valley, then did a section in Pretty River Valley. I added the Standing Rock and Caves Side Trail after some folks asked me if I knew where the caves were. I usually kept to the main trails, as I was on a mission with my thru hike, but having my plans change a bit, I took the liberty today, and I’m glad I did. The caves were pretty cool and you could feel the temperature drop noticeably upon entry.

While making my way through the caves, I came up on a family and a bit of a climb to get out of the caves. We struck up a conversation and when it came up that I was thru hiking the Dad said, “oh… you’re one of those,” giving me a look of what I can only imagine was gratitude that he was not thru hiking and utter disbelief as to why anyone would do such a thing. I couldn’t help but find his reaction hilarious.
I respect anyone who takes the time to get out in nature, and I soon came across more like-minded individuals – including a guy exploring the caves who gave me more of “power to you” vibe.
Generally, this was an enjoyable hiking day. It was sunny for the first half of the day, and with the rise in temperatures I got to see one last snake of the season. It was still very muddy, though, and I knew that the forecast was calling for a thunderstorm. On my way back to the van from Nottawasaga Lookout PNR and the caves I could hear thunder rolling in the distance and moody skies were on the horizon. It down-poured on me for a few minutes before the sun re-emerged. I got back to Pretty River Valley, where I had a decision to make – call it a day and avoid the thunderstorm, or continue on to get the kilometres in, hoping that the thunderstorm would miss me…
Me being me, aka stubborn, I opted to continue on. I had about 8km more to get under my belt in order to hit my goal of ~25km for the day. This was in alignment with my goal of reaching 500km within these last three days – otherwise I would have to add another day of hiking. I tend to push myself in these situations.
When I started my thru hike in Newfoundland, there was a phrase, which, for whatever reason, I always associated with my dad, that kept me in check. That phrase was: “don’t be an idiot”. I’m all for tough love, but when it comes to nature, it’s all too easy for humanity to forget how little things can be the difference between life and death.
So when I got caught in the thunderstorm – I knew I’d been an idiot. I think my stubbornness can actually be a beneficial trait, in that I don’t easily back down from a challenge, but in this case I should have played it safe.
About 600m from where I was going to turn around, it started raining. The thunder had been rolling a bit. It so happened that my intended turn around point was near the top of a hill (which just so happens to be the highest point on the Bruce Trail at 540m), so I was feeling very exposed to the skies. Finally, I reached the turn around point and started making my way back. By this point the skies were dark (from cloud, not dusk), it was pouring, and the thunder and lightning were RIGHT on top of me – the flash and crash were simultaneous. A few times the flash of lightning felt so close that I wondered if it was on top of me. I repeated the mantra “please don’t let me get hit by lightning” for the entire 50mins that it took to get back to the van, pleading with Mother Nature. The trail turned into a muddy river – my shoes submerged in water, and I have no idea how I didn’t slip and fall. I wondered about the dangers of standing in water when lightning could strike. I saw a frog hopping along. I felt safer once I got to lower elevation and under cover of deep cedar forest. And then I felt very exposed when I got back onto road. The thunder sounded about 10s after the lightning at this point, but I did not feel in the clear yet. One car slowed down and waved a thumbs-up at me – was I okay? I motioned yes – as I was almost at my van. The nice gesture made me smile and I laughed… nervously. Never again.
I had done a bit of research on what to do if you’re out hiking when a thunderstorm hits prior to my thru hike. The main pointers were to avoid hiking or seek shelter if already out, such as in a low lying area. Avoid open spaces, hills, steep slopes, water, and isolated trees. Assume a safe position crouched down and head tucked, and avoid touching the ground with anything other than your feet. I revisited this topic that night after my own experience.
Perhaps I should have huddled in one place, close to the ground. But I knew that dusk would be approaching and I did not want to get stuck in the forest in the dark. It’s definitely not safe to be out in a thunder and lightning storm and the best thing to do is to stay inside if possible. It’s not a risk you want to take. Here’s an article I found to be informative.
There is nothing like feeling as if you are on death’s doorstep to make you feel (grateful to be) alive …electrified one might say.
But self-induced, avoidable, scary situation aside, Pretty River Valley has one of my all time favourite forests. Around km 48.6, where there is roadside parking, for perhaps a kilometre, is just a stunning old growth cedar forest that lines a picturesque river. I love it there.


Day 21
- hiked 26.4km
- Parked at Blue Mountains, off Swiss Meadows Boulevard (north of km 65.2, Map 24)
Parking at the top of Blue Mountains is actually great – it’s free and you are basically on a lookout of Collingwood.
While the weather was calling for a high of 6 degrees and 30% POP, the reality of the day was a high of 4 degrees and flurries on and off. Yes – it snowed. I started my hike in summer weather, 28 degree days, sun, and green foliage on the trees. I ended my hike in near freezing temps, snow, and most trees bare. I got the full seasonal spectrum!
This weather was particularly striking as it had been 22 degrees yesterday, but I was prepared, wearing more layers (including my down jacket), hat, and gloves. I wore my rain coat on top and kept my hood up in the snow. Surprisingly, this weather didn’t phase me. I got a bit of a chill at the end of the day as my energy stores ran low, but a snack and continual movement helped to keep the cold at bay. The mud on the other hand, I could have done with less of.
I was also happy to not be cycling in this weather – cycling does not keep you warm in the cold. And also – a 25km day felt almost easy without the bike ride.
I saw more people out on the trails than I would have expected – but then I remembered that I was in Canada – what’s a bit of winter?
I hiked to Pretty River Valley and back, opting to take a side trail loop to make things a little more interesting than simply retracing my steps.
My phone battery is old and likes to die on me quickly, so I started putting it on airplane mode as well as low power energy mode, and this helped immensely.
My body was feeling okay. My boots were still wet from the previous day’s excitement, which was not pleasant, but the initial discomfort passed. Blister pain was dying down and while my groin was still acting up, it was not as bad as it had been previously. My feet felt a bit tight, so I made sure to stretch and massage them.
When I got to Pretty River Valley a group of hikers asked me for directions, which I found flattering, and I was able to direct them back to their parked cars without the need of my maps.
And as I neared the end of my day, dusk beckoned, turning the sky and the forest a beautiful burning orange.


Day 22
- 25.4km hiked
- Parked at Blue Mountains, off Swiss Meadows Boulevard (north of km 65.2, Map 24)
My last day of the thru hike! It felt surreal. The day was crisp and sunny, and still very muddy.
I passed a couple and we started chatting. They said they’d passed me earlier in the day, though I had no recollection of this – which goes to show how in the zone I can be on the trail. They were attempting to do the whole Bruce Trail by doing little trips here and there, mainly on weekends. It made me think of how it might be nice to have a companion on such an adventure, although I do value the many pros to doing it solo.
As my day wound down and I got closer to the van, I stopped by a magnificent waterfall, and in stillness strived to soak up the moment. The beauty that surrounded me, these last moments on the trail, and having hiked 500km and about half of the Bruce Trail. It’s moments like these that the mind seems to balk at reality. Like you can’t quite grasp the moment, and time slips away.


One Last Day
The day after I finished my thru hike I revisited Pretty River Valley and my favourite patch of forest one last time. I stopped in to Wasaga Beach and treated myself to a pumpkin spice latte at Starbucks, before driving home.


Totals
- 299km cycled + 5km
- 505.3km hiked
Veni, vidi, vici.

Leaves
One of the most defining features of an Autumn thru hike is the foliage. King among trees with respect to changing colours, in my opinion, is the Sugar Maple. Everything glowed golden. Sumac was also striking in how its leaves displayed a spectrum of green turning bright red. That being said, there were a lot of unique leaves on the trail:


Thoughts of a Thru Hiker
During the hike, my stream of consciousness divulged many a thought that struck me as potentially uniquely relatable to the thru hiker:
- I can’t wait to shower.
- Trying to enjoy the present surroundings and nature and not get caught up in “how much longer?” The journey, not the destination. Enjoy nature!
- The body knows before the mind, the mind quits before the body.
- “New levels, new devils” (e.g., injuries).
- You’ll never know your limits till you push them.
- “I’d drink from that” – seeing any good looking water source.
- Leaves of goddamn three (poison ivy).
- “What fresh hell is this” (e.g., dark backroads, fog, tailgating).
- Foot placement around roots and rocks as meditative – no room for worries or to rhuminate
- Appreciate the present rather than stress over the future, as thoughts of the future take away from present enjoyment.
- The beautiful thing about the human body is that if you do something for long enough – it adapts. Push your limits and you will grow and become stronger.
- Can’t wait to go back to easy ol’ running…
- We are giants to other animals.
- I belong to no one… but the earth who will reclaim by body when I die.
- I do love a good creaking tree in the wind. Like they’re talking to you.
- Me before hiking: “let’s do this!” Me near the end of hiking: “make it end!”
- The forest smells SO good.
- Being around trees and plants all day, my curiosity creates a strong desire to know what all of the flowers, herbs, shrubs, vines, and trees are… I’ve got some plant ID books at home (I recommend Peterson’s field guides), but also found a couple of simple yet informative pages about some trees (here and here).
- Being alone a lot makes me want to be more friendly and outgoing with others (needing to fill the social void).
- It’s nice to think of food in terms of utility rather than just because you want it. For energy to warm your body when it’s cold or give you energy for hiking.
- “You can’t argue with nature”.
- “Are we having fun yet?” (shot of dead toenails and blistered feet).
- It’s great peeing in the woods. So easy.
- When I’m done I look back on a thru hike fondly, when on it I curse myself for putting myself through the pain. This is how you know time heals all wounds…
- Don’t be an idiot.
- Toenails as sacrificial offerings to the thru hike gods… You pay in the coin of the realm.
- You know you’re really in it when you start talking to yourself, out loud, in the woods.
- I am hiking in an apocalypse (Covid thought).
- Dinner!!!!!!
- My ass hurts (biker thoughts).
- Putting kilometres behind you = “get behind me Satan”.
- Plan for the worst, hope for the best.
- Thru hiking has a primal aspect to it, relaying your focus to basic needs – which is good because it keeps my wandering mind from all the anxiety inducing stuff I overthink. It makes you appreciate the little things, all the things we take for granted (shower, laundry, heat, running water).
- Thru hiking also grinds you down- physically, mentally, and emotionally. There are some amazing highs, but also some low lows.
- Injury on the trail is like your body working out its kinks.
- Running is not jogging, just as hiking is not walking.
- Mind over matter.
- Forge your own path (I do things uniquely and that’s good).
- It truly is the little things. The rain letting up. A 12 degree rather than 6 degree day, when you feel like more cold will break you. A bit of sun that makes you smile. The ability of thru hiking to make you appreciate the little things is a beautiful thing.
- Don’t overthink it. Don’t think about how far you have to go or how long it’s going to take. Stay in the present (the present is a present). Take it one day at a time, one step at a time, and enjoy the ride. Otherwise, you’re probably going to psych yourself out.
- If not now then when?
Hike Soundtrack
These songs are a variation of things I happened to be listening to at the time of my hike, things that came on the radio and got stuck in my head, and songs that are actually lyrically relevant to an endeavour like this. In a way I feel many of them might forever remind me of this hike:
- Add It Up – Violent Femmes
- You Can’t Quit Me Baby – Queens of the Stone Age
- Help I’m Alive – Metric
- Shuffle Your Feet – Black Rebel Motorcycle Club
- EXXXIT – 3TEETH
- Sweet Dreams – Angel Olsen
- 50 Million Year Trip – Kyuss
- Waterfalls – TLC
- Come On Over – Royal Blood
- Back Foot – Dinosaur Pile-Up
- Fallen Leaves – Billy Talent
- I Don’t Mind The Pain – Danzig
- Bohemian Rhapsody – Queen
- Signs – Five Man Electrical Band
- Red Eyes And Tears – Black Rebel Motorcycle Club
- Hard Sun – Eddie Vedder
- Reflektor – Arcade Fire
- Young Lady, You’re Scaring Me – Ron Gallo
- Trouble’s Coming – Royal Blood
- Bridge to Nowhere – Sam Roberts
- Ready to Start – Arcade Fire
- Vision Valley – The Vines
- Today – Smashing Pumpkins
- I Want You To – Weezer
- Shakin’ Off The Rust – The Blue Stones
- Stay Away – Nirvana
- Patience – Chris Cornell
- You Think I Ain’t Worth A Dollar, But I Feel Like A Millionaire – Queens of the Stone Age
- Uprising – Muse
- From The Pinnacle To The Pit – Ghost
- I Disagree – Poppy
- I Don’t Need You – Starcrawler
- Killin’ The Planet – The Vines
- ALTAER – 3TEETH
- The End – The Doors
Killin’ The Planet has to do with seeing litter on the trails. The End popped into my head on my last day of the hike. The playlist can also be found here.
Final Thoughts / Future Directions
This trip is another level of me not doing things the way I’m “expected” to – i.e., the typical thru hike – and that’s a lesson I keep learning- that I do things differently and in my own way, and that’s okay and even better!
You learn about yourself on such trips and I’ve been learning that I’m low maintenance – I choose the path of least effort (like only boiling water for dinner and having no dishes to wash).
Doing this hike in the Fall was a unique experience. While it would have been nice to have longer daylight hours and warmer temperatures at times, there are many great things about a fall thru hike. Namely, less bugs and the beautiful colours. Less heat also meant less dehydration and less sweat – so I didn’t feel as gross at the end of the day.
Side note: When I was beginning this hike I had heard of man who was attempting to run the BT in 9 days around that same time. Turns out – he did it, and set a new record at 9 days and 17 hours, beating the previous record by four hours. How wonderful to be able to do something like that! While my body has a lot of endurance, it is not exactly competitively fast. And I can’t help but think that doing the end to end so fast would mean that you wouldn’t be able to soak up all the scenery or the experience in as much detail. But it’s an amazing feat.
You may have noticed that the title of this blog post says “part 1”. I am definitely hoping to get out and finish the northern portion of the Bruce Trail.
I leave you with one song I was listening to on the trail. Although the song as a whole may not seem relevant, these few lines sure did:
“Day after day, I will walk and I will play
But the day after today, I will stop and I will start
Day after day, I get angry and I will say
That the day is in my sight when I’ll take a bow and say goodnight“
Later,
Kat
***NOTE: THESE ARE NOT AFFILIATE LINKS. THESE POSTS ARE FOR DOCUMENTATIONAL PURPOSES ONLY. PLEASE DO YOUR RESEARCH AND USE ANYTHING SHOWN, DESCRIBED, OR LINKED HERE AT YOUR OWN RISK.
Copyright © Chronic X-Roads 2021